
A Beginner’s Guide to Safely Trimming Dog Nails
Taking care of your dog’s nails is an important part of responsible pet ownership. However, many beginners feel nervous about trimming their dog’s nails for the first time. Some dogs become frightened when they see nail clippers, while others pull their paws away or refuse to sit still. Without proper knowledge, nail trimming can quickly become a stressful experience for both the dog and the owner.
The good news is that learning a Beginner’s Guide to Safely Trimming Dog Nails can make this grooming task much easier. With the right tools, gentle handling, and a little patience, you can keep your dog’s nails at a healthy length without unnecessary stress. This guide explains everything you need to know, from understanding nail anatomy to choosing the correct clippers and developing a comfortable grooming routine.
1. Understand Your Dog’s Nail Anatomy Before Trimming
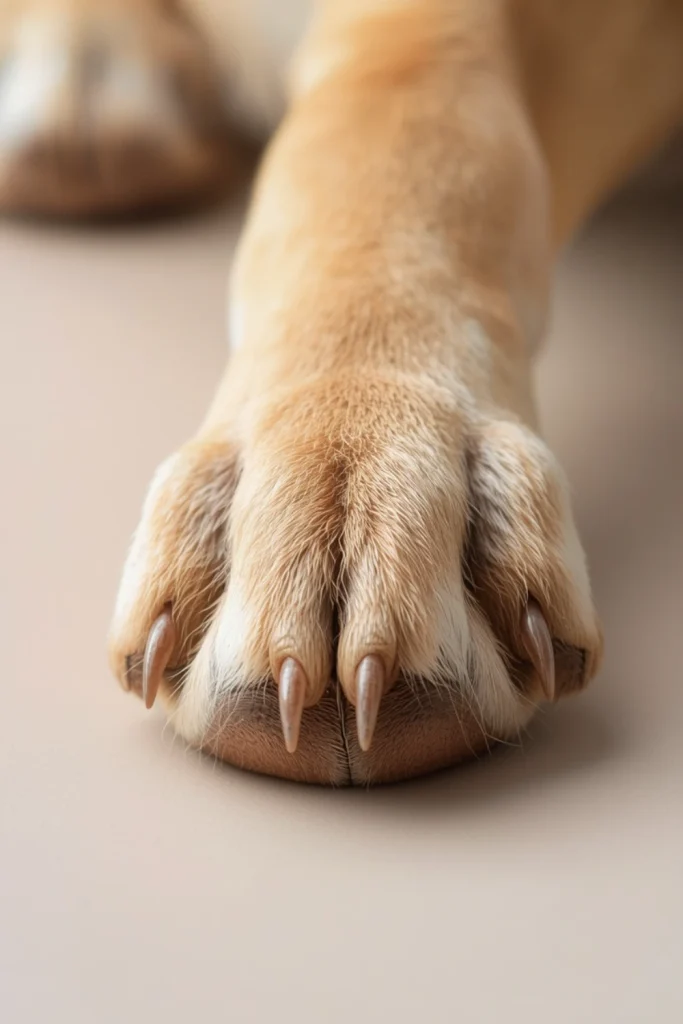
Before picking up nail clippers, learn the basic structure of your dog’s nails. Each nail contains a sensitive inner area called the quick, which includes blood vessels and nerves. Cutting into this area can cause pain and bleeding. Understanding where the quick is located is one of the most important steps in learning how to trim dog nails safely.
In light-colored nails, the quick often appears as a pink area inside the nail. Dark nails are more difficult because the sensitive area is not easily visible. Beginners should remove only very small portions at a time when working with dark nails. If you cannot confidently identify the safe trimming area, ask a veterinarian or professional groomer to demonstrate the technique.
2. Choose the Right Nail Trimming Tools

Choosing suitable equipment makes nail trimming easier and safer. Dog nail clippers come in different styles and sizes, and the best option depends on your dog’s nail thickness and your comfort level. Small dogs generally need smaller clippers, while large breeds may require stronger tools designed for thicker nails. Good-quality clippers should feel comfortable in your hand and provide a controlled cut.
Common options include scissor-style clippers, guillotine-style clippers, and electric nail grinders. Clippers remove nail length directly, while grinders gradually shorten and smooth the nail. Whichever option you choose, make sure it is specifically designed for dogs. Avoid using ordinary household scissors or damaged grooming tools, as they may crush or split the nails.
3. Get Your Dog Comfortable With Paw Handling

Many dogs dislike having their paws touched, especially if they are unfamiliar with grooming. Before attempting nail trimming, spend a few minutes gently handling your dog’s legs and paws every day. Start by touching the shoulder and moving slowly toward the paw. Reward your dog whenever they remain relaxed. This simple exercise helps build trust and makes future nail care less intimidating.
Do not force your dog to keep its paw in your hand. If your pet pulls away, give them a moment to relax and try again later. Gradually increase the amount of handling as your dog becomes more comfortable. Short, positive practice sessions are often more effective than one long grooming session. Building confidence before trimming can prevent unnecessary struggles.
4. Prepare a Calm and Comfortable Grooming Area

The environment can strongly influence your dog’s behavior during nail trimming. A noisy room, slippery floor, or unfamiliar location may make your pet nervous. Choose a quiet and familiar space where your dog feels safe. Good lighting is also important because it allows you to inspect each nail and identify the safest area to trim.
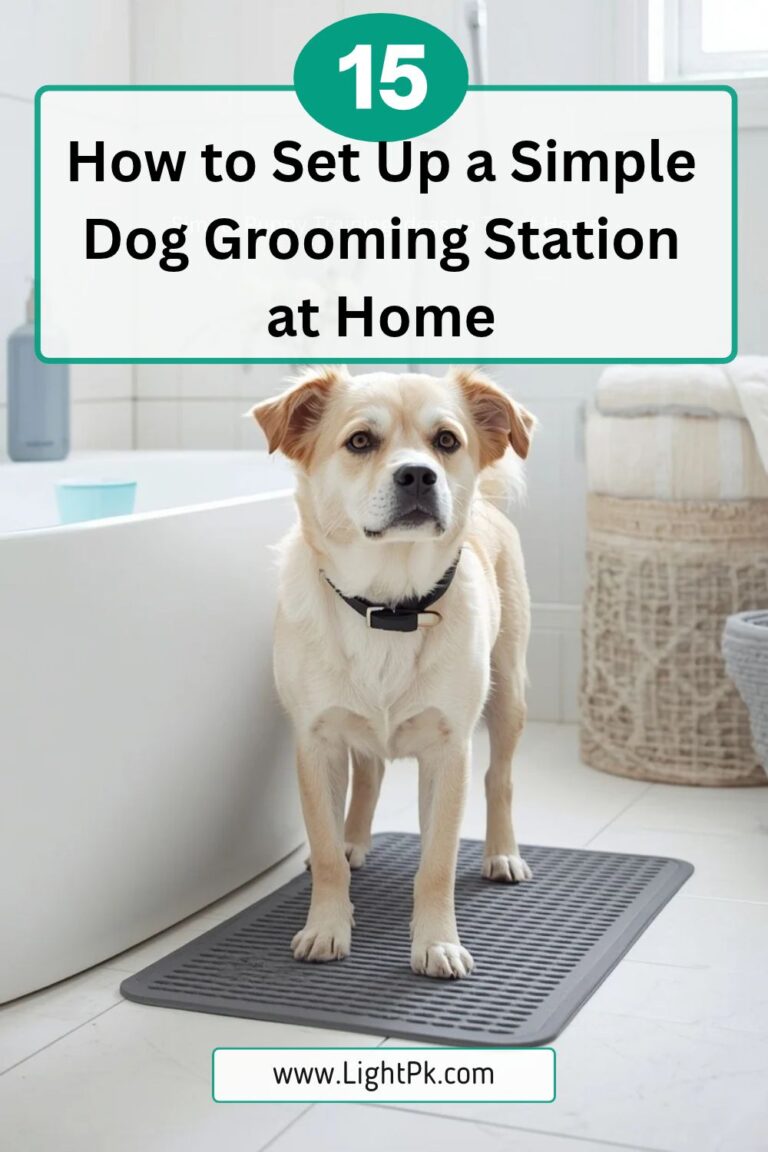
Place a non-slip mat or comfortable towel on the floor to provide better stability. Keep your clippers, treats, styptic powder, and other supplies within easy reach before starting. Remove unnecessary distractions and avoid trimming near loud appliances. A calm and organized grooming area helps you concentrate and makes the experience more comfortable for your dog.
5. Introduce Nail Clippers Slowly

Some dogs become frightened as soon as they see nail clippers. Instead of immediately attempting to trim their nails, allow your pet to become familiar with the grooming tool. Place the clippers nearby and let your dog investigate them naturally. Reward calm behavior with praise or a small treat. This helps create a positive association with the equipment before actual trimming begins.
Once your dog is comfortable seeing the clippers, gently touch the closed tool against one paw without cutting anything. Repeat this activity during several short sessions. You can also let your dog hear the sound of the clippers opening and closing from a comfortable distance. Gradual introductions help reduce fear and improve cooperation during grooming.
6. Learn How to Identify the Quick
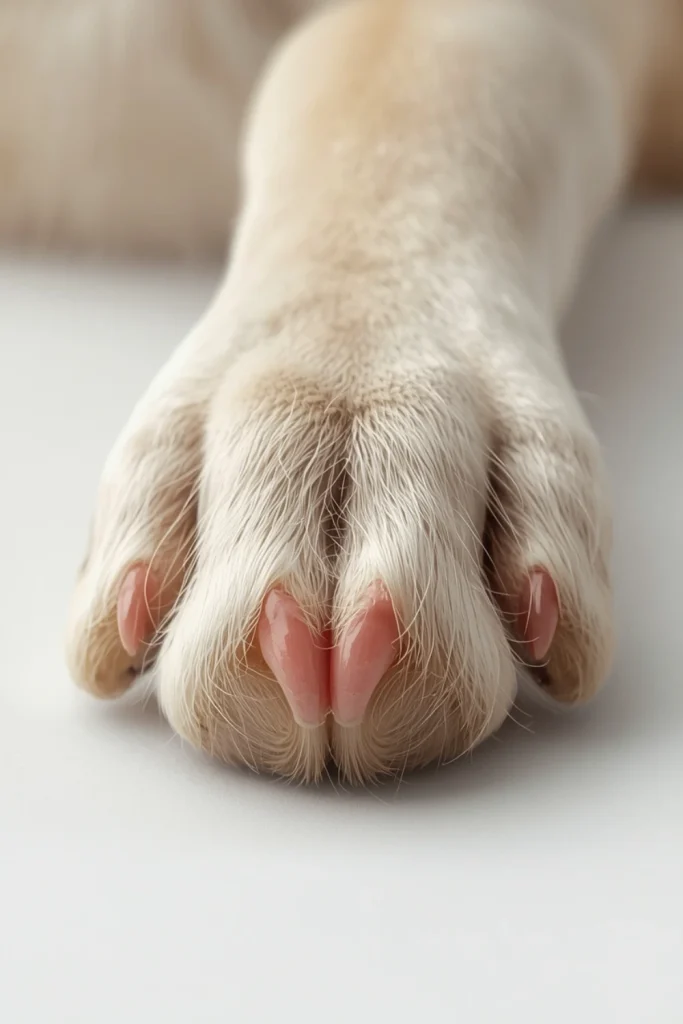
The quick is the sensitive part inside your dog’s nail that contains blood vessels and nerves. Avoiding this area is essential for safe nail trimming. In light-colored nails, the quick is often visible as a pink section. You should leave enough space between the cutting point and the sensitive area to avoid accidental injury.
Dark nails require additional care because the quick cannot be seen clearly from the outside. Remove only tiny portions at a time and examine the cut surface after each trim. If you notice a dark or moist-looking center, stop cutting that nail. Never guess how much nail to remove. When you are uncertain, a professional groomer or veterinarian can help.
7. Trim Only a Small Portion of Each Nail
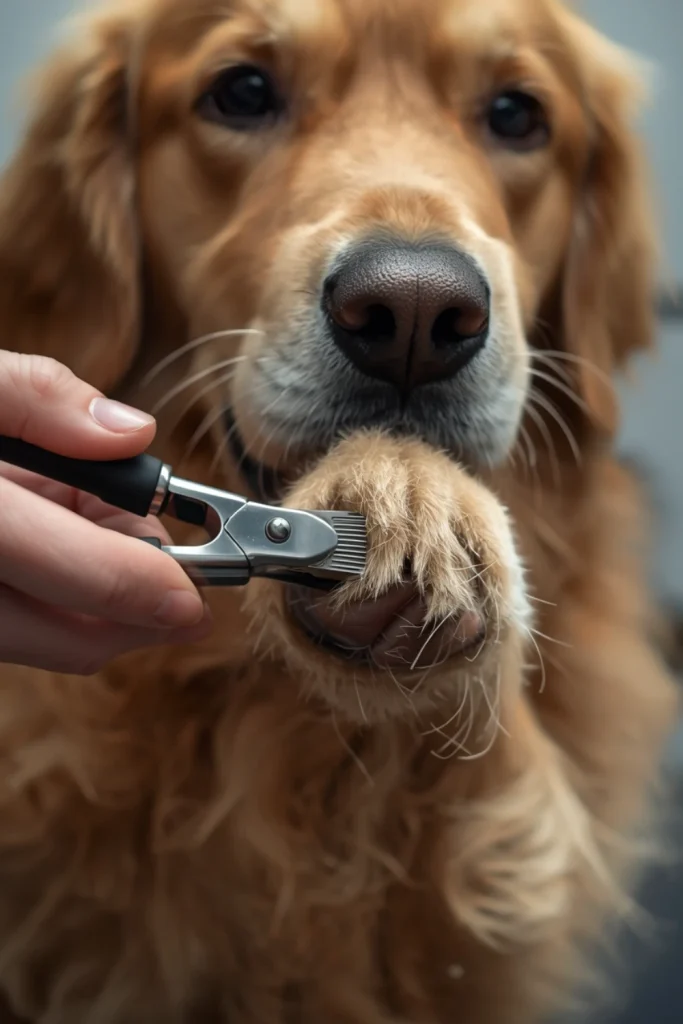
One of the safest approaches for beginners is to trim a very small amount of nail at a time. Cutting too much in one attempt increases the risk of reaching the quick and causing pain or bleeding. Position the clippers carefully and remove a tiny section from the nail tip. Take your time and inspect the nail before deciding whether another small cut is necessary.
For dogs with light-colored nails, use the visible quick as a guide and maintain a safe distance from it. For dark nails, be especially cautious because the quick is hidden. Never try to shorten every nail in one large cut. Small, controlled trims provide better accuracy and help you become more confident with regular grooming.
8. Keep Styptic Powder Ready for Emergencies
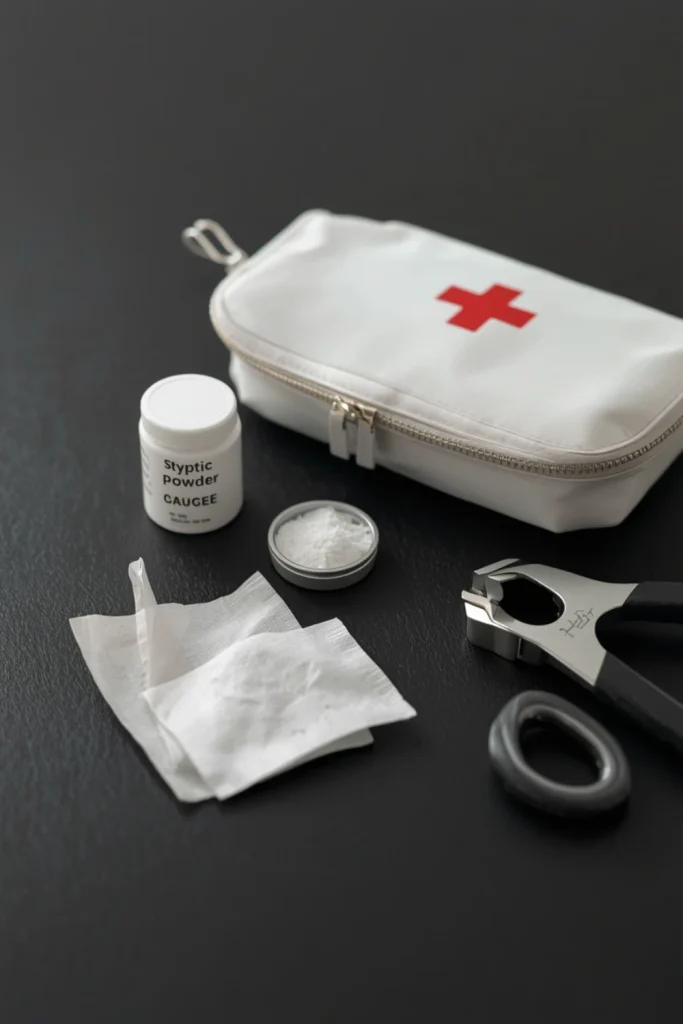
Even careful dog owners can accidentally cut the quick while trimming nails. This is why keeping styptic powder nearby is an important safety precaution. Styptic powder is designed to help control minor bleeding caused by small nail-trimming accidents. Having it ready before beginning gives you peace of mind and allows you to respond quickly if an accident occurs.
If you accidentally cut the quick, stop trimming immediately and apply the powder according to its instructions, using gentle pressure. Keep your dog calm and prevent them from licking the affected nail. If bleeding continues, the injury appears serious, or your dog shows significant pain, contact your veterinarian. Never ignore a nail injury simply because the bleeding initially looks minor.
9. Use Positive Reinforcement Throughout the Process
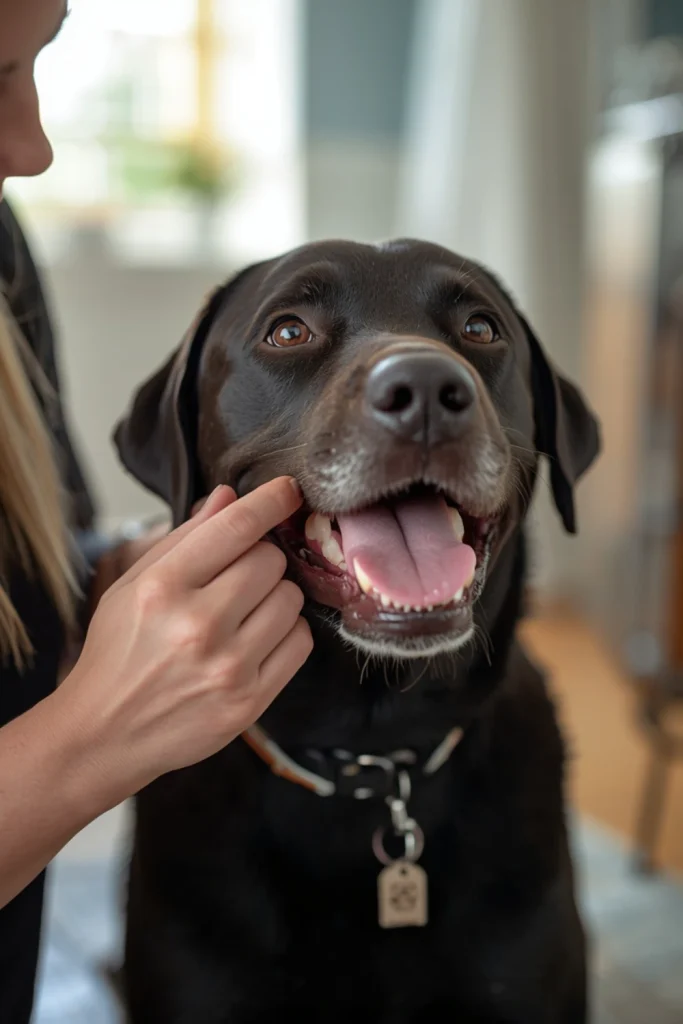
Positive reinforcement is one of the most helpful techniques for dogs that feel nervous about nail trimming. Reward your dog whenever they allow you to touch their paws, examine their nails, or bring the clippers close. Small treats, gentle praise, and affection can help create a positive association with grooming. This method is especially useful for puppies and dogs experiencing nail trimming for the first time.
Do not wait until the entire grooming session is finished before rewarding your dog. Offer appropriate treats during different stages when it is safe to do so. If your dog allows you to trim one nail calmly, reward them before moving to another. Gradually, your pet may become more cooperative because they learn that nail care is followed by enjoyable experiences.
10. Do Not Forget Your Dog’s Dewclaws

Dewclaws are the additional nails located higher on the inner side of a dog’s front paws. Some dogs also have dewclaws on their back legs. These nails are easy to overlook because they do not always touch the ground when your dog walks. As a result, they may not wear down naturally like the other nails.
Check your dog’s dewclaws during every grooming inspection. If they become too long, they can curl toward the skin and potentially cause discomfort or injury. Trim them carefully using appropriate dog nail clippers and the same safety precautions used for other nails. If a dewclaw is unusually positioned, damaged, or difficult to handle, ask a veterinarian or professional groomer for assistance.
11. Consider Using an Electric Nail Grinder
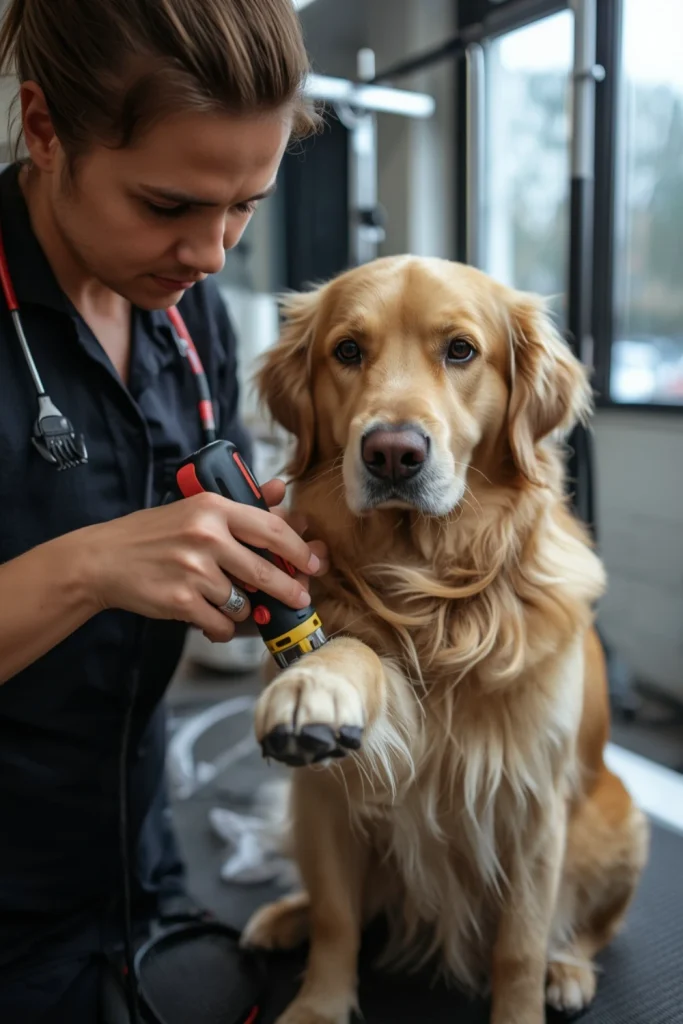
An electric nail grinder is an alternative to traditional clippers. Instead of cutting the nail in one movement, it gradually removes small amounts of nail using a rotating abrasive surface. Some beginners prefer grinders because they provide more gradual control and can smooth rough nail edges. They may also be useful for dogs with particularly thick nails.
However, grinders produce sound and vibration that some dogs dislike. Introduce the tool slowly by allowing your dog to inspect it while switched off. Then turn it on briefly at a distance and reward calm behavior. Once your dog becomes comfortable, use it for short periods according to the manufacturer’s instructions. Avoid holding the grinder against one area for too long because friction can create heat.
12. Create a Consistent Nail Trimming Schedule
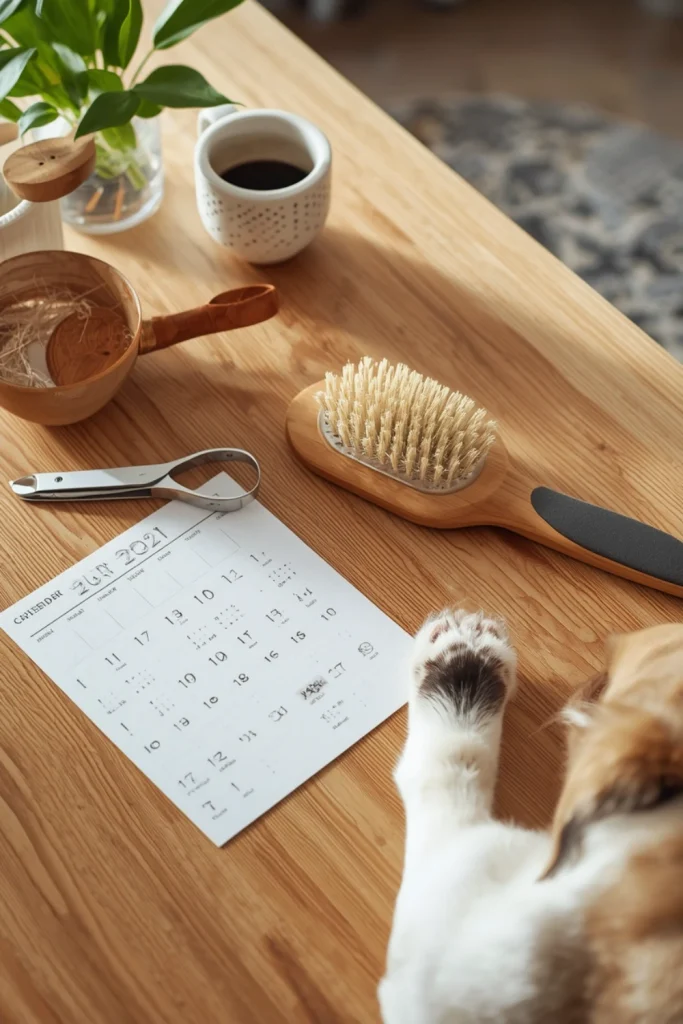
A regular grooming schedule helps prevent your dog’s nails from becoming excessively long. Instead of waiting until the nails cause discomfort, inspect them frequently and trim them when necessary. Many dogs need nail trimming approximately every three to four weeks, although the ideal frequency depends on their activity level, natural nail growth, breed, and walking surfaces.
Make paw inspections part of your regular grooming routine. Look for overgrown nails, cracks, rough edges, and signs of discomfort. Some dogs naturally wear down their nails through walking, while indoor and less active dogs may need more frequent maintenance. Short, regular grooming sessions are often easier than waiting until a large amount of nail growth needs to be removed.
Final Thoughts
Learning how to trim your dog’s nails safely is an important skill for every responsible dog owner. Although the process may seem challenging at first, understanding nail anatomy, choosing suitable tools, and using gentle handling techniques can make grooming much easier.
Remember that every dog has a different personality and comfort level. Some pets quickly become familiar with nail clippers, while others need several practice sessions. Start slowly, remove small portions, use positive reinforcement, and never force your dog to continue when they become frightened.
Following this Beginner’s Guide to Safely Trimming Dog Nails will help you develop a consistent grooming routine while protecting your dog’s paws. If you are ever unsure about nail length or trimming technique, ask a veterinarian or professional groomer for guidance.
Healthy nails contribute to comfortable movement, better paw care, and a happier dog. With patience and regular attention, you can make nail trimming a much easier part of your dog’s everyday care routine.