

10 Tips for Using a Dog Nail Grinder for Beginners
A dog’s nails may look like a small part of their body, but keeping them at a healthy length is an important part of responsible pet care. Long nails can make walking uncomfortable, affect your dog’s posture, and sometimes lead to painful nail injuries. If you are a first-time dog owner, trimming your pet’s nails can feel challenging, especially when your dog is nervous about traditional clippers.
A dog nail grinder can make nail care easier by gradually smoothing the nails instead of cutting through them in one movement. However, using this tool correctly takes patience, preparation, and a little practice. In this beginner-friendly guide, you will discover 10 practical tips for using a dog nail grinder safely, helping your dog feel comfortable and making nail care a more positive experience.
1. Choose the Right Dog Nail Grinder

Choosing the right grinder is the first step toward comfortable and safe nail care. Before purchasing one, consider your dog’s size, nail thickness, temperament, and sensitivity to noise. A small dog with thin nails may need a lightweight grinder with a gentle motor, while a large dog with thick nails may require a more powerful model. Look for a product designed specifically for pets rather than using an ordinary household grinding tool.
Beginners should also look for a grinder with adjustable speed settings. A low-speed setting allows you to learn how the tool works without removing too much nail too quickly. Features such as a comfortable handle, rechargeable battery, protective guard, and replaceable grinding heads can also make grooming easier. Read product instructions and choose a model that feels easy to control in your hand.
2. Understand Your Dog’s Nail Anatomy Before Grinding
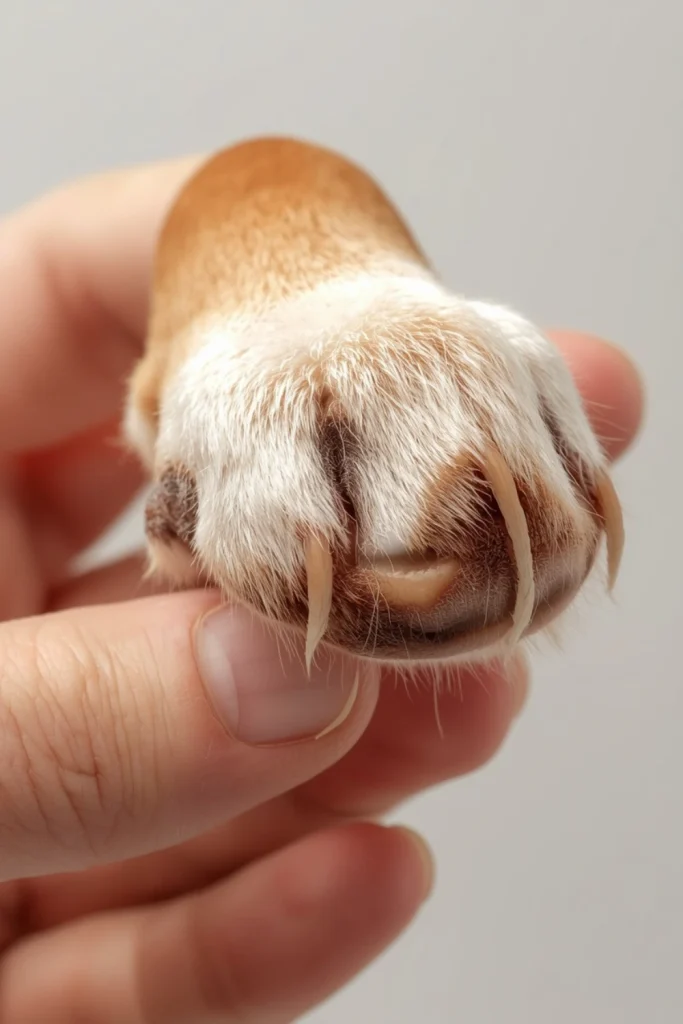
Before using a grinder, learn about the different parts of your dog’s nails. The most important part to understand is the quick, which contains blood vessels and nerves. Cutting or grinding into the quick can cause pain and bleeding. In dogs with light-colored nails, the quick may appear as a pink area inside the nail. This makes it easier to see where you should stop. However, the quick can be harder to identify in dark-colored nails.
When working with dark nails, avoid trying to remove a large amount at once. Grind only a tiny portion of the nail and check the exposed surface frequently. As you get closer to the quick, you may notice a small darker or softer-looking area in the center of the nail. This can be a warning that you are approaching sensitive tissue. If you are unsure, stop and ask a veterinarian or professional groomer to demonstrate safe nail care.
3. Introduce the Grinder Slowly Before Using It
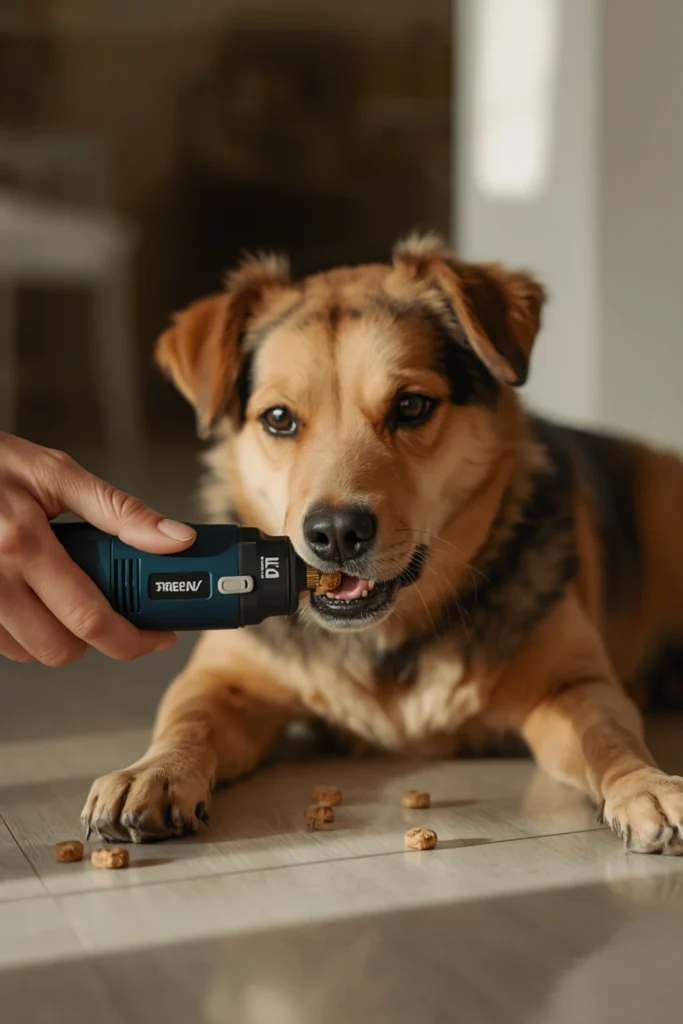
Many dogs become nervous when they hear an unfamiliar electric sound. The vibration of a nail grinder can also feel strange when it comes close to their paws. Instead of turning it on and immediately touching your dog’s nails, give your pet time to investigate the tool. Place the grinder on the floor or a nearby table while it is switched off. Allow your dog to sniff it and reward calm curiosity with praise or a small treat.
After your dog becomes comfortable seeing the grinder, turn it on briefly at a distance. Do not force your pet to approach it. Let your dog hear the sound while enjoying something positive, such as a favorite treat or gentle attention. Gradually bring the switched-on grinder closer over several short sessions. The goal is to teach your dog that the tool is not something to fear. If your dog shows signs of stress, move back to an easier step and try again later.
4. Get Your Dog Comfortable With Paw Handling

Before grinding your dog’s nails, make sure your pet is comfortable having their paws touched. Some dogs naturally dislike having their feet handled, so this step may require patience. Begin by gently touching your dog’s shoulder or leg, then move toward the paw. When your dog remains relaxed, offer praise and a treat. Keep the first sessions short and avoid squeezing or pulling the paw. Your goal is to make gentle handling feel normal rather than uncomfortable.
Once your dog accepts basic paw handling, practice holding one paw for a few seconds. Gently separate the toes so you can see each nail, then release the paw and reward your dog. Repeat this exercise regularly without using the grinder at first. If your dog pulls away, allow a short break instead of holding the paw tightly. Building trust through calm handling can make future grooming sessions much easier and safer.
5. Prepare a Calm and Comfortable Grooming Area

The environment can make a big difference when using a dog nail grinder. Choose a quiet place where your dog feels safe and familiar. Avoid areas with loud televisions, busy household activity, or sudden noises. A comfortable room with good lighting will help you see the nails clearly and notice your dog’s body language. If possible, choose a location where your dog already enjoys resting or spending time with you.
Place a non-slip mat or soft towel on the floor so your dog does not slide while you handle their paws. Keep the grinder, treats, and styptic powder within easy reach before beginning. Good preparation means you will not need to leave your dog unattended while searching for supplies. Some dogs feel more secure when sitting beside their owner, while others prefer lying on a comfortable surface. Choose a position that allows you to hold the paw gently without forcing your dog into an uncomfortable posture.
6. Start With the Lowest Comfortable Speed
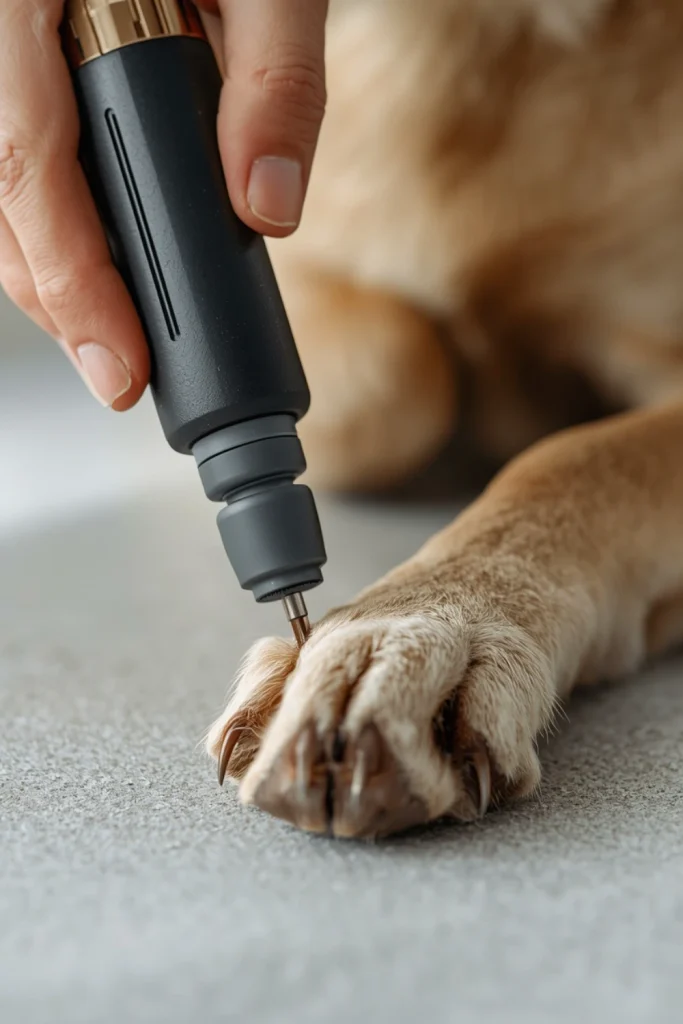
When you are new to using a dog nail grinder, begin with the lowest speed setting recommended by the manufacturer. A slower speed can help you understand how the grinding head works and how much pressure is needed. It also gives you more control while you become familiar with the tool. Never assume that a higher speed will make the job safer or easier. More speed can remove nail material quickly and may increase the chance of mistakes.
Hold the grinder securely and bring the grinding head toward the nail gently. Avoid pushing the nail hard against the rotating surface. Let the tool do the work instead of applying pressure. If your grinder has multiple speed settings, you can adjust them according to the manufacturer’s instructions and your dog’s nail thickness. Stop immediately if the nail becomes warm, your dog reacts uncomfortably, or the grinder behaves unexpectedly. Practice on one nail at a time until you feel confident.
7. Grind Small Amounts of Nail at a Time
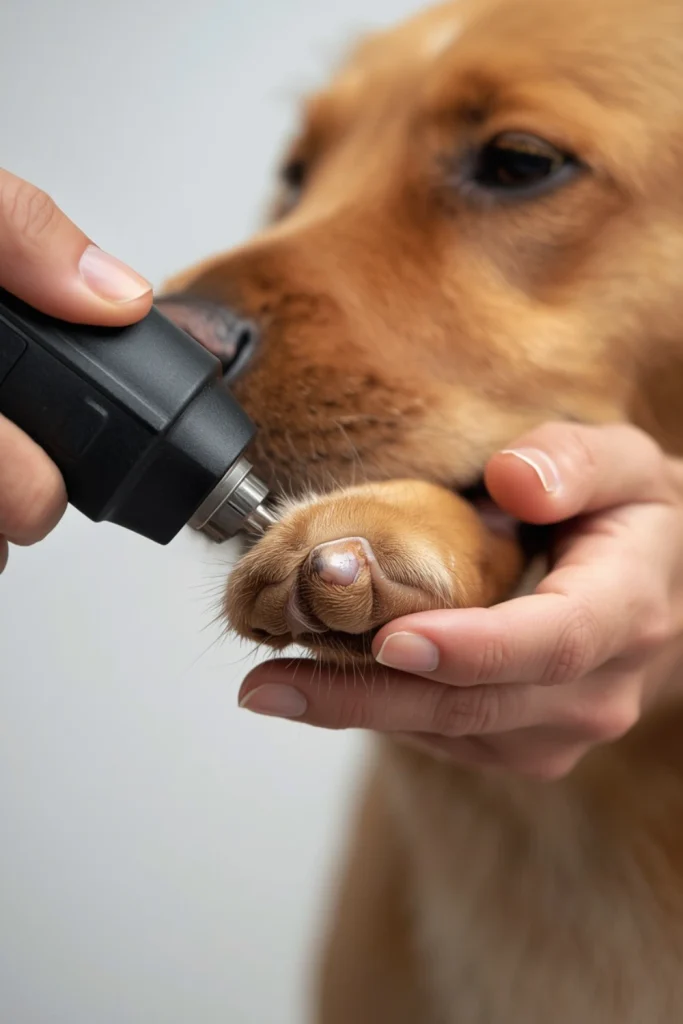
One of the most important rules for beginners is to remove only a small amount of nail during each contact with the grinder. Instead of holding the tool against the nail continuously, use short, gentle touches. Move around the nail gradually and check the length after each brief grinding session. This approach helps you maintain control and reduces the chance of accidentally reaching the quick. It is better to make several small adjustments than to remove too much nail in one attempt.
Pay attention to the shape of the nail as you work. Your aim is to shorten the nail gradually and smooth its edges without touching the sensitive inner tissue. Avoid grinding deeply into one side or creating an uneven surface. If your dog becomes restless, pause and let them relax before continuing. You do not need to finish every nail in one sitting. For a nervous beginner dog, completing only one or two nails per session can be a sensible starting point.
8. Keep the Grinder Moving to Prevent Heat

A rotating grinder can create friction when it touches a dog’s nail. If you hold it against the same spot for too long, the nail may become uncomfortably warm. This can cause your dog to pull away or develop a negative association with nail grooming. To reduce this risk, use short contact periods and move the grinder gently around the nail. Do not press the grinding head firmly against one area.
Give the nail a few seconds to cool between contacts, especially when working on thick nails. Watch your dog’s reactions carefully. Sudden paw movement, whining, licking, or pulling away may indicate discomfort. Stop and check the nail rather than assuming your dog is simply being difficult. Follow the grinder manufacturer’s recommendations for contact time and use. If the nail feels warm or your dog appears uncomfortable, take a longer break before continuing.
9. Use Treats and Positive Reinforcement
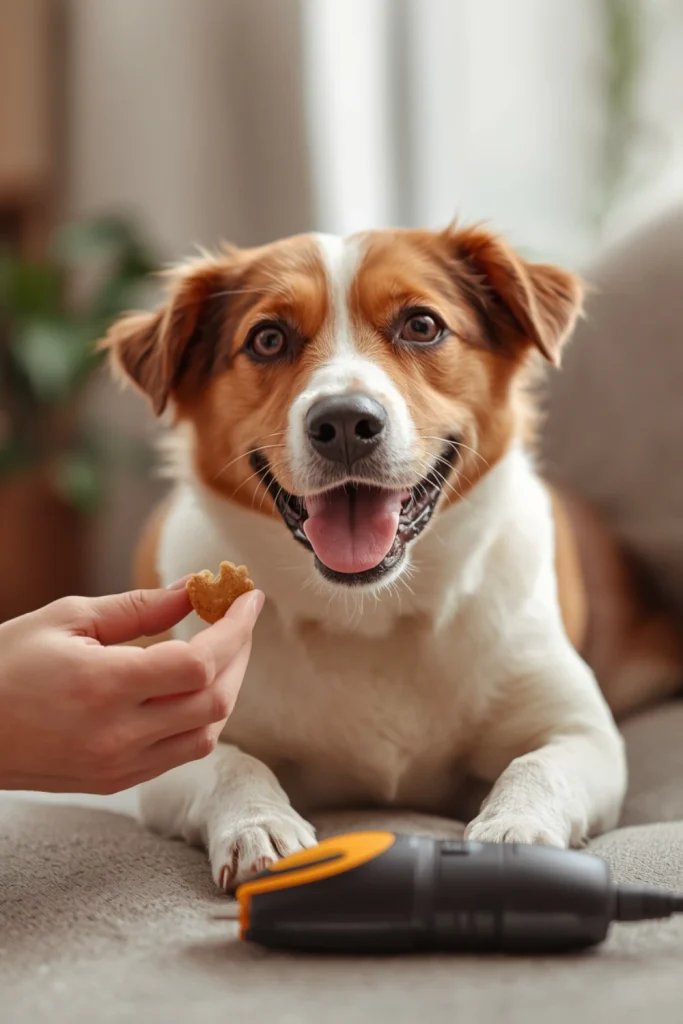
Positive reinforcement can help your dog develop a better attitude toward nail grooming. Every time your dog calmly allows you to touch a paw, hear the grinder, or have one nail worked on, reward the behavior with praise or a small treat. These rewards help your dog connect the grooming process with something enjoyable. You do not need to wait until the entire nail-trimming session is finished before rewarding your pet. Small rewards throughout the process can be more helpful.
Keep your voice calm and avoid becoming frustrated if your dog moves away or refuses to cooperate. Dogs can notice changes in your body language and tone, so a relaxed approach is important. If your pet becomes anxious, stop the session and return to a step they can manage comfortably. You may need several short practice sessions before your dog accepts the grinder. Consistency, patience, and rewards can gradually build confidence and make future grooming easier.
10. Finish With a Gentle Check and a Regular Nail Care Routine
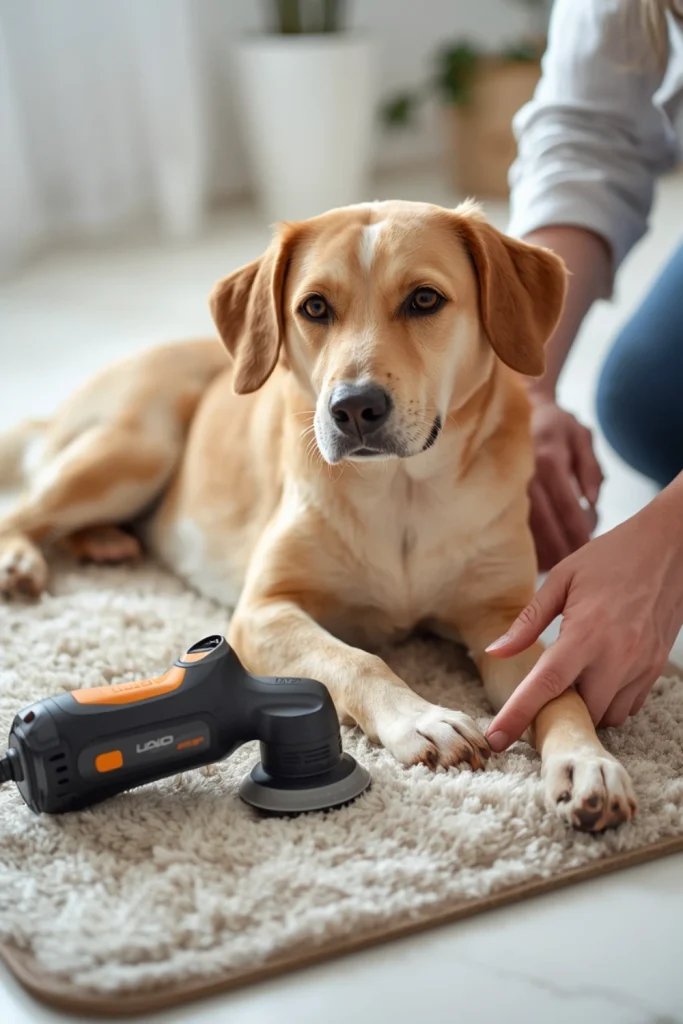
After grinding, inspect each nail carefully to make sure the edges are smooth and there are no signs of bleeding or irritation. Check that you have not removed too much material and that your dog is walking comfortably. If you notice a sharp edge, you can gently smooth it with the grinder if your dog is relaxed and the nail is not sensitive. Avoid continuing simply to make every nail look perfectly identical. Your dog’s comfort and safety are more important than appearance.
Create a regular nail care routine based on how quickly your dog’s nails grow and how naturally they wear down during daily activity. Some dogs need more frequent attention than others. Check the nails every week so you can notice when they begin getting too long. Keep grooming sessions short and positive, particularly if your dog is still learning. If you are uncertain about nail length or your dog has a painful, damaged, or unusually shaped nail, ask a veterinarian or professional groomer for guidance.
Final Thoughts
Using a dog nail grinder can become a manageable part of your regular pet care routine when you understand the correct technique. The most important steps are choosing a suitable grinder, learning about the quick, introducing the tool slowly, and helping your dog feel comfortable with paw handling. Start with a low speed, use short grinding movements, and remove only small amounts of nail at a time.
Remember that every dog has a different personality and comfort level. Some dogs accept the grinder quickly, while others need several practice sessions before they feel relaxed. Be patient, use positive reinforcement, and never force your dog to continue when they are frightened or uncomfortable. With consistent care and a gentle approach, you can make nail maintenance a safer and more positive experience for your dog.