

12 Dog Ear Cleaning Tips Every Owner Should Know
Your dog’s ears play an important role in their everyday life, helping them hear sounds, communicate, and stay aware of their surroundings. However, just like their coat, paws, and teeth, their ears also need attention and proper care. Dirt, moisture, excess wax, and other debris can sometimes accumulate around the ears, making regular inspections an important part of responsible dog ownership. Understanding how to care for your dog’s ears can help you recognize potential problems early and keep your furry friend comfortable.
The good news is that dog ear care does not have to be complicated. With the right supplies, gentle handling, and a few simple habits, you can make ear care a comfortable part of your dog’s grooming routine. Whether you have a young puppy, an adult dog, or a senior companion, these 12 Dog Ear Cleaning Tips will help you understand how to inspect, clean, and maintain your dog’s ears safely at home.
1. Check Your Dog’s Ears Regularly
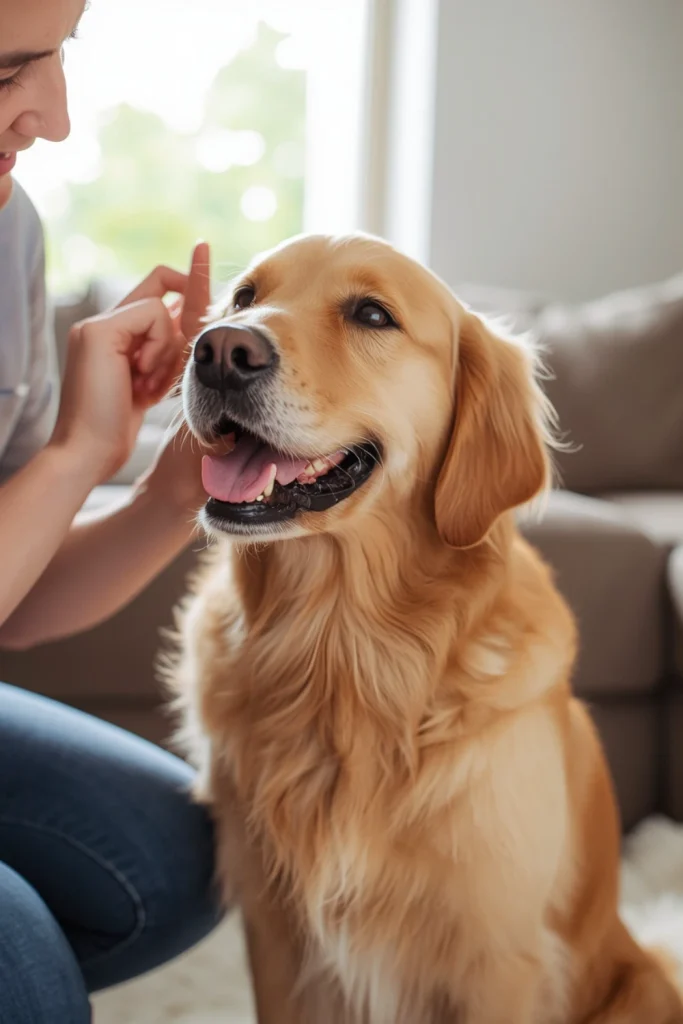
One of the most useful dog ear cleaning tips is to make regular ear inspections part of your grooming routine. Checking your dog’s ears helps you become familiar with their normal appearance and notice changes that may need attention. Look at the visible outer ear and gently lift the ear flap to inspect the accessible area. Healthy ears generally look clean and should not have significant redness, swelling, unusual discharge, or a strong unpleasant smell. A small amount of natural earwax can be completely normal.
Try checking your dog’s ears once a week, especially when brushing their coat or examining their paws and nails. However, remember that inspecting the ears does not mean cleaning them every week. Some dogs naturally maintain clean ears with very little assistance, while others need occasional cleaning. Pay attention to your dog’s individual needs, breed, and lifestyle. If you notice anything unusual, contact your veterinarian instead of assuming that more cleaning will solve the problem.
2. Use a Veterinarian-Approved Ear Cleaning Solution
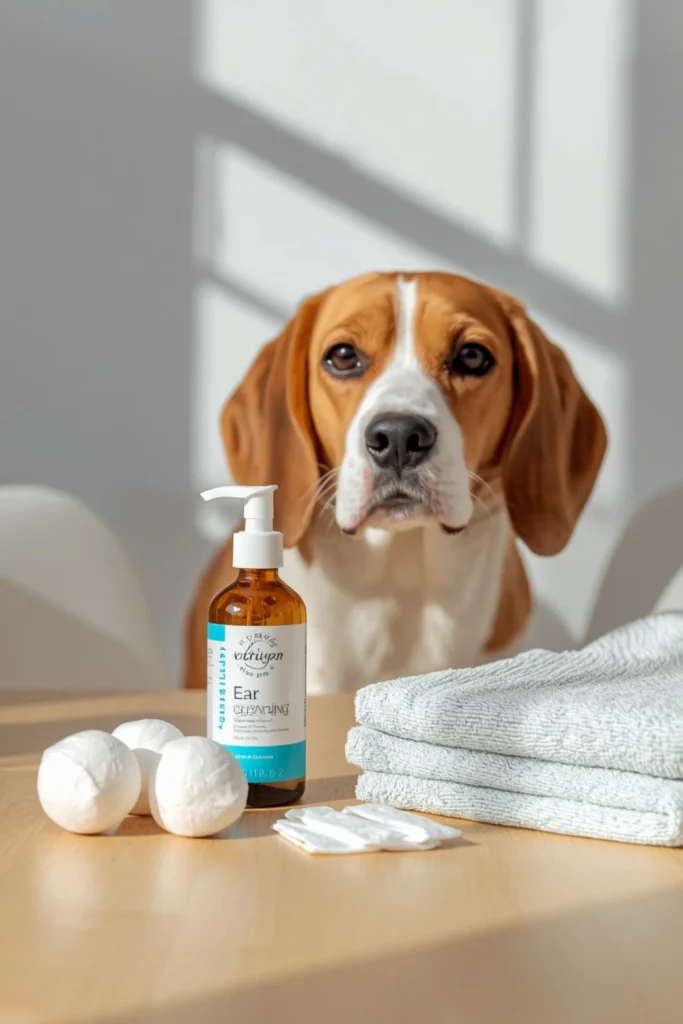
Choosing the right cleaning solution is essential for safe dog ear care. Dog-specific ear cleaners are formulated to help loosen excess wax and remove dirt from the ear canal. Different products may be designed for routine maintenance, moisture management, or particular veterinary needs. Before purchasing an ear cleaner, consider your dog’s age, ear sensitivity, and medical history. If you are unsure which product is suitable, ask your veterinarian to recommend an appropriate option.
Avoid using human ear drops, alcohol, hydrogen peroxide, vinegar mixtures, or homemade cleaning solutions unless your veterinarian specifically recommends them. These substances may irritate sensitive ear tissues or be unsafe when an ear problem or damaged eardrum is present. Always read the product instructions and check its expiration date before use. Using the correct cleaner and following professional guidance can make your dog’s ear cleaning routine safer and more comfortable.
3. Gather All Cleaning Supplies Before Starting
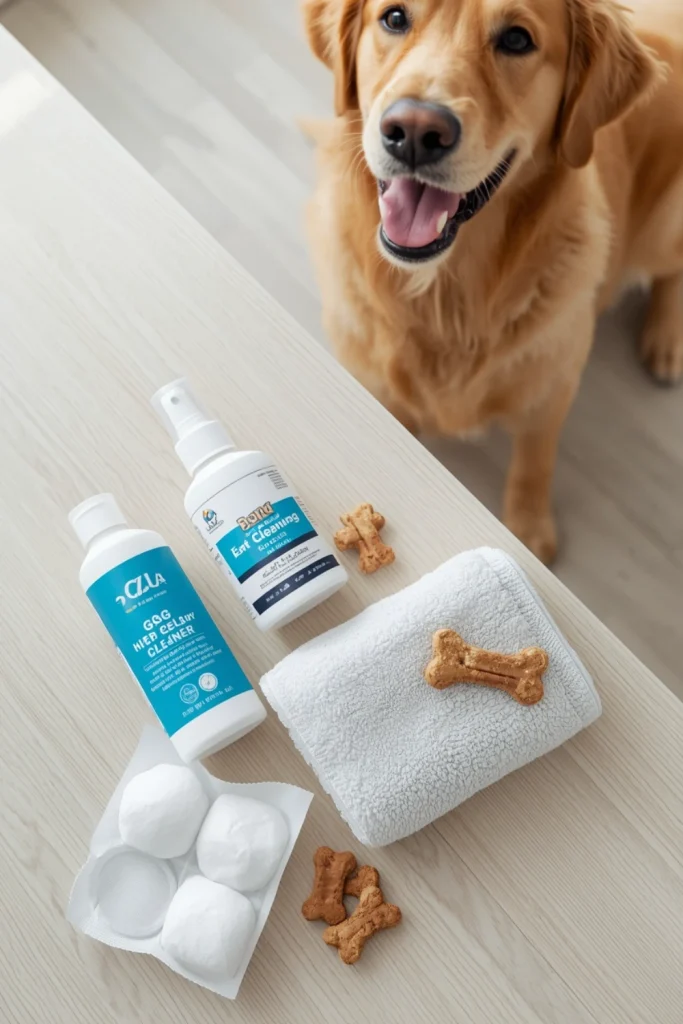
Preparing your supplies before cleaning can make the entire process easier and less stressful. You generally need a dog-specific ear cleaning solution, soft cotton balls or gauze pads, a clean towel, and a few small training treats. Keeping these items within reach allows you to focus on your dog rather than searching for equipment during the grooming session. A small storage basket can also help you keep everything organized for future use.
Make sure all cleaning materials are clean and suitable for your dog’s ears. Avoid rough tissues, sharp objects, and materials that may leave fibers behind. Never use cotton swabs deep inside the ear canal because they can push debris farther inward or cause injury. It is also helpful to keep a towel underneath your dog in case some cleaning solution or loosened wax comes out. A well-prepared grooming area makes it easier to follow each cleaning step carefully.
4. Choose a Calm and Comfortable Environment
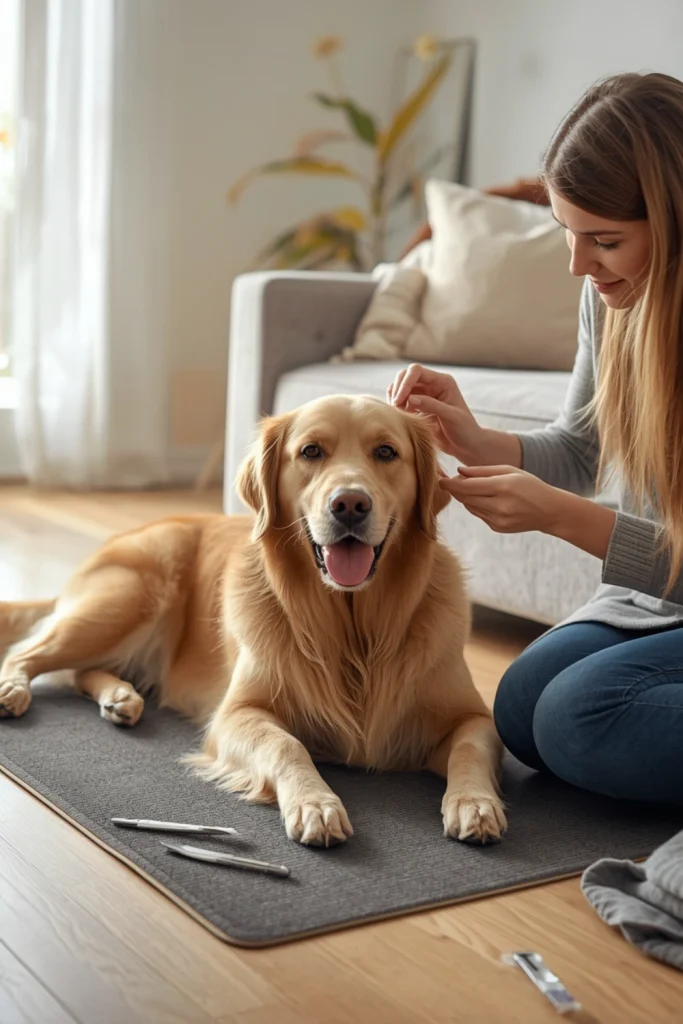
The environment can influence how your dog responds to ear cleaning. A noisy room, unfamiliar surroundings, or too many distractions may make your pet nervous. Choose a quiet location where your dog feels safe and relaxed. A familiar room with a soft blanket or non-slip grooming mat can provide a comfortable surface. Make sure the area has enough light so you can clearly see the visible parts of your dog’s ears without struggling.
It is also helpful to choose a time when your dog is naturally calm. For example, after a gentle walk or a relaxing play session may be better than immediately before an exciting activity. Speak softly, avoid sudden movements, and allow your dog to settle before beginning. If your dog becomes uncomfortable, pause the session and give them time to relax. A peaceful environment can help create positive grooming experiences and make future ear inspections easier.
5. Inspect the Ears Before Applying Cleaner
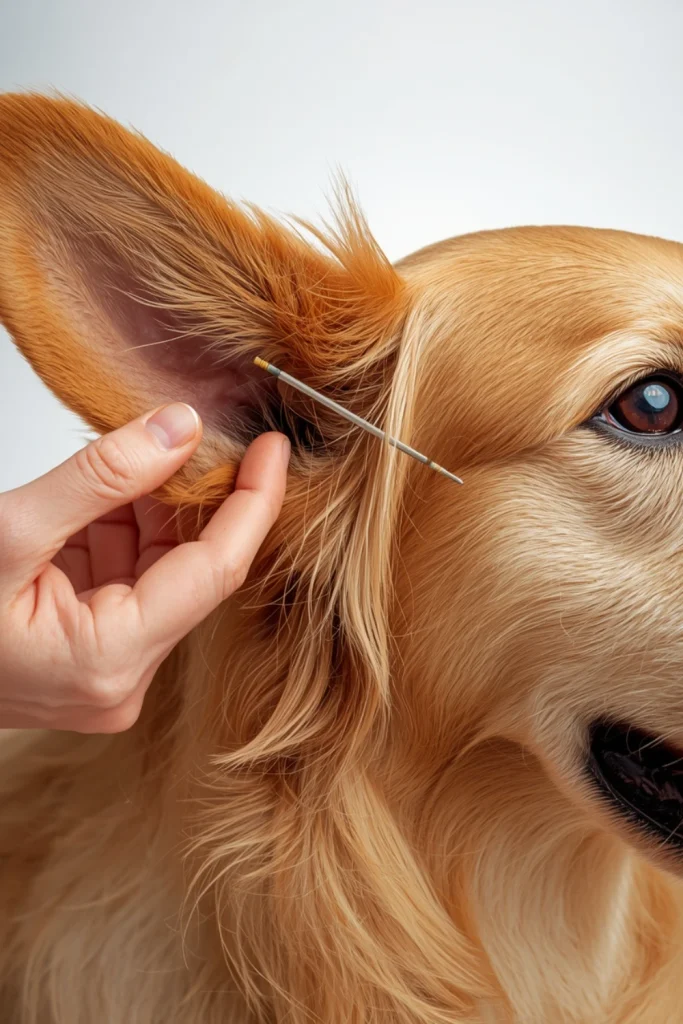
Always examine your dog’s ears before applying any cleaning solution. Gently lift the outer ear flap and look at the visible area for dirt, excess wax, redness, swelling, or unusual discharge. Healthy ears should generally have a natural appearance without a strong unpleasant odor. Learning what is normal for your dog makes it easier to recognize sudden changes that could indicate irritation or an underlying medical condition.
Never begin cleaning if your dog appears to have painful, swollen, or severely irritated ears. Other warning signs include bleeding, thick discharge, repeated head shaking, and strong sensitivity when the ear is touched. These symptoms may indicate an infection or another ear condition that requires veterinary attention. Applying a routine cleaning product without professional guidance could increase discomfort. A quick inspection before cleaning is one of the most important habits every dog owner should develop.
6. Introduce Ear Cleaning Gradually
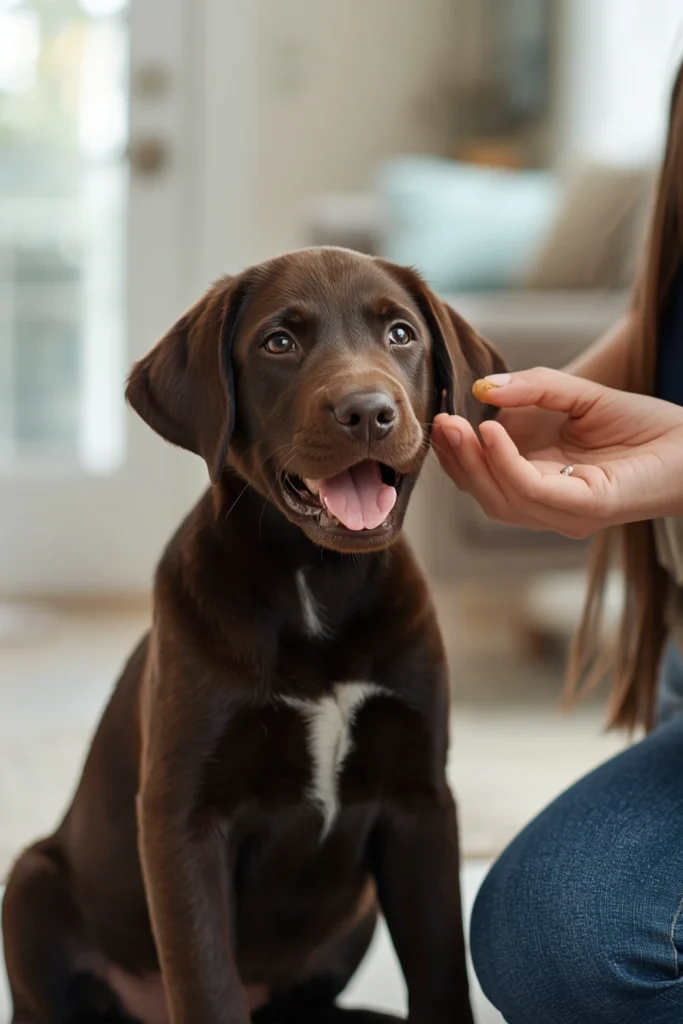
Not every dog immediately accepts having their ears handled. Puppies, newly adopted dogs, and pets with limited grooming experience may feel nervous during their first ear cleaning session. Instead of rushing, begin by gently touching the outside of your dog’s ears for a few seconds. Offer a small treat and praise your dog whenever they remain relaxed. Repeat this simple activity over several short sessions until your dog becomes comfortable with gentle ear handling.
Once your dog accepts having their ears touched, gradually introduce the cleaning supplies. Let your pet see and smell the ear cleaner bottle while rewarding calm behavior. You can also practice lifting the ear flap briefly without applying any solution. Never force your dog to remain still or punish them for pulling away. Building trust takes time, but gradual introduction and positive reinforcement can make regular ear care much easier for both of you.
7. Apply Ear Cleaner According to Instructions
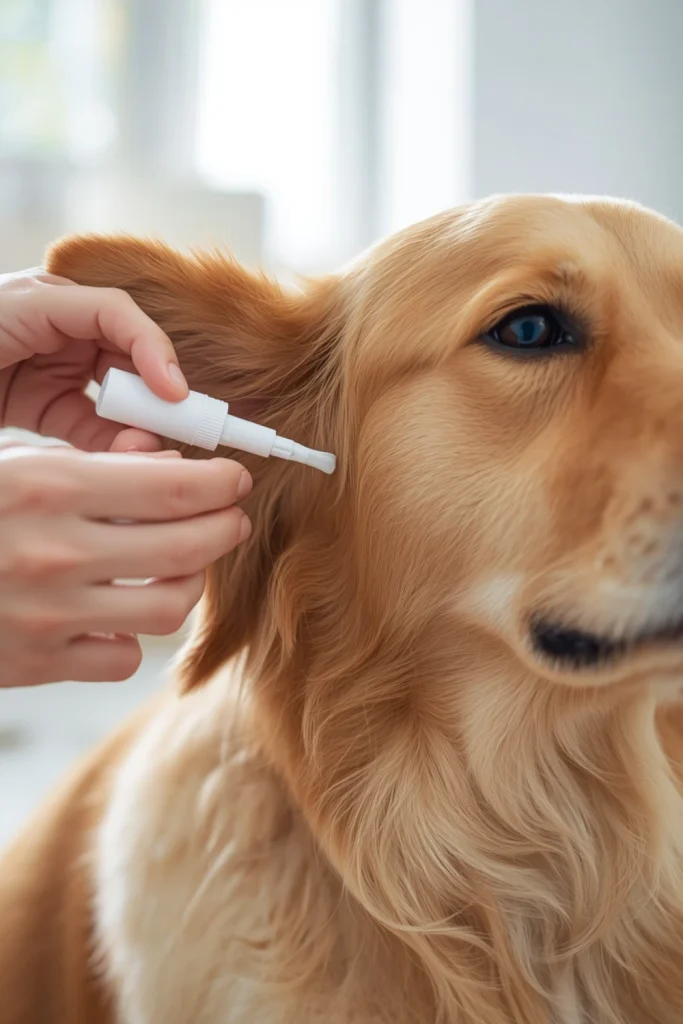
Once your dog is comfortable and the ears appear healthy, you can begin cleaning when necessary. Gently lift the ear flap and position the veterinarian-approved cleaning solution near the opening of the ear canal. Follow the product’s instructions for the recommended amount. Keep the bottle tip outside the ear canal and avoid touching the ear with it. This helps reduce the risk of contamination and accidental irritation during application.
Different dog ear cleaning products may have different application instructions, so never guess how much solution to use. Some products require a particular amount depending on the dog’s size, while others provide specific directions for each ear. If your dog has a history of ear infections, ear surgery, or a potentially damaged eardrum, consult your veterinarian before using any cleaner. Proper application is important because even a suitable product can cause problems when used incorrectly.
8. Massage the Base of the Ear Gently
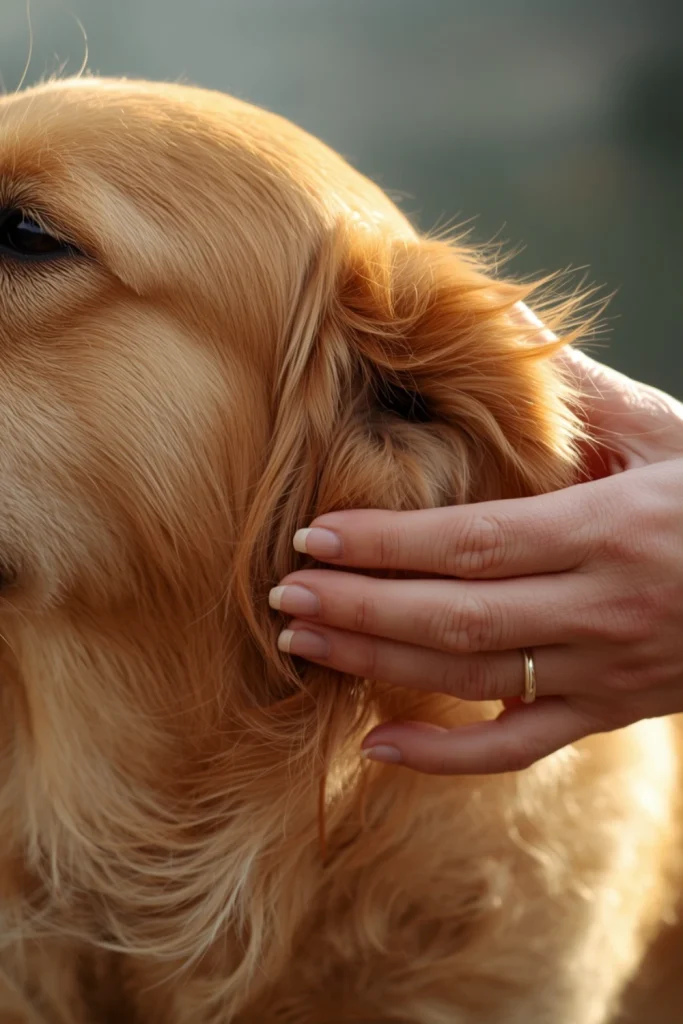
Some dog ear cleaning solutions require gentle massaging after application. If your product instructions recommend this step, use your fingertips to massage the outside base of your dog’s ear for the recommended period. This helps distribute the solution and loosen accumulated wax and debris. You may hear a soft squishing sound while the liquid moves around inside the ear. This can be normal during a properly performed cleaning session.
Always keep the massage gentle and avoid pressing or squeezing the ear. Your dog should remain reasonably comfortable throughout the process. If your pet suddenly pulls away, whines, or shows signs of pain, stop immediately. Do not continue massaging an irritated or painful ear. Remember that not every product requires the same technique or duration, so follow the manufacturer’s instructions and your veterinarian’s advice. Gentle handling is always more important than trying to clean the ears quickly.
9. Allow Your Dog to Shake Its Head Naturally

After applying and massaging the ear cleaner according to its instructions, allow your dog to shake its head naturally if it wants to. Head shaking can help move loosened wax, debris, and excess cleaning solution toward the outer ear. This is a common part of many ear cleaning routines. Give your dog enough space to shake comfortably without bumping into furniture or knocking over nearby objects.
You may want to place an old towel underneath your dog to catch any liquid or loosened debris that comes out. Never hold your dog’s head tightly to prevent shaking, as this can cause unnecessary discomfort. However, frequent or persistent head shaking may indicate irritation or an ear problem, particularly when accompanied by scratching, redness, or pain. If these symptoms continue after cleaning, contact your veterinarian for an examination.
10. Wipe the Visible Outer Ear With Soft Gauze

Once your dog has shaken its head, use a clean cotton ball or soft gauze pad to remove visible dirt, loosened wax, and excess solution from the outer ear. Gently wipe the accessible areas of the ear flap and its natural folds. Avoid pushing cotton or gauze deep into the ear canal. The goal is to remove visible debris without irritating the delicate skin or disturbing the natural protective environment inside the ear.
Use a fresh cotton ball or gauze pad whenever needed, especially if the material becomes dirty. Avoid rubbing the same area repeatedly or trying to remove every small amount of natural wax. If you notice debris that appears to be deeper inside the ear, leave it alone and seek veterinary advice. Never use fingernails, sharp tools, or cotton swabs to reach difficult areas. Gentle wiping is usually enough for routine outer-ear care.
11. Pay Extra Attention to Dogs With Floppy Ears
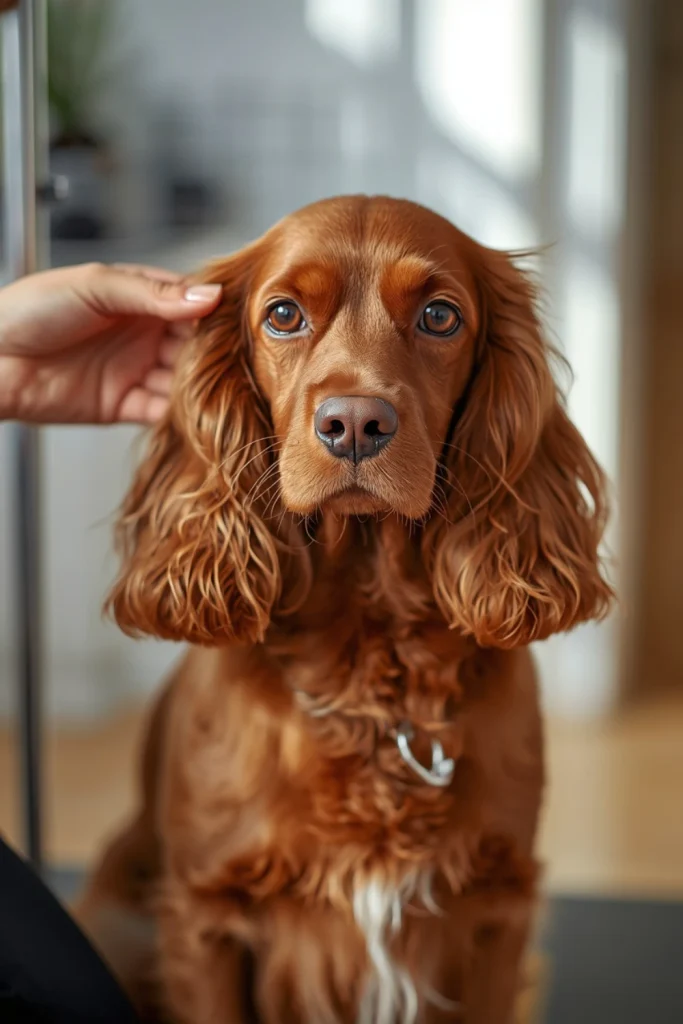
Dogs with floppy ears, such as Cocker Spaniels, Basset Hounds, and some Labrador Retrievers, may benefit from regular ear inspections. Their ear flaps can reduce airflow around the opening and sometimes allow moisture and debris to remain trapped. This does not mean that every floppy-eared dog will develop an infection. However, paying attention to the ears can help you recognize unusual changes before they become more serious.
During regular grooming, gently lift the ear flaps and inspect the visible skin. Look for unusual wax buildup, unpleasant odors, redness, and signs of discomfort. Dogs that swim frequently or have a history of recurring ear problems may need additional attention based on veterinary advice. Avoid cleaning excessively just because your dog has floppy ears. Every dog is different, and the best routine should be based on their individual health and grooming requirements.
12. Reward Your Dog and Make Cleaning a Positive Experience

Positive reinforcement is one of the most effective ways to help your dog become comfortable with ear cleaning. Offer a small treat before beginning and reward your dog for remaining calm during each step. Gentle praise, affection, and short breaks can help your pet associate grooming with pleasant experiences. This is especially helpful for puppies and dogs that are unfamiliar with having their ears handled.
Avoid scolding your dog if they move their head, pull away, or become nervous. Instead, pay attention to their body language and give them time to relax. If necessary, divide the cleaning process into shorter sessions rather than trying to complete everything at once. Over time, consistent rewards and gentle handling can build your dog’s confidence. A positive experience helps make ear care easier and strengthens the trust between you and your furry companion.
Final Thoughts
Taking care of your dog’s ears is an important part of maintaining good grooming habits and supporting their overall comfort. By following these 12 dog ear cleaning tips, you can learn how to inspect your pet’s ears, choose suitable cleaning products, remove visible debris safely, and recognize early signs of potential problems. Remember that every dog has different ear care needs, so avoid unnecessary cleaning and always follow your veterinarian’s recommendations.
The most important thing is to make ear care a gentle and positive experience. Be patient, reward your dog for cooperating, and never use harsh products or insert cleaning tools deep into the ear canal. If you notice redness, swelling, unusual discharge, unpleasant odors, or signs of pain, seek professional veterinary advice. With regular inspections, appropriate cleaning, and a little patience, you can help your furry companion stay comfortable and enjoy a healthier, happier life.