
The Perfect At-Home Dog Bath Routine in 10 Steps
Giving your dog a bath at home can be a simple and enjoyable experience when you follow the right routine. However, many dog owners struggle with messy bathrooms, nervous pets, slippery bathtubs, and dogs that refuse to cooperate. Without proper preparation, bath time can quickly become stressful for both you and your furry friend.
The good news is that you do not need an expensive grooming salon to keep your dog clean and comfortable. With a few basic supplies, gentle techniques, and a consistent schedule, you can create the perfect at-home dog bath routine. This beginner-friendly guide explains 10 easy steps to help you prepare, bathe, rinse, and dry your dog safely while making every bath a positive experience.
Step 1: Choose the Right Time for Your Dog’s Bath
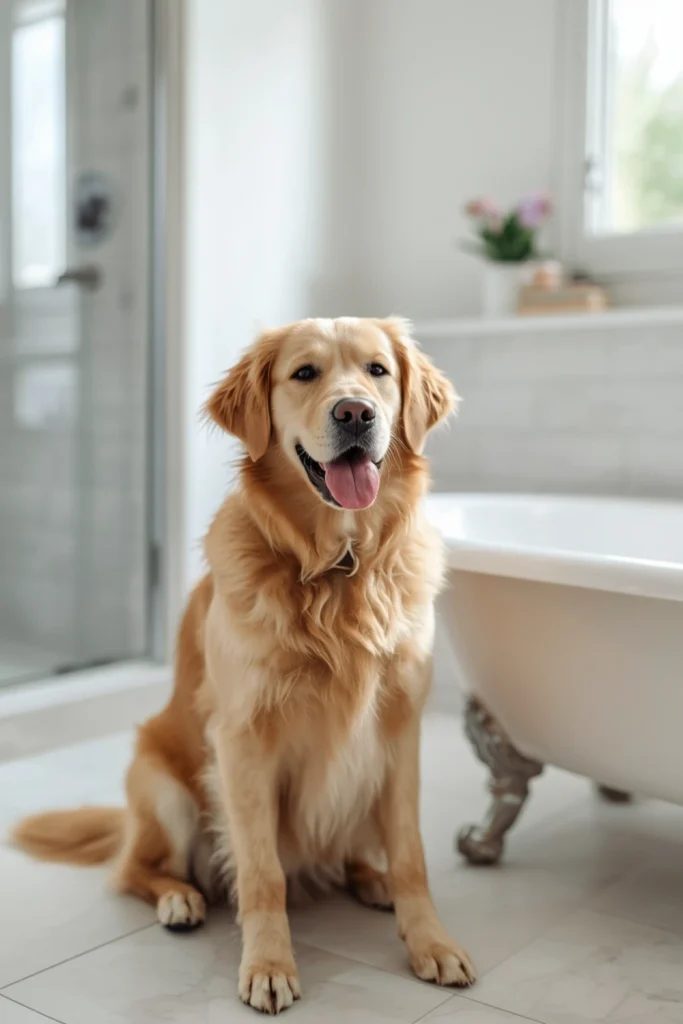
The first step in creating a successful at-home dog bath routine is choosing a suitable time. Avoid bathing your dog when they are extremely excited, hungry, tired, or already feeling anxious. A relaxed dog is generally easier to handle and more likely to cooperate throughout the bathing process. Choose a quiet time when you can give your pet your full attention without rushing.
A gentle walk or short play session before bath time can help your dog release excess energy. However, allow your pet to settle down before starting. Make sure the bathroom is comfortably warm and free from unnecessary distractions. A peaceful beginning can make the entire bathing experience easier and help your dog develop positive associations with grooming.
Step 2: Gather All Necessary Bathing Supplies
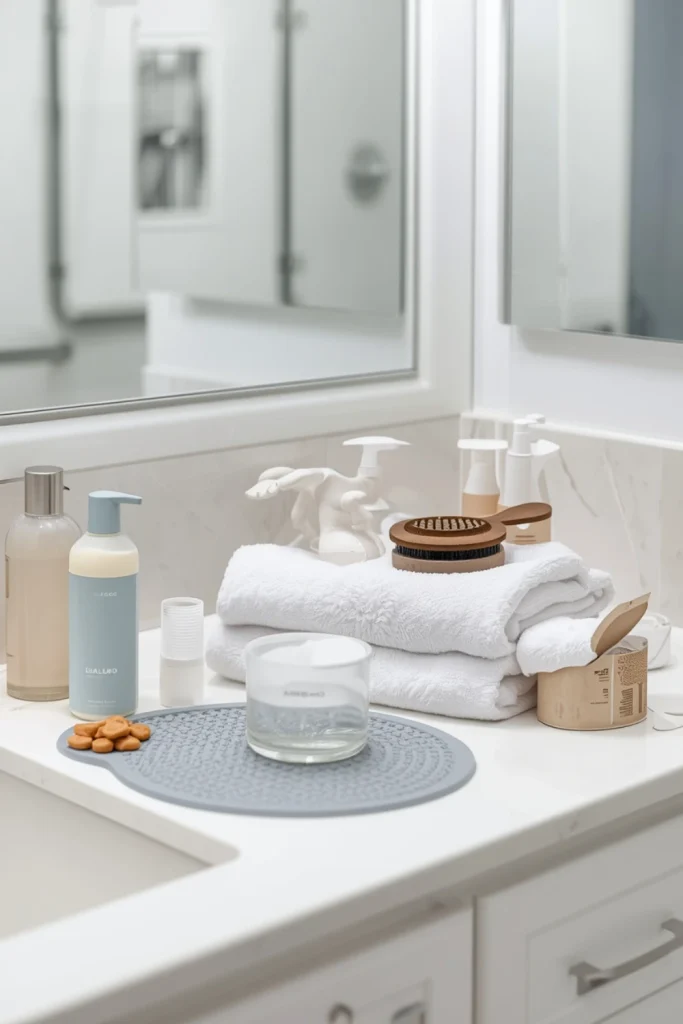
Before bringing your dog into the bathroom, collect everything you need for the bathing process. Searching for shampoo or towels after your dog is already wet can interrupt the routine and create unnecessary stress. Having all your supplies ready allows you to concentrate on your pet and complete each step comfortably.
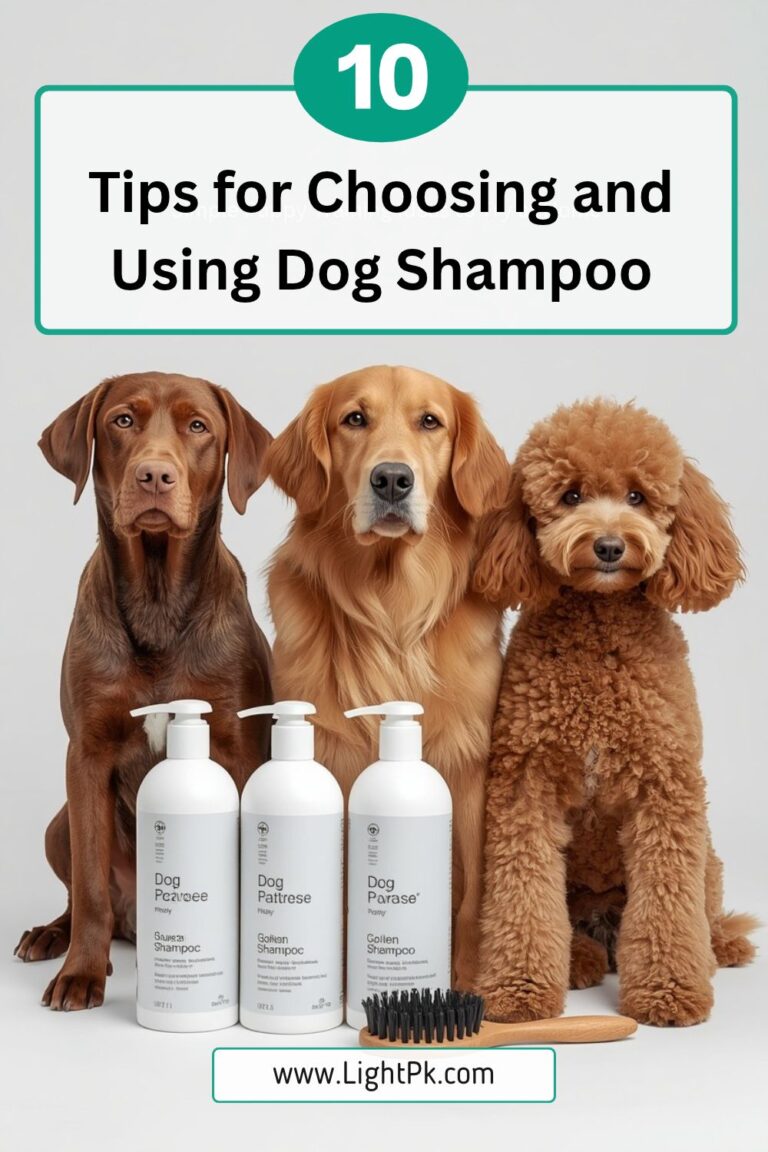
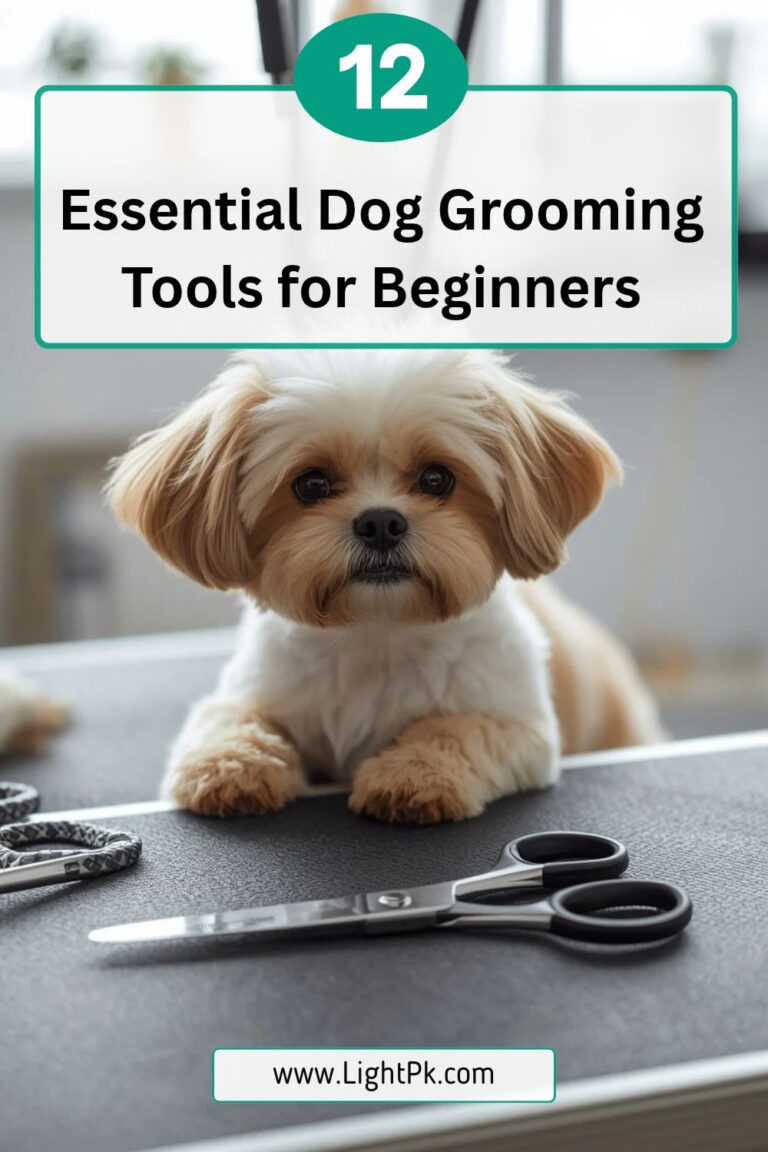
Your basic bathing supplies should include dog-friendly shampoo, soft towels, a suitable grooming brush, a non-slip mat, and a gentle shower attachment or plastic rinsing cup. You may also keep a few small treats nearby for positive reinforcement. Depending on your dog’s coat, a pet-safe conditioner may be useful. Choose products designed specifically for dogs and follow their instructions carefully.
Step 3: Brush Your Dog Before Getting Them Wet
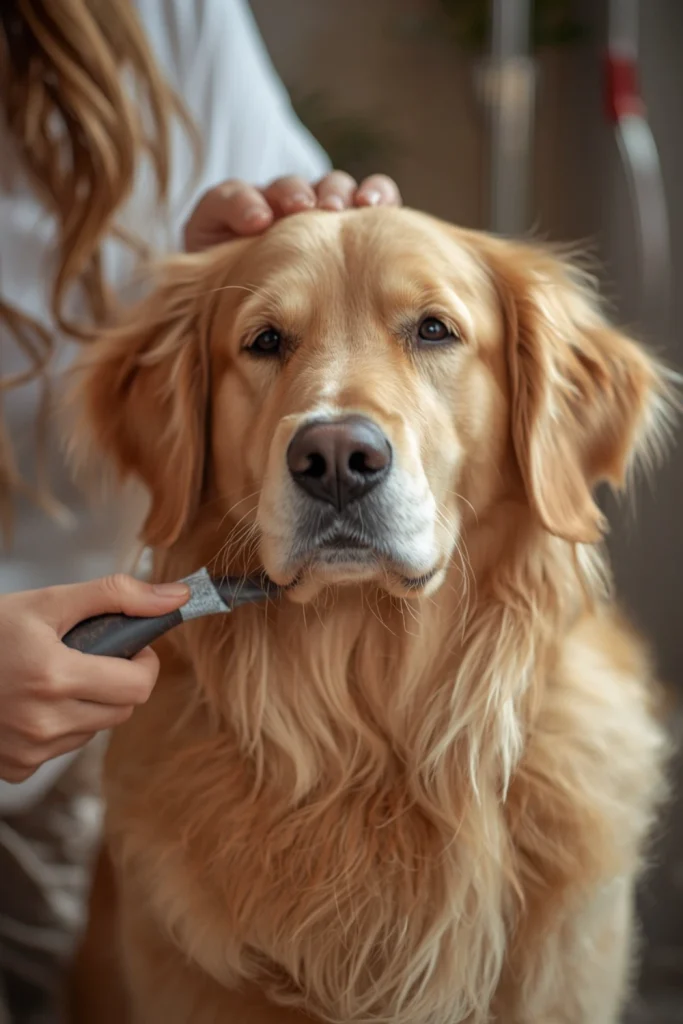
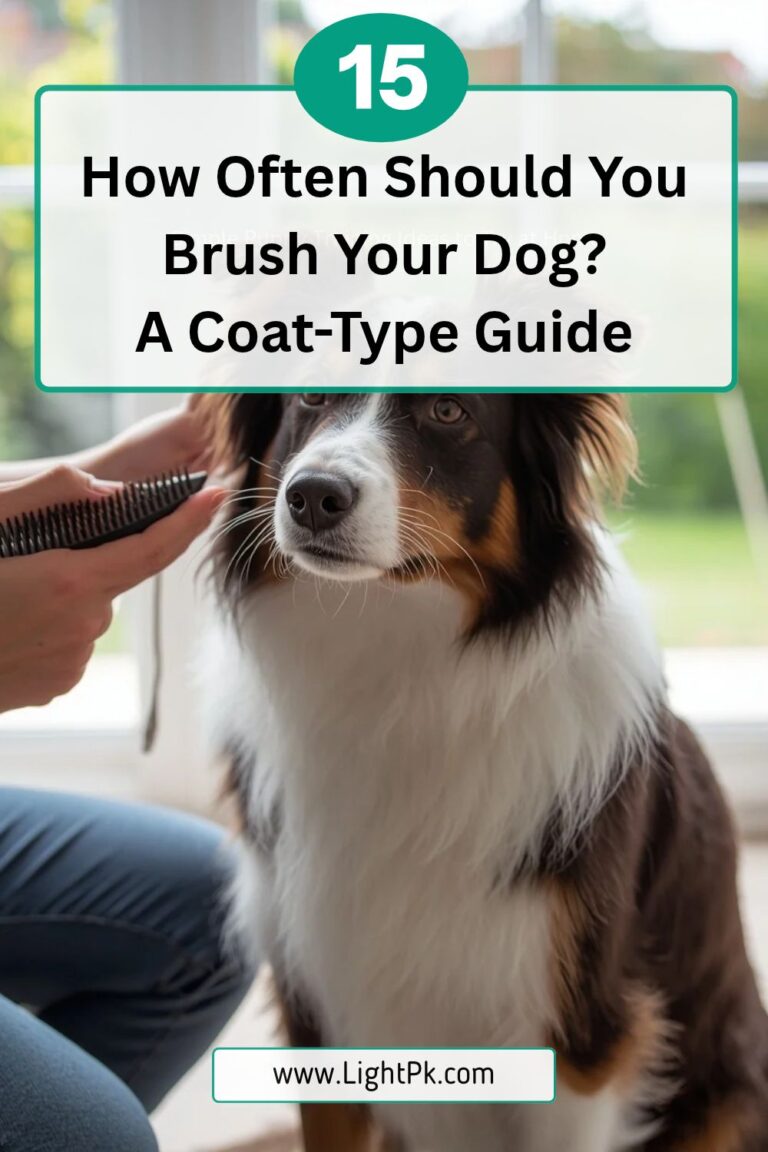
Brushing before bathing is an important part of a proper dog grooming routine. Loose hair, dirt, and tangles can become more difficult to manage once the coat is wet. For dogs with long, curly, or thick coats, brushing beforehand can help prevent mats from becoming tighter during bathing.
Choose a brush that matches your dog’s coat type. Use gentle strokes and pay attention to areas where tangles commonly develop, such as behind the ears, under the legs, around the neck, and near the tail. Never pull aggressively on knots because this can hurt your dog. If the coat contains severe mats close to the skin, consult a professional groomer rather than trying to remove them forcefully.
Step 4: Prepare a Safe and Comfortable Bathing Area
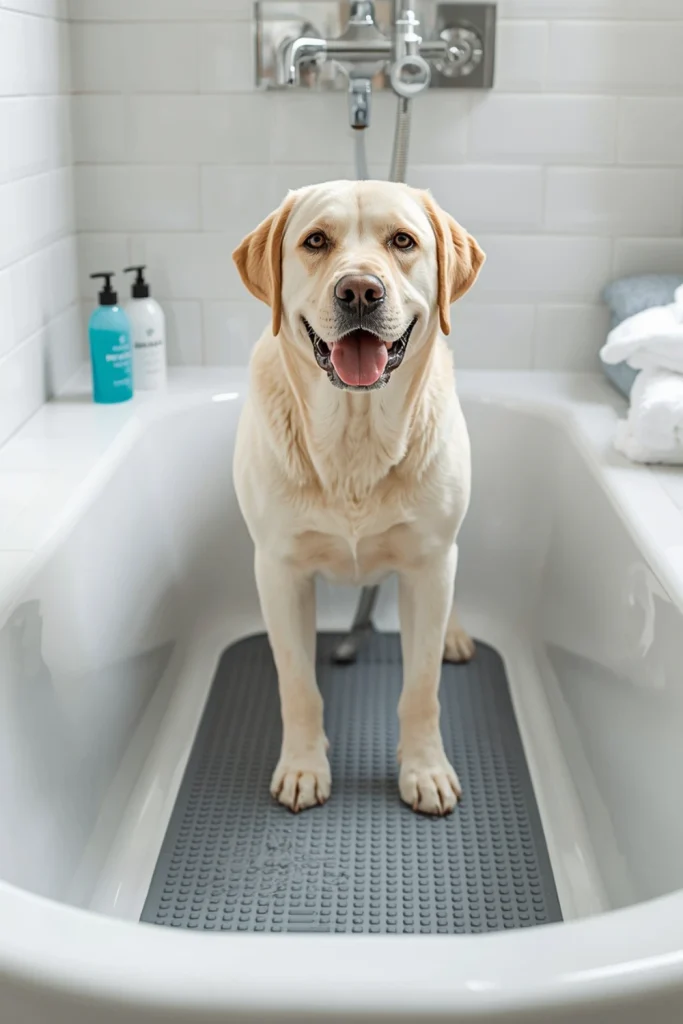
Your dog’s bathing area should be comfortable, clean, and safe. Many dogs become nervous when standing on slippery bathtub surfaces because they cannot maintain their balance. A non-slip rubber mat can provide better grip and help your pet feel more secure during the bath.
Remove unnecessary bathroom objects and keep cleaning chemicals away from your dog. Make sure the bathing space provides enough room for your pet to stand comfortably. If you have a small dog, a suitable bathing basin may be easier to use than a large bathtub. Keep the bathroom comfortably warm and ensure that all electrical appliances are safely away from water. Never leave your dog unattended during bathing.
Step 5: Check the Water Temperature Before Bathing
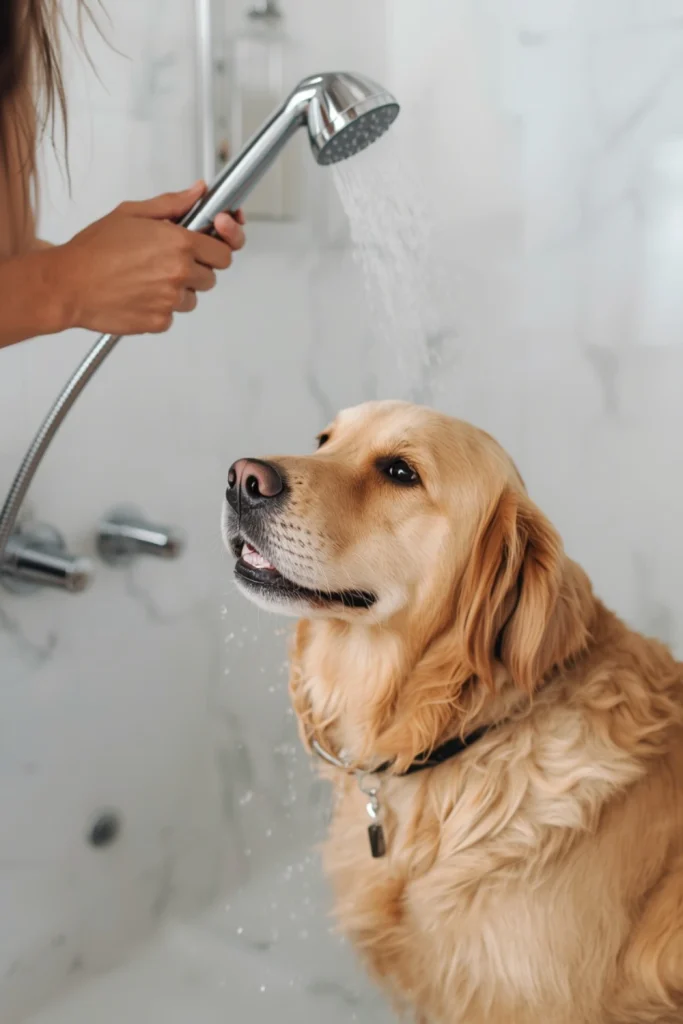
Water temperature plays an important role in keeping your dog comfortable during bath time. Water that is too hot may irritate your dog’s skin, while cold water can make your pet uncomfortable and nervous. Lukewarm water is generally the best choice for most dogs. Always check the temperature with your hand before allowing water to touch your dog’s coat.
Start with a gentle stream rather than suddenly filling the bathtub or spraying your dog with strong water pressure. Introduce the water slowly, beginning around the paws and legs before moving toward the body. Pay attention to your dog’s reactions throughout the process. If your pet seems frightened, pause briefly and offer reassurance before continuing.
Step 6: Wet Your Dog’s Coat Slowly and Gently
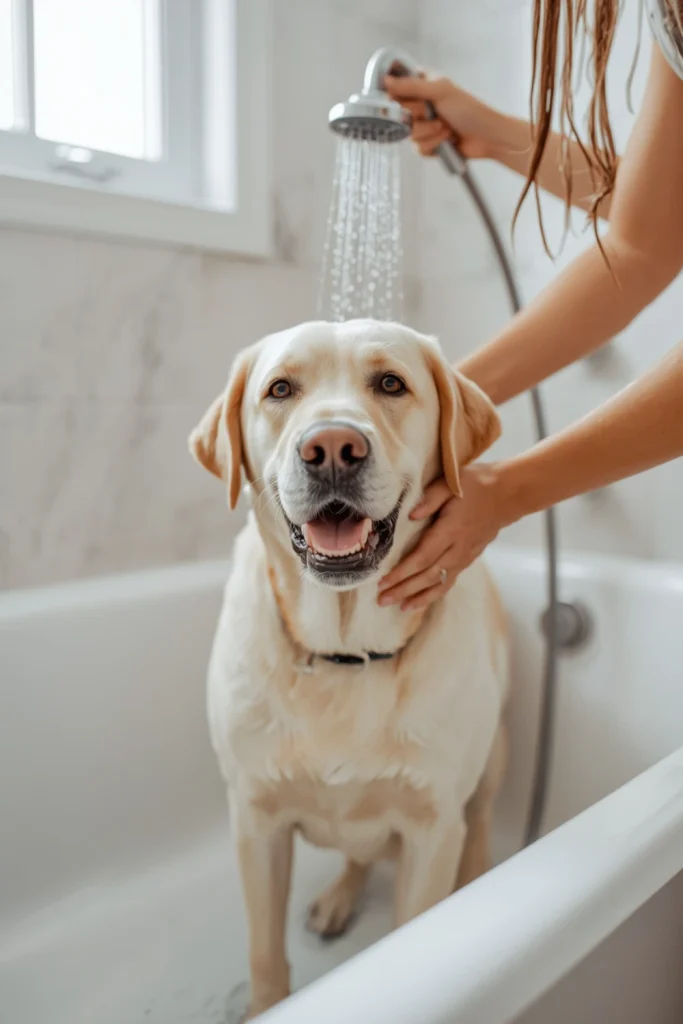
Once the bathing area is ready and the water temperature is comfortable, begin wetting your dog’s coat. Start with the legs and paws, then gradually move toward the chest, back, sides, and tail. Using a handheld shower attachment or a small plastic cup gives you better control over the water and helps prevent unnecessary splashing.
Avoid pouring water directly over your dog’s head because this may frighten your pet or cause water to enter the ears, nose, and eyes. Speak in a calm voice and use gentle movements throughout the process. Dogs that are unfamiliar with bathing may need extra patience. Allow your pet to adjust to the water before moving to the next part of the body.
Step 7: Apply Dog Shampoo and Massage the Coat
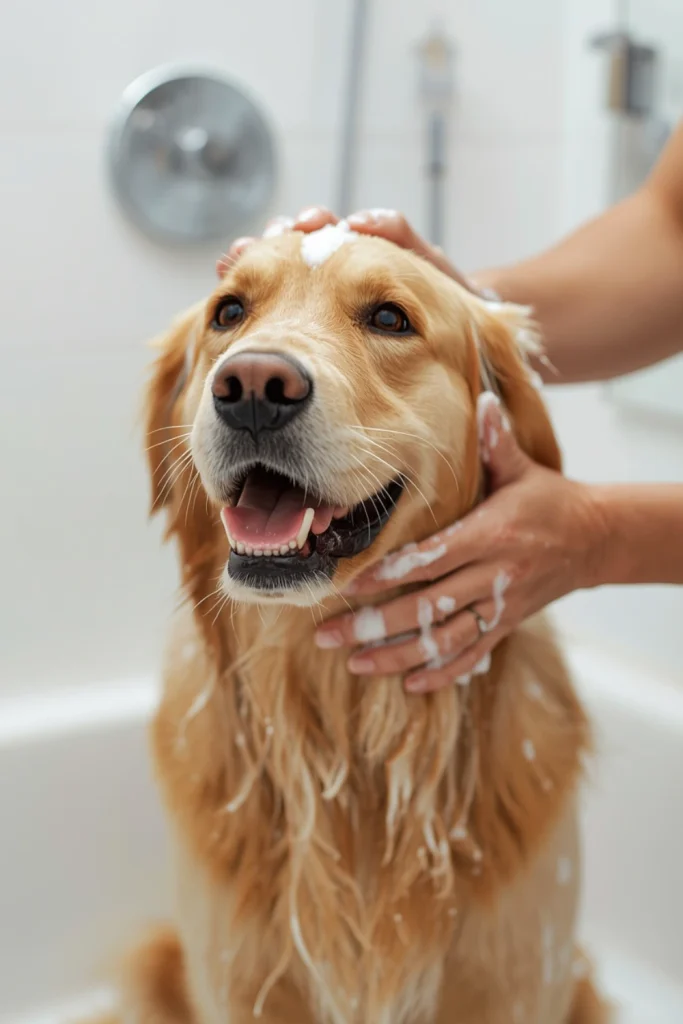
After thoroughly wetting your dog’s body, apply a suitable dog shampoo according to the manufacturer’s instructions. Use an appropriate amount for your dog’s size and coat length. Gently massage the shampoo into the coat using your fingertips, starting around the neck and shoulders before moving toward the back, chest, belly, legs, and tail.
Pay special attention to areas where dirt commonly collects, including the paws and underside of the body. However, avoid aggressive rubbing because it may irritate your dog’s skin. Keep shampoo away from the eyes, nose, and inside of the ears. If your dog has sensitive skin, choose a veterinarian-recommended product. A gentle shampoo massage can make bath time feel more comfortable and relaxing.
Step 8: Rinse Your Dog’s Coat Thoroughly
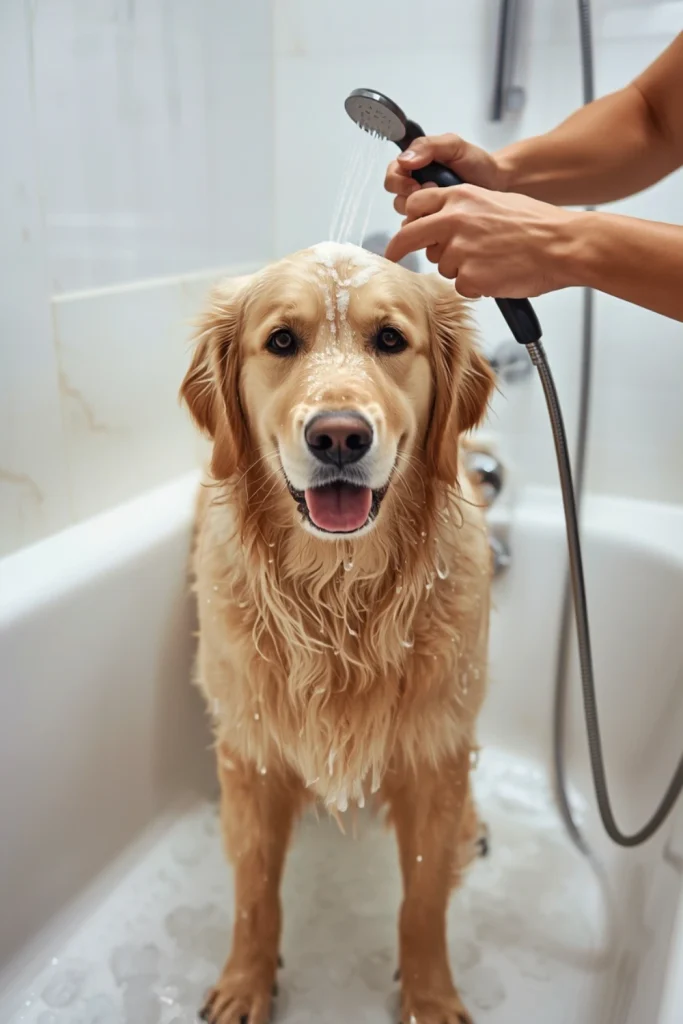
Rinsing is one of the most important stages of your at-home dog bath routine. Shampoo residue left on the skin can cause itching, dryness, and irritation. Even when the coat looks clean, small amounts of shampoo may remain underneath thick fur, particularly around the neck, belly, legs, and chest.
Use lukewarm water and rinse your dog carefully from the neck toward the tail. Gently separate thicker sections of fur with your fingers to help water reach the skin. Continue rinsing until the water runs clear and you can no longer feel shampoo in the coat. Take your time because proper rinsing is essential for maintaining comfortable skin and a healthy-looking coat.
Step 9: Dry Your Dog Properly After Bathing
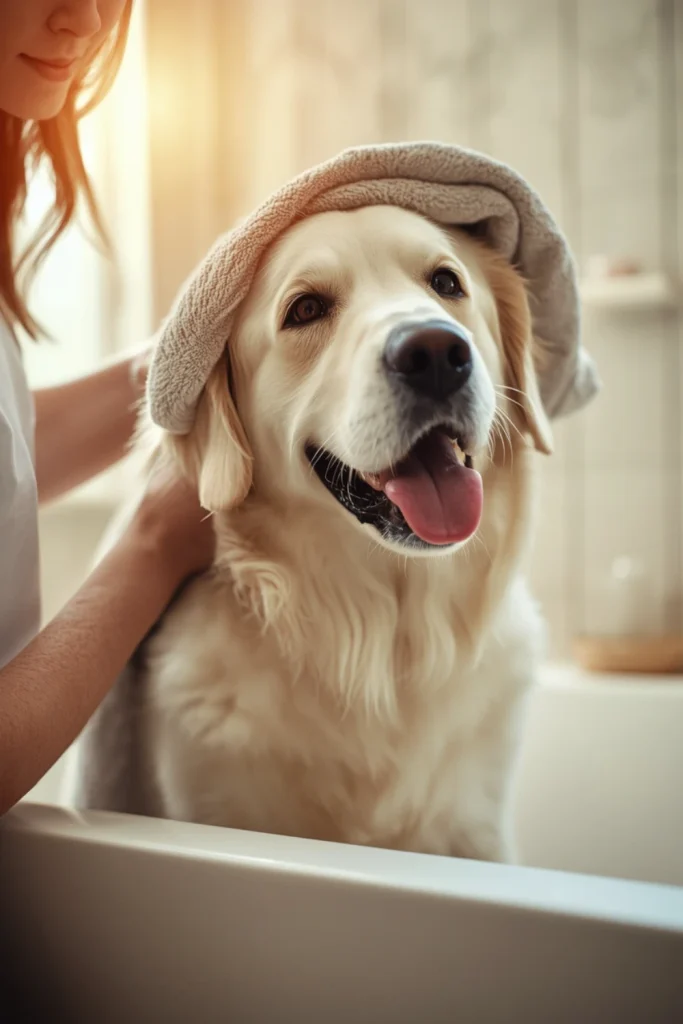
Drying your dog properly is just as important as washing and rinsing. After the bath, use a clean, absorbent towel to remove excess water from the coat. Gently press the towel against your dog’s back, sides, chest, legs, and paws. Avoid vigorous rubbing because it can create tangles, especially in dogs with long or curly hair.
Some dogs have thick coats that take longer to dry naturally. In these situations, a pet-safe dryer on a low-heat or cool setting may help. Introduce the dryer slowly if your dog is unfamiliar with its noise. Keep it at a safe distance and continuously move the airflow. Never use excessive heat or direct hot air toward your dog’s face and ears. Make sure the coat is completely dry, particularly in areas where moisture can become trapped.
Step 10: Reward Your Dog and Clean the Bathing Area
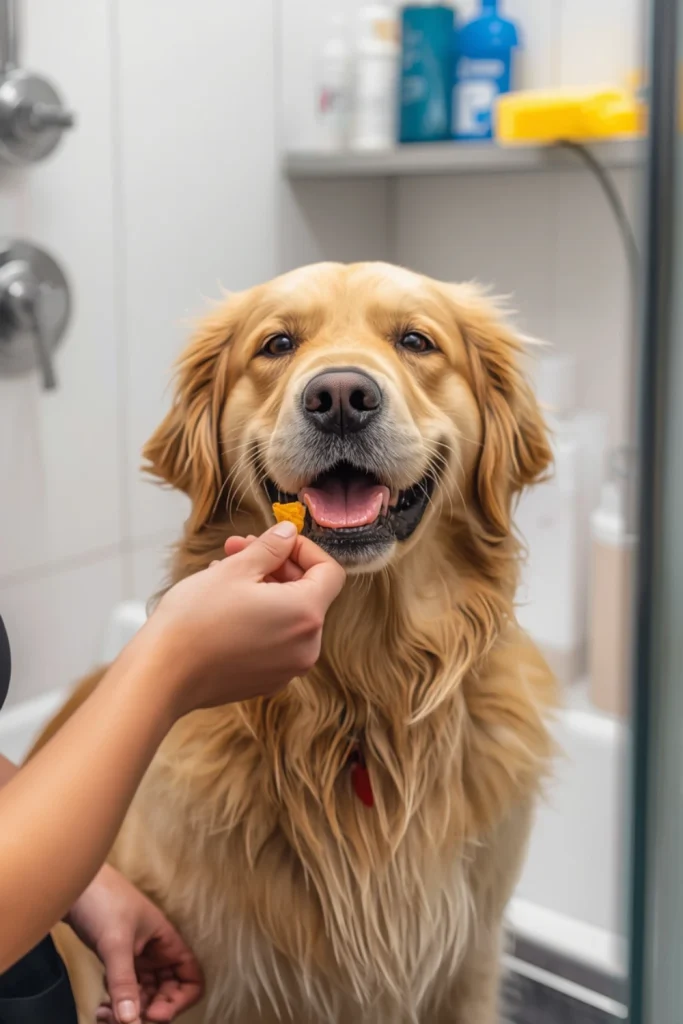
The final step is making your dog feel rewarded after completing the bath. Positive reinforcement helps your pet develop a more comfortable attitude toward future grooming sessions. Offer a small treat, gentle praise, and affection when your dog remains calm. You can also provide a favorite toy or enjoy a short play session once your pet is completely dry.
Afterward, clean the bathtub, remove loose hair, wash used towels, and organize your grooming supplies. Allow reusable mats and bathing accessories to dry completely before storing them. A clean bathing area is more hygienic and makes the next session easier to prepare. Ending every bath with positive experiences can gradually turn grooming into a familiar and enjoyable routine.
Final Thoughts
Creating the perfect at-home dog bath routine does not have to be complicated. With proper preparation, suitable grooming supplies, gentle shampoo, and a little patience, you can keep your dog clean and comfortable without visiting a professional grooming salon every time.
Remember that every dog has different bathing needs. Some pets enjoy water, while others need extra time and encouragement. Follow these 10 simple steps, choose products suitable for your dog’s coat, and make positive reinforcement part of every grooming session. Regular brushing, proper drying, and a suitable bathing schedule will also help maintain a healthy-looking coat.
Most importantly, make your dog’s comfort and safety your priority. A consistent and gentle bathing routine can turn an ordinary grooming task into a positive bonding experience between you and your furry friend.