
10 Useful Hand Signals to Teach Your Dog
Teaching your dog to respond to hand signals is a wonderful way to improve communication, build trust, and make everyday training easier. Dogs naturally pay close attention to body language, facial expressions, and movements, which makes visual cues a powerful addition to verbal commands. Whether you have a playful puppy, an energetic adult dog, or a senior companion, learning simple hand signals can make your training sessions more enjoyable and effective.
The best part is that you do not need professional training equipment or complicated techniques to get started. With patience, consistency, and a few tasty treats, you can teach your dog to understand common gestures such as sit, stay, come, and lie down. These Useful Hand Signals to teach your dog can also help you communicate in noisy environments, from busy parks to crowded streets. Let’s explore ten practical hand signals you can start practicing at home.
1. Open Palm Up for the Sit Command
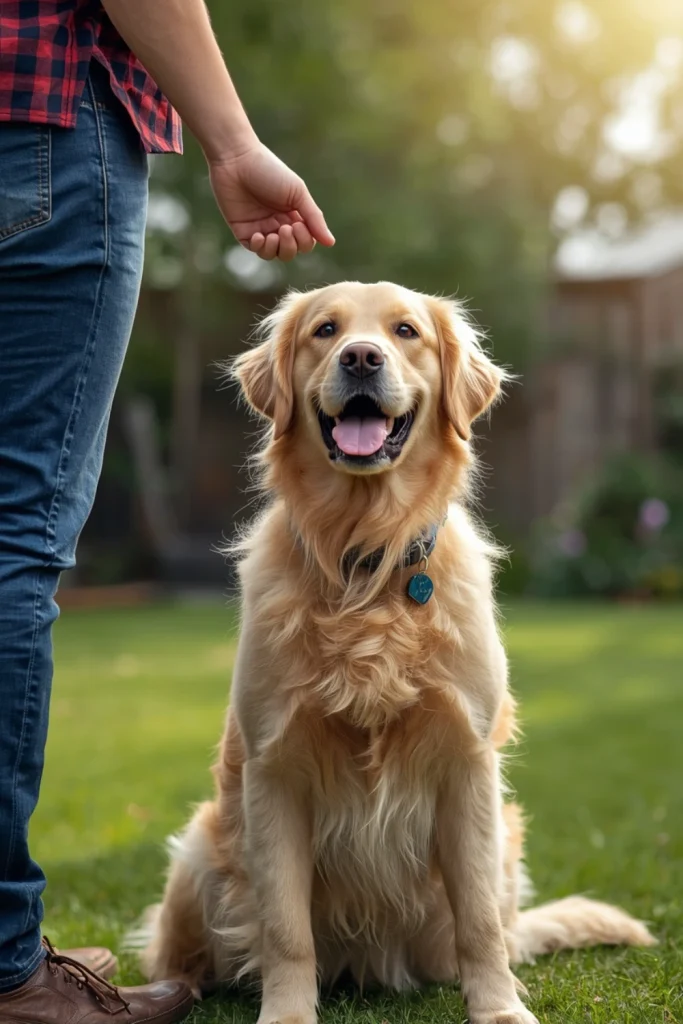
The open-palm-up gesture is a useful way to teach your dog to sit. Begin by standing in front of your dog in a quiet area with a few small treats ready. Hold your hand near your waist, with your palm facing upward, and slowly lift it toward your chest. If your dog follows the movement with its eyes and naturally sits, immediately praise it and give a reward. If your dog does not sit, you can initially use a treat to guide its nose slightly upward and backward, allowing the sitting position to happen naturally.
Practice the same gesture several times in short sessions, rewarding your dog whenever it responds correctly. Once your dog understands the movement, gradually stop using the food lure and make the hand signal alone. You can initially say “sit” at the same time, then practice the gesture before saying the verbal cue. Keep your movements consistent so your dog does not have to guess what you mean. Avoid pushing your dog’s body into position, as allowing it to move voluntarily helps build confidence.
2. Flat Palm Facing Forward for Stay
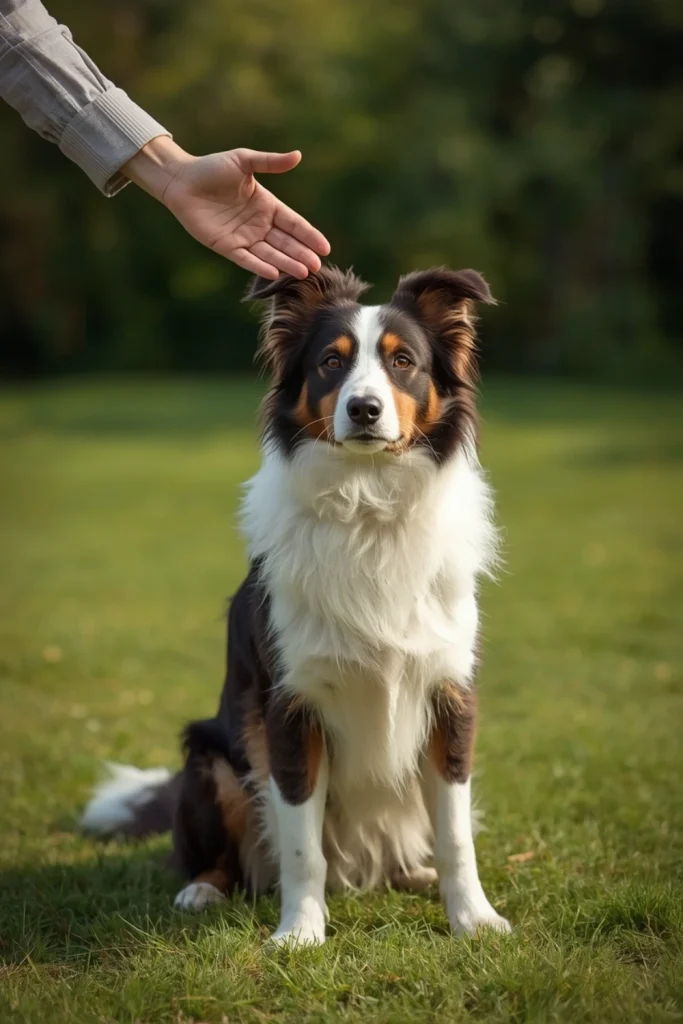
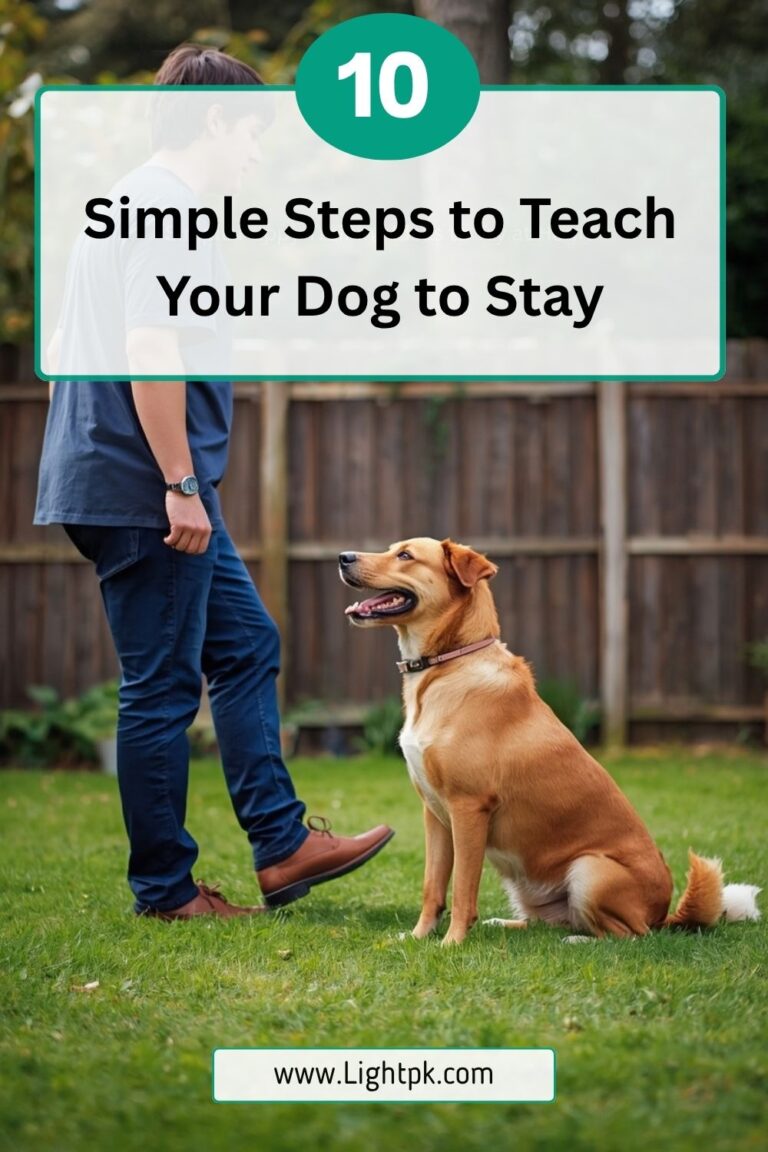
The flat-palm gesture is a simple visual cue for teaching your dog to stay in one place. Stand in front of your dog and ask it to sit. Hold one hand up at shoulder level with your palm facing toward the dog, similar to a gentle stop sign. Keep your posture relaxed and your movements slow. At first, ask your dog to remain in position for only one or two seconds before rewarding it. This short practice helps your dog understand that the gesture means to pause rather than move toward you.
As your dog becomes more comfortable, gradually increase the duration of the stay. Change only one difficulty at a time: increase the time, distance, or level of distraction rather than all three together. If your dog stands up, calmly reset the exercise and try an easier version. Reward your dog while it is still in the desired position. Practice in a secure area before attempting the skill outdoors. Never rely on the stay signal alone to keep your dog safe near roads or other hazards.
3. Pointing Downward for the Down Command
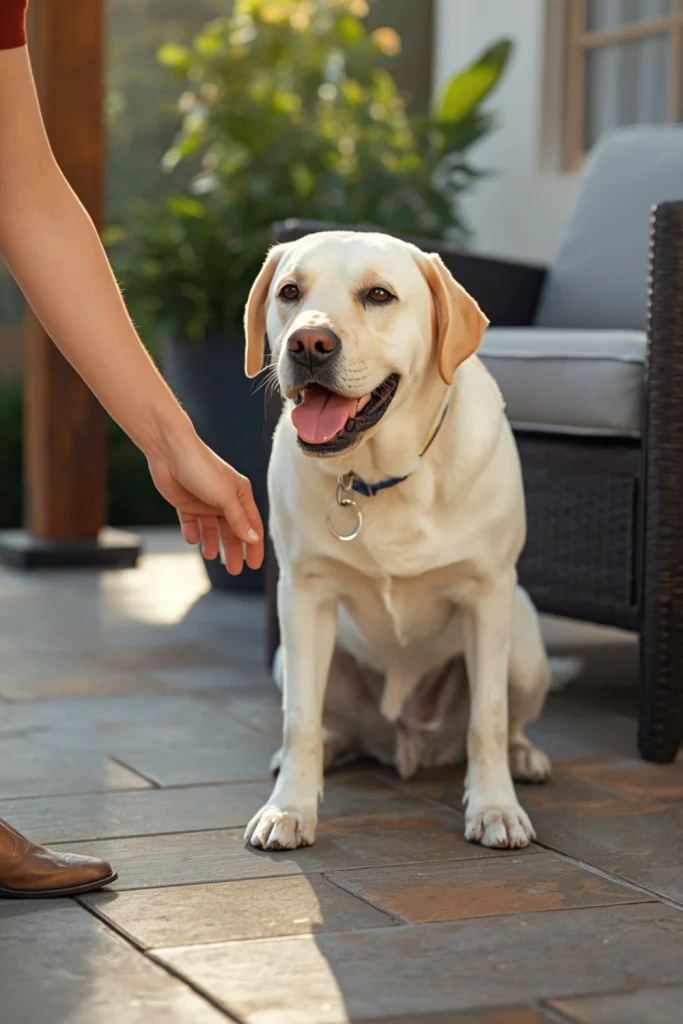
A downward-pointing hand signal can help your dog learn to lie down. Start with your dog standing or sitting comfortably in front of you. Hold a treat between your fingers if needed, then move your hand slowly from the dog’s nose toward the ground. As your dog follows the movement downward and lowers its elbows to the floor, praise it and offer the treat. The movement should be smooth and easy to follow. Avoid forcing your dog’s shoulders or back toward the ground, as this may cause discomfort or make the dog hesitant.
After several successful repetitions, begin using the downward hand movement without a treat in your fingers. Reward your dog from your other hand or a nearby treat pouch. Keep the signal distinct from your sit gesture so the two commands do not become confusing. If your dog struggles to lie down, practice on a comfortable surface and consider whether pain, stiffness, or anxiety could be affecting its movement. Some dogs need additional time, particularly older dogs or breeds with physical limitations. Celebrate gradual progress instead of expecting immediate perfection.
4. Sweeping Hand Toward Yourself for Come
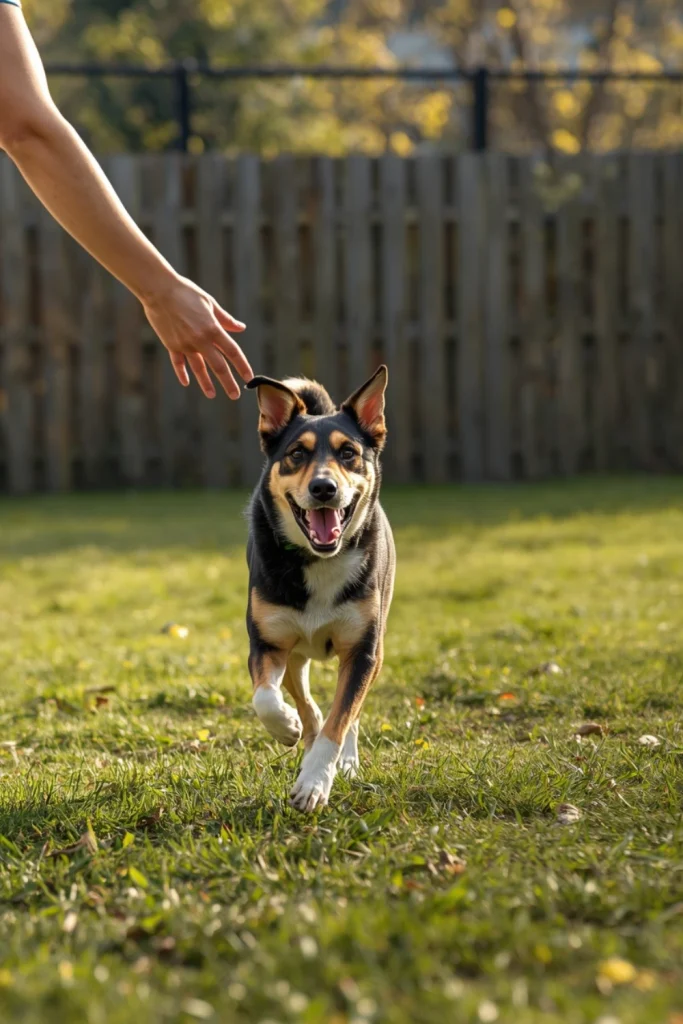
Teaching your dog to come when called is an important part of everyday safety and communication. A useful visual cue is to extend one arm slightly outward and sweep your hand toward your chest. Start at a short distance indoors when your dog is already paying attention to you. Show the gesture, say your dog’s recall word if you are pairing it with a verbal command, and encourage your dog to approach. When it reaches you, reward it with a tasty treat, praise, or a short game. Make coming to you a consistently positive experience.
As your dog learns the signal, gradually practice from a greater distance and in different safe locations. Use a long training line in open areas where your dog might otherwise run away, and never test recall near traffic or dangerous wildlife. Avoid calling your dog only when something enjoyable is about to end, such as leaving the park. Occasionally reward your dog and then allow it to return to play. This teaches your dog that approaching you does not always mean the fun is over. Reliable recall takes repeated practice and may never be completely dependable in every distraction-filled situation.
5. Hand Moving Downward for Settle or Calm
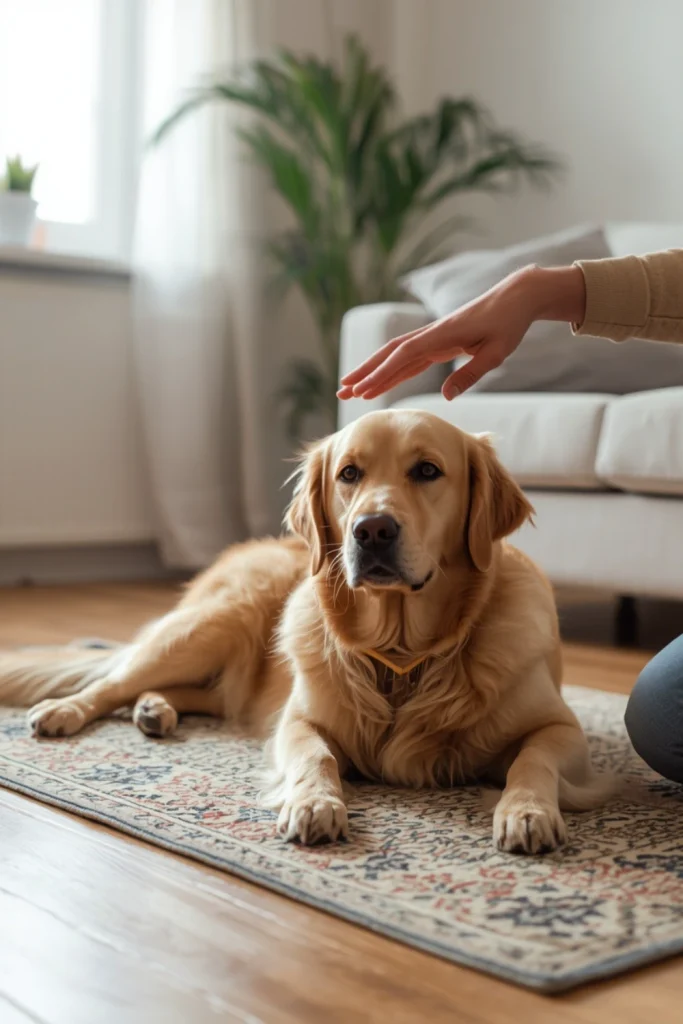
A slow downward movement of the hand can become a useful cue for settling down, especially when your dog is excited. Begin when your dog is already showing a little calm behavior, such as standing quietly or sitting without bouncing around. Move your open hand slowly from chest height toward your waist or the ground. Pair the movement with a calm verbal word such as “settle” if desired. When your dog relaxes, lowers its body, or remains quietly in place, reward that behavior. The goal is to communicate relaxation, not to suppress fear or force a frightened dog to remain still.
Practice the gesture during easy moments before trying it when your dog is highly excited. For example, you can use it after a gentle play session or before putting on a leash. Reward quiet behavior with small treats, a calm voice, or access to a comfortable resting spot. If your dog is barking or jumping because it is frightened, overwhelmed, or uncomfortable, first address the reason for that behavior rather than expecting a hand signal to solve it. With consistent practice, the gesture can become a familiar reminder to slow down and relax.
6. Thumb and Fingers Closing for Leave It
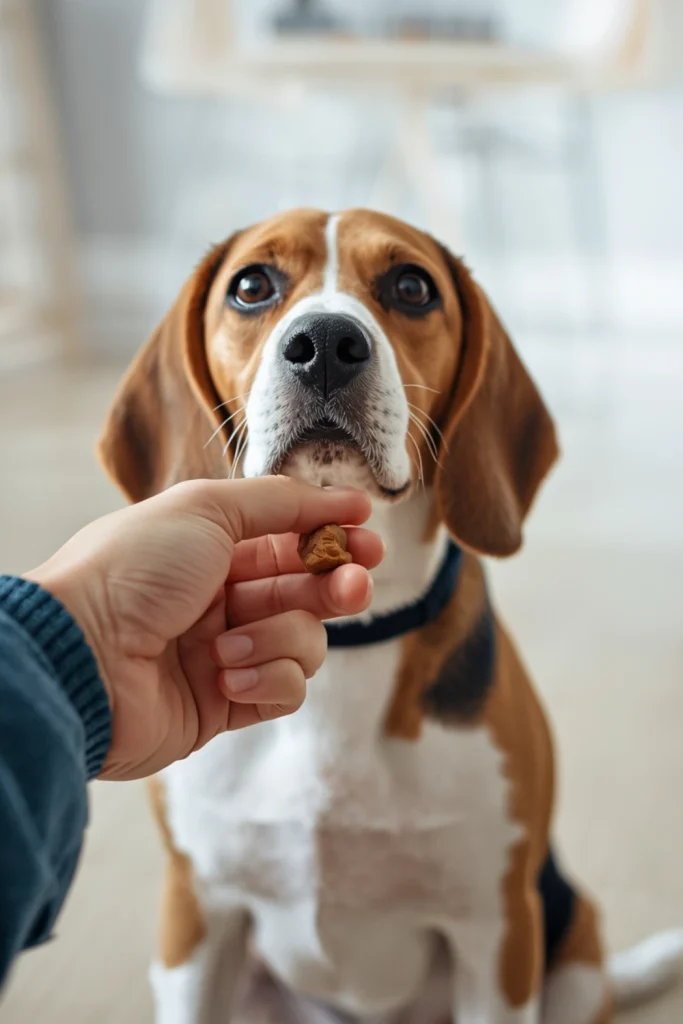
A clear hand gesture can help your dog learn to leave an object alone. One option is to close your fingers gently into a fist and hold your hand still as a visual cue. To teach the behavior, place a low-value treat in your closed hand and allow your dog to investigate without letting it take the treat. Wait for your dog to stop sniffing, licking, or pawing at your hand. The moment it backs away or turns its attention elsewhere, praise it and reward it with a different treat from your other hand.
Repeat the exercise until your dog begins to move away from the closed hand more quickly. Then practice with the treat on the floor, keeping it covered or safely out of reach at first. Introduce the hand signal consistently and add a verbal cue if you wish. Never use this exercise to test your dog with dangerous objects, medication, toxic food, or sharp items. If your dog picks up something hazardous, prioritize safety and seek appropriate veterinary guidance when necessary. Training can improve impulse control, but supervision and careful management remain essential.
7. Two Fingers Pointing Toward the Eyes for Watch Me
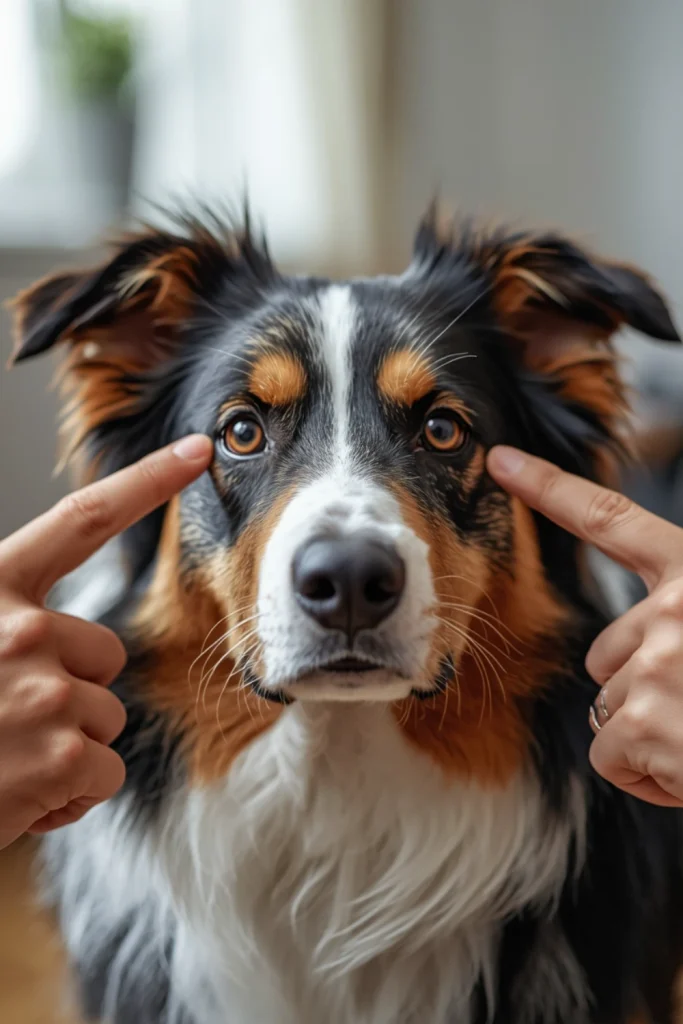
Teaching your dog to look at you on cue can improve attention during training. A simple signal is to point two fingers toward your own eyes and then pause. Start in a quiet room with your dog sitting or standing comfortably. Hold a treat near your face to encourage eye contact, then reward your dog as soon as it looks toward your eyes. Once your dog understands the exercise, introduce the hand gesture and gradually reduce the need to use a treat as a lure. You can also add a verbal cue such as “watch me.”
Keep eye-contact sessions brief and pleasant. Some dogs find prolonged direct staring uncomfortable, especially when they are nervous or unfamiliar with the person. You are looking for a voluntary glance, not an intense stare. Gradually practice in different rooms and around mild distractions, rewarding your dog for checking in with you. This skill can be particularly useful before crossing a quiet street, passing another dog at a comfortable distance, or starting another training exercise. However, never use the cue as a substitute for a leash or safe handling in dangerous environments.
8. Arm Extended to the Side for Go to Place
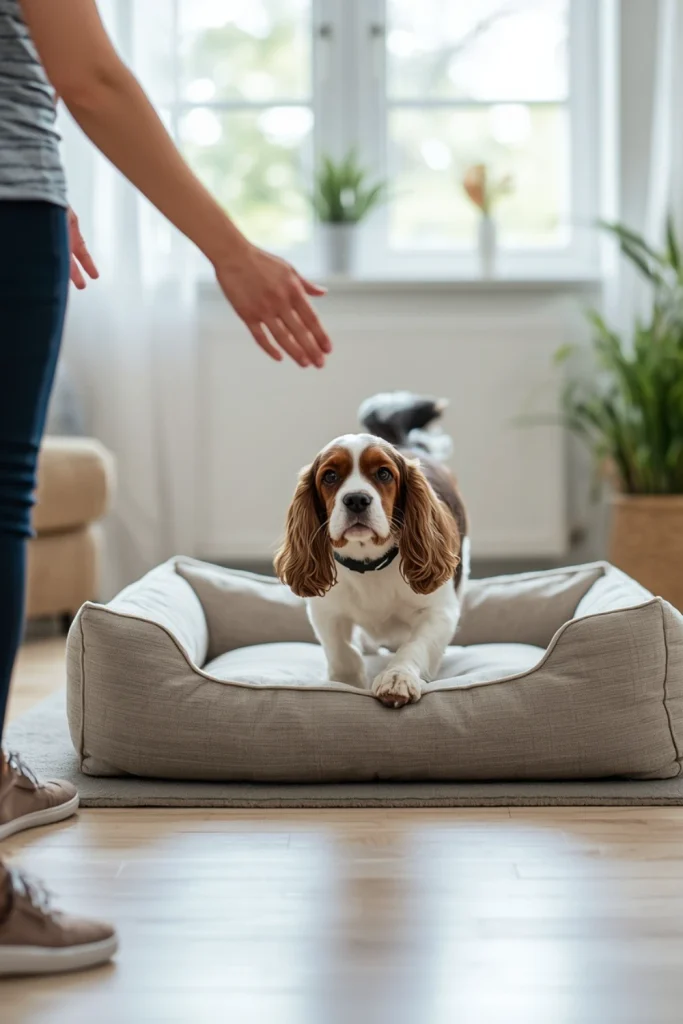
A hand signal can guide your dog toward a bed, mat, or designated resting area. Extend your arm toward the chosen spot with an open hand, then allow your dog to follow the direction. Begin by standing close to the mat and rewarding your dog for looking at it, stepping toward it, or placing its paws on it. Gradually reward the dog for moving fully onto the mat and remaining there for a short period. A verbal cue such as “place” can be introduced alongside the gesture to make the instruction easier to understand.
Once your dog is comfortable moving to its mat, slowly increase the distance between you and the resting spot. Practice from different positions in the room and reward your dog for staying on the mat until you release it. This signal can help create a predictable routine during mealtimes, when guests arrive, or when you need your dog to relax while you work. Make the resting area comfortable and never use it as punishment. If your dog appears reluctant, check whether the mat is slippery, uncomfortable, or located in a stressful area.
9. Open Hand Moving Sideways for Back Up
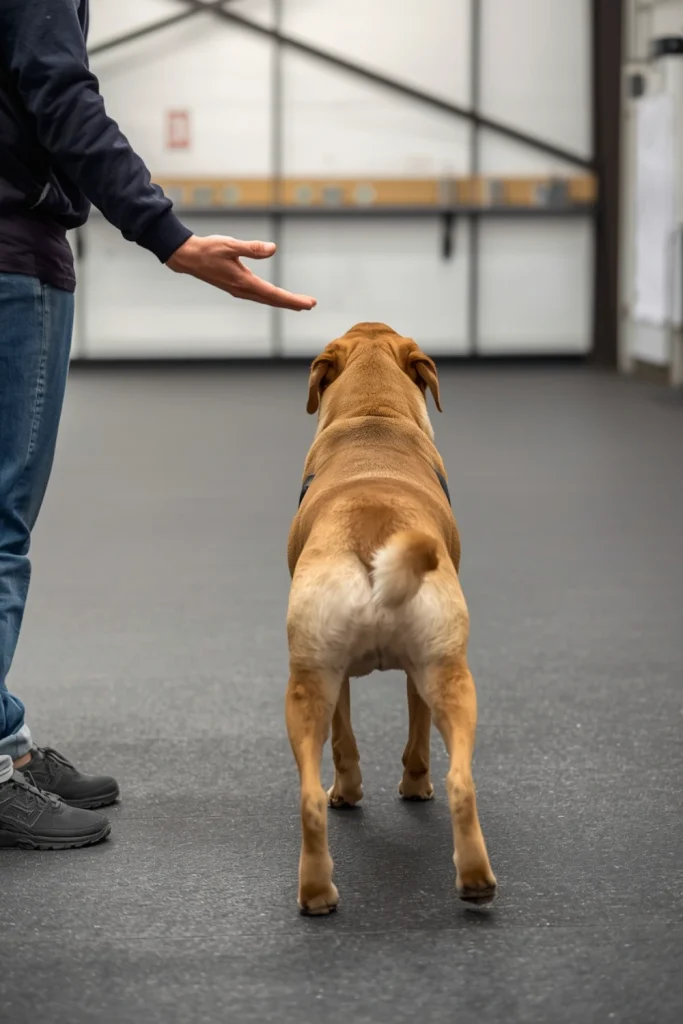
Teaching your dog to take a step backward can be useful in narrow spaces and everyday handling. Stand facing your dog in a quiet area, with enough room for it to move safely. Hold an open hand in front of your body and move it gently backward or away from the dog, using the same direction each time. Reward any small backward step at first. You can introduce a verbal cue such as “back” while your dog learns to connect the hand movement with the action. Keep the session short and avoid crowding your dog.
As your dog becomes more confident, gradually encourage two or three backward steps before rewarding it. Use treats to reinforce the behavior rather than physically pushing the dog backward. This is particularly important because some dogs may feel threatened when a person moves directly toward them. Practice on a non-slip surface and avoid the exercise if your dog has mobility issues or appears uncomfortable. The back-up signal can be handy when guiding a dog away from a doorway or creating space in a busy room, but it should always be practiced in a safe, controlled environment.
10. Raised Arm or Hand Wave for Attention and Release
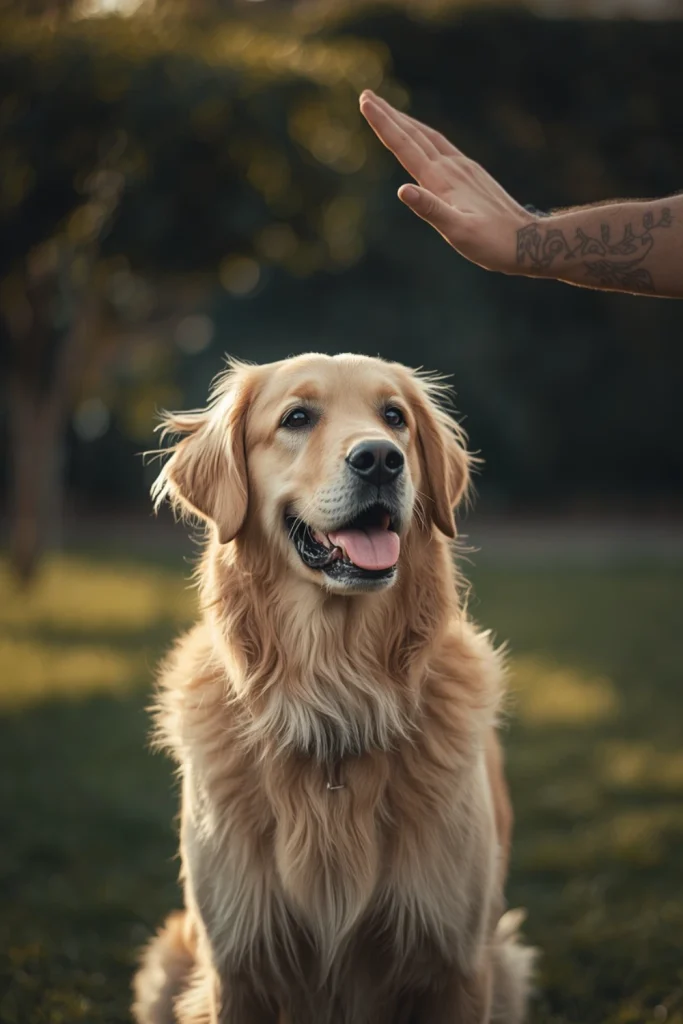
A raised arm or gentle hand wave can be taught as an attention signal or a release cue, depending on the gesture you choose. It is important to give each gesture only one meaning. For an attention signal, you might raise your hand briefly when your dog is looking in your direction, then reward the dog for turning its attention toward you. For a release cue, you could use a distinct, consistent hand sweep after your dog has completed a stay or place exercise. Decide which meaning you want before starting, and avoid using the same gesture for both purposes.
To teach a release signal, begin with an easy stay lasting only a few seconds. Use your chosen release gesture and a consistent word, such as “free,” then encourage your dog to move. Reward the dog for responding to the release cue rather than leaving the position early. Practice with very short stays and gradually increase difficulty as your dog succeeds. This helps your dog understand when an exercise has ended. A reliable release cue makes training sessions clearer and reduces confusion, particularly when your dog is learning to remain in one place until given permission to move.
Conclusion
Teaching your dog useful hand signals is a practical way to strengthen communication and build a more rewarding training routine. From the familiar sit gesture to stay, come, leave it, and go to place, each signal gives your dog another opportunity to understand what you are asking. The most important ingredients are patience, clear movements, consistent practice, and positive reinforcement.
Start with one or two gestures and reward your dog every time it makes the right connection. As your dog becomes more confident, gradually introduce new signals and practice them in different safe environments. Remember that progress takes time, and every dog learns at its own pace. With a thoughtful approach, these Useful Hand Signals to teach your dog can become valuable everyday skills that make life together safer, calmer, and more enjoyable.