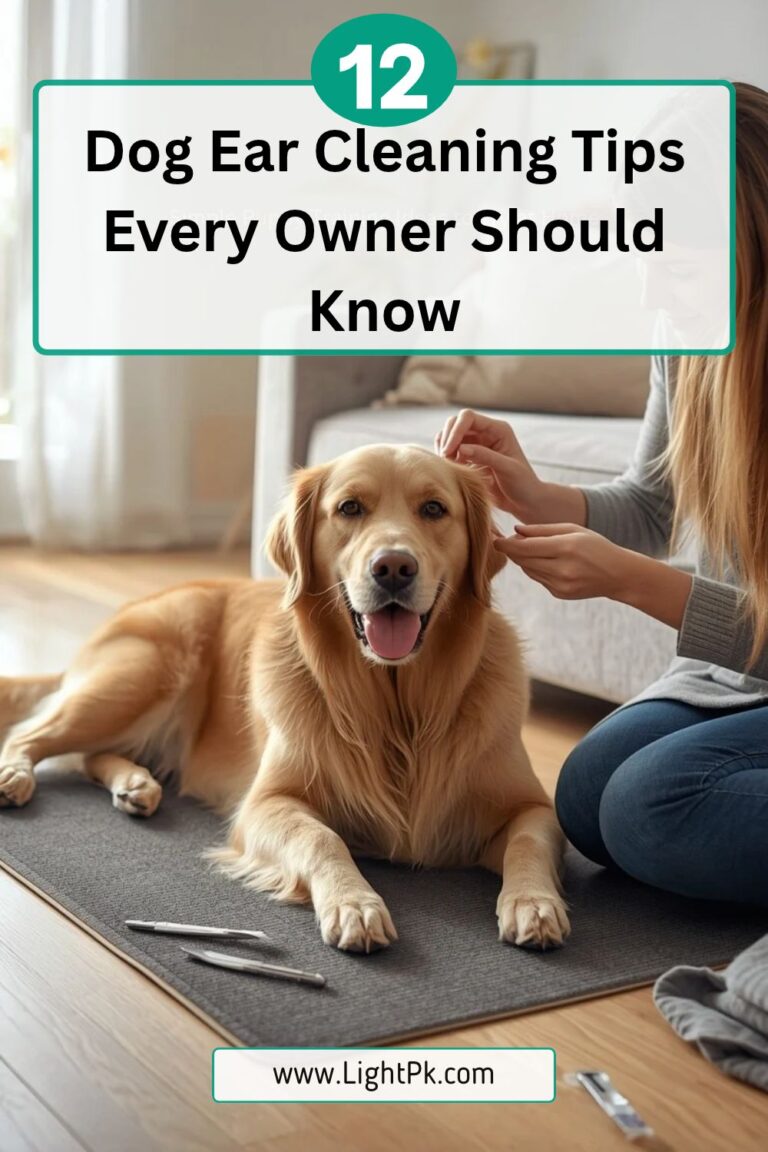

A Simple Dog Ear Cleaning Routine for Beginners
Taking care of your dog’s ears is an important part of keeping your furry friend healthy, comfortable, and happy. Just like brushing your dog’s coat, trimming their nails, and bathing them regularly, ear cleaning should be included in a simple grooming routine. However, many new dog owners are unsure how to clean their dog’s ears, which products to use, and how often cleaning is necessary.
The good news is that creating a Dog Ear Cleaning Routine does not have to be difficult. With the right supplies, a gentle approach, and a little patience, you can help keep your dog’s ears clean and comfortable at home. Whether you have a playful puppy or an adult dog, this beginner-friendly guide will walk you through everything you need to know about safe and effective ear cleaning.
1. Understand Why Dog Ear Cleaning Is Important
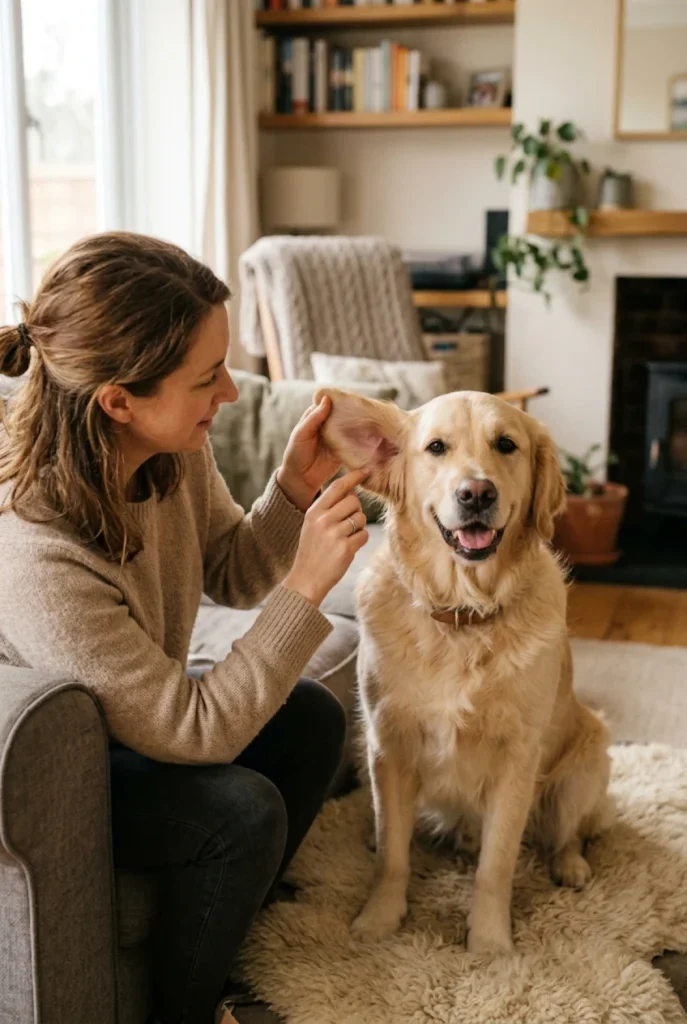
Your dog’s ears do more than help them hear sounds. They are also sensitive areas that need regular attention to prevent discomfort and excessive wax buildup. Dirt, moisture, and natural earwax can collect inside the ear canal, especially in dogs with floppy ears or hairy ear openings. When these materials accumulate, they may create an environment where bacteria or yeast can grow. Regularly checking your dog’s ears helps you notice changes before they become bigger problems.
A good Dog Ear Cleaning Routine also helps you become familiar with what your dog’s ears normally look and smell like. Healthy ears are generally clean, without strong odors, unusual discharge, or significant redness. Cleaning is not necessarily required every week for every dog. Instead, the goal is to check the ears regularly and clean them when needed. Understanding your dog’s individual needs is the first step toward responsible ear care.
2. Learn How Often Your Dog’s Ears Need Cleaning
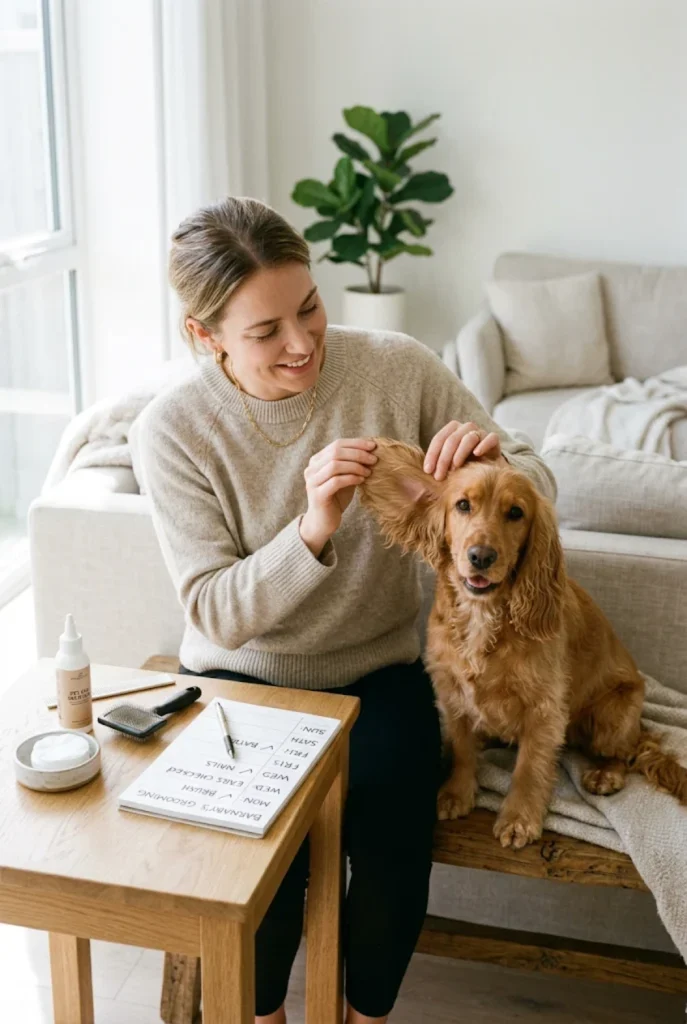
One of the most common questions beginners ask is how often they should clean their dog’s ears. The answer depends on your dog’s breed, ear shape, lifestyle, and individual ear health. Some dogs naturally produce more earwax, while others have ears that remain clean with very little maintenance. Dogs that swim frequently, spend time outdoors, or have floppy ears may need more frequent checks because moisture and debris can accumulate more easily.
For many healthy dogs, cleaning only when necessary is better than following a strict weekly schedule. Overcleaning can irritate the sensitive skin inside the ear and interfere with its natural protective environment. Check your dog’s ears at least once a week, but follow your veterinarian’s advice about cleaning frequency. If your dog has recurring ear problems, your veterinarian may recommend a more specific maintenance schedule based on their condition and medical history.
3. Gather the Right Dog Ear Cleaning Supplies

Before beginning your Dog Ear Cleaning Routine, prepare all the necessary supplies. Having everything nearby makes the process easier and prevents you from leaving your dog unattended while searching for products. You will generally need a veterinarian-approved dog ear cleaning solution, soft cotton balls or gauze pads, a clean towel, and a few small treats. These basic items are usually enough for routine cleaning when your dog’s ears are healthy.
Always choose a cleaning solution specifically designed for dogs. Human ear drops, alcohol, hydrogen peroxide, vinegar mixtures, and homemade cleaning products may irritate the ear canal or cause problems, especially if the eardrum is damaged. Avoid using products containing ingredients that have not been recommended by your veterinarian. If you are unsure which cleaner is suitable for your dog’s age, breed, or ear condition, ask your veterinary professional before using it.
4. Choose a Safe Dog Ear Cleaning Solution
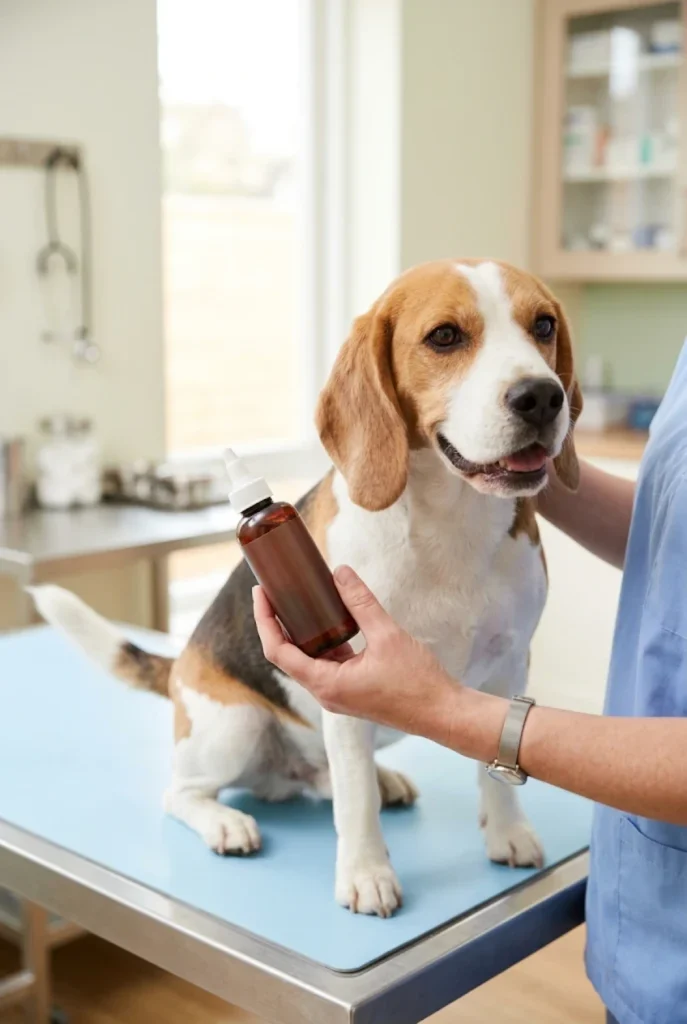
Selecting the right ear cleaner is one of the most important parts of safe ear care. Dog ear cleaning solutions are specially formulated to help loosen wax and remove dirt from the ear canal. Some products are designed for regular maintenance, while others may be recommended for dogs that swim or have particular ear-care needs. Choosing an appropriate solution helps make cleaning more comfortable and reduces the risk of irritation caused by unsuitable products.
Never assume that every ear cleaner is suitable for every dog. Some dogs have sensitive skin, existing ear infections, or medical conditions that require special treatment. Your veterinarian can recommend a product based on your dog’s needs. If your dog has redness, swelling, a bad smell, pain, or unusual discharge, do not simply try a stronger cleaning solution. These signs may indicate an ear problem that needs veterinary examination rather than routine cleaning.
5. Pick a Calm and Comfortable Place
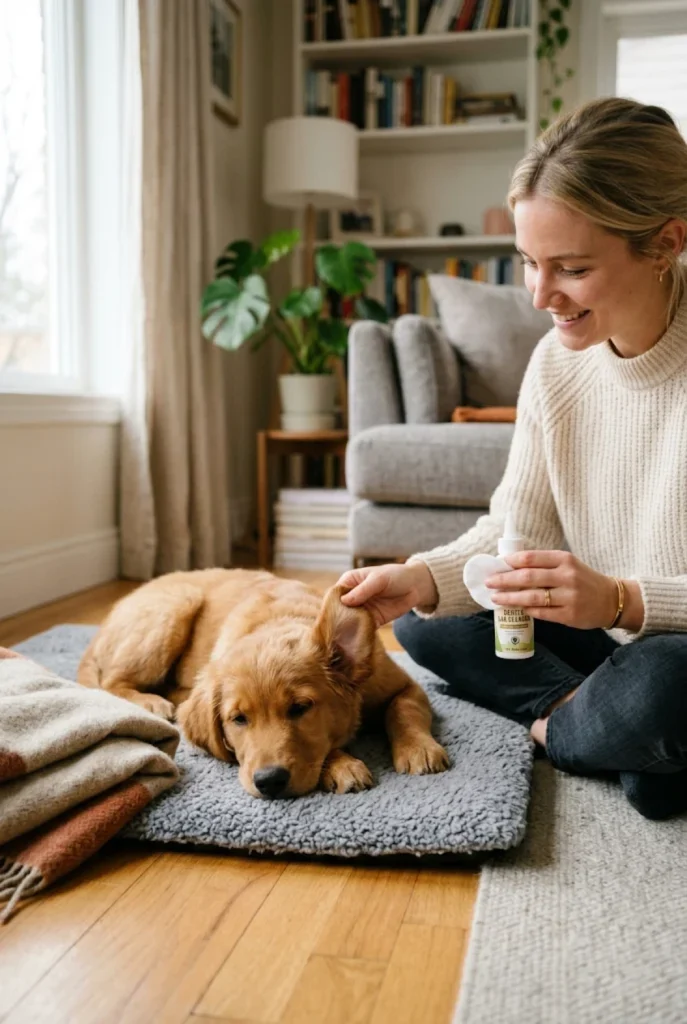
The environment you choose can make a big difference in how your dog responds to ear cleaning. A noisy, crowded, or unfamiliar location may make your dog nervous, especially if they have never experienced this grooming activity before. Choose a quiet room where your dog feels safe and relaxed. A comfortable floor mat, familiar blanket, or non-slip surface can help your dog remain steady while you gently check their ears.
Try to choose a time when your dog is already relaxed, such as after a gentle walk or a quiet play session. Avoid beginning the process when your dog is overly excited, tired, or stressed. Keep your voice calm and your movements slow. If your dog becomes uncomfortable, pause and give them time to settle. Creating a peaceful environment helps make the Dog Ear Cleaning Routine easier for both you and your pet.
6. Examine Your Dog’s Ears Before Cleaning

Always inspect your dog’s ears before applying any cleaning solution. Gently lift the ear flap and look at the visible part of the ear without inserting your fingers or tools deeply into the canal. Notice the color of the skin, the amount of wax, and whether there is any unusual discharge. Healthy ears generally have a natural appearance and should not have a strong unpleasant smell or obvious signs of irritation.
Pay attention to changes such as excessive redness, swelling, dark or unusual discharge, bleeding, or a strong odor. Your dog may also show discomfort by pulling away, whining, scratching, or shaking their head repeatedly. If you notice these symptoms, stop the cleaning process and contact your veterinarian. Cleaning an infected or painful ear without proper guidance can make the situation worse. A careful inspection helps you decide whether routine cleaning is appropriate.
7. Introduce Ear Cleaning Slowly to Your Dog
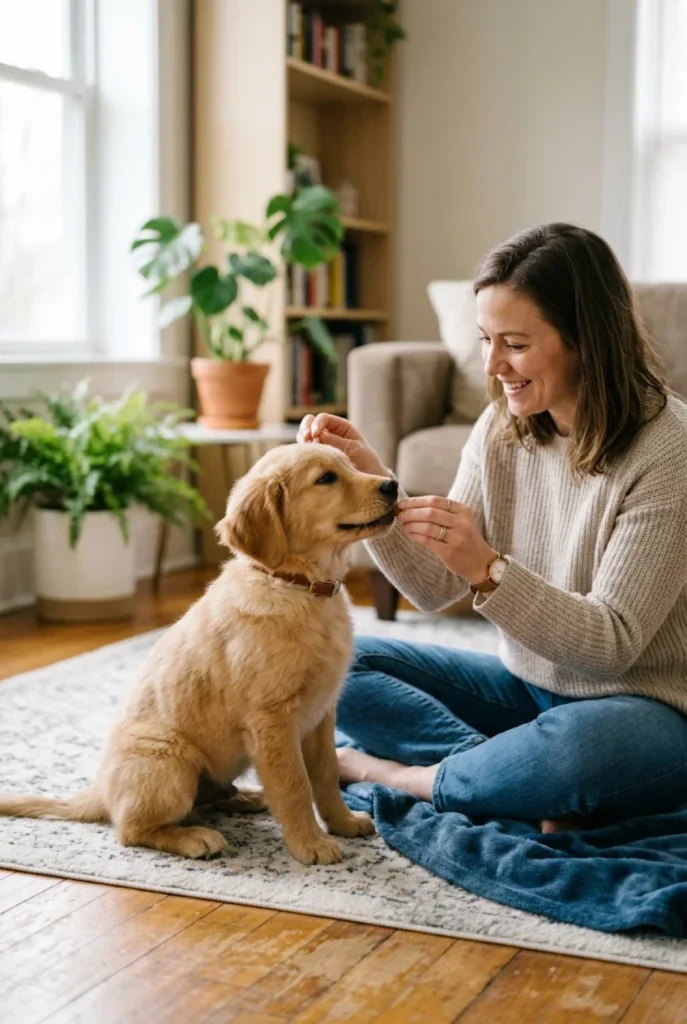
Some dogs immediately accept ear cleaning, while others feel uncomfortable because they are not familiar with having their ears handled. Instead of rushing into the process, introduce ear handling gradually. Begin by gently touching the outside of your dog’s ears for a few seconds. Reward your dog with a small treat and praise whenever they remain relaxed. Repeat this activity over several short sessions until your dog becomes comfortable with gentle ear handling.
Once your dog accepts having their ears touched, practice lifting the ear flap briefly without applying any cleaner. Continue rewarding calm behavior. This gradual introduction is especially useful for puppies and newly adopted dogs. Avoid forcing your dog to remain still or holding their head tightly. Building positive associations helps reduce fear and makes future grooming sessions more manageable. Patience is more important than completing the cleaning in a single session.
8. Reward Your Dog Before Starting
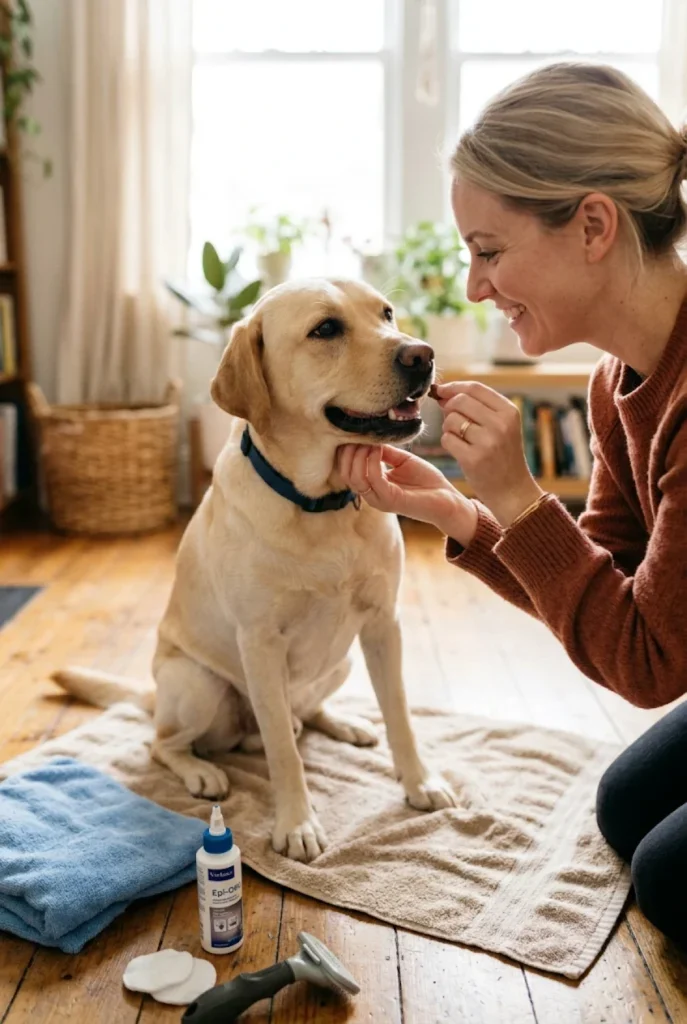
Positive reinforcement can make ear cleaning a much more enjoyable experience. Before beginning, offer your dog a small treat and speak in a gentle, encouraging voice. This helps your dog associate the grooming process with something pleasant. If your dog enjoys being petted, gently stroke their shoulders or chest while preparing the cleaning supplies. Small rewards can help create a relaxed atmosphere and encourage cooperation.
Continue offering praise throughout the process, particularly when your dog remains calm while you lift an ear or apply the cleaning solution. You do not need to give large amounts of food. Small training treats are usually sufficient. If your dog becomes nervous, stop and allow them to relax before continuing. The goal is to teach your dog that ear care is a safe and rewarding activity rather than something frightening or uncomfortable.
9. Position Your Dog Comfortably
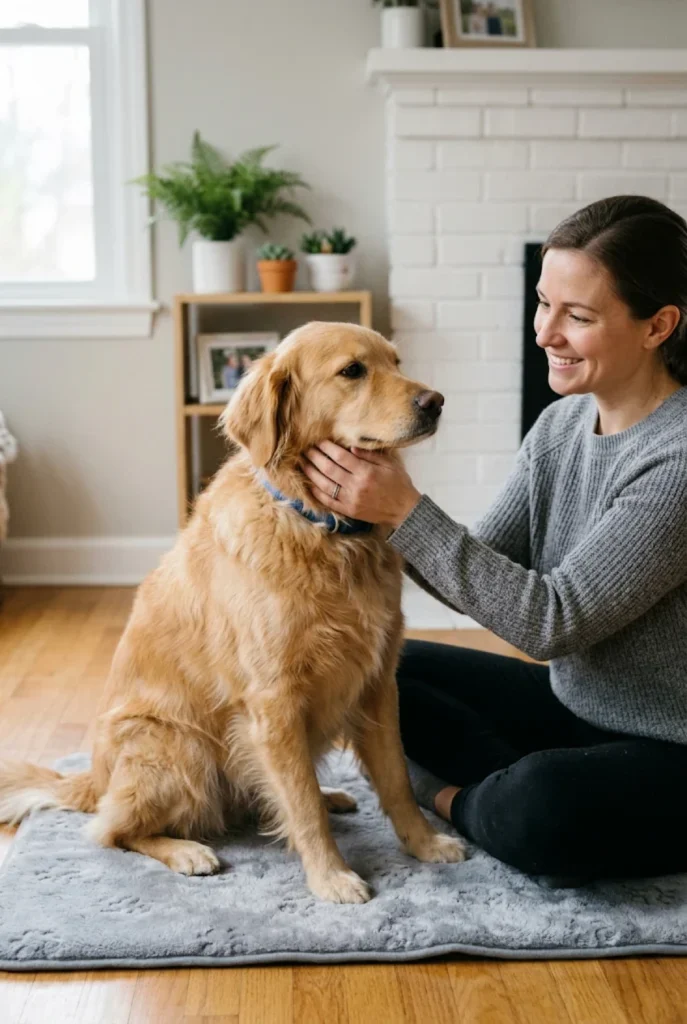
Once your dog is relaxed, help them get into a comfortable position. Small dogs may sit on a stable floor mat, while larger dogs can remain standing or lie down if they naturally prefer that position. Your dog should feel supported without being restrained unnecessarily. If possible, ask another trusted person to gently reassure your dog and offer treats while you handle the ear cleaning supplies.
Avoid pulling your dog’s head, twisting their neck, or pressing on their ears. These movements can cause discomfort and increase anxiety. Make sure you have enough space to move your hands freely and can clearly see the visible ear area. If your dog repeatedly struggles, becomes frightened, or tries to escape, stop the session rather than forcing them. A short, positive experience is better than a stressful grooming session.
10. Gently Lift the Ear Flap
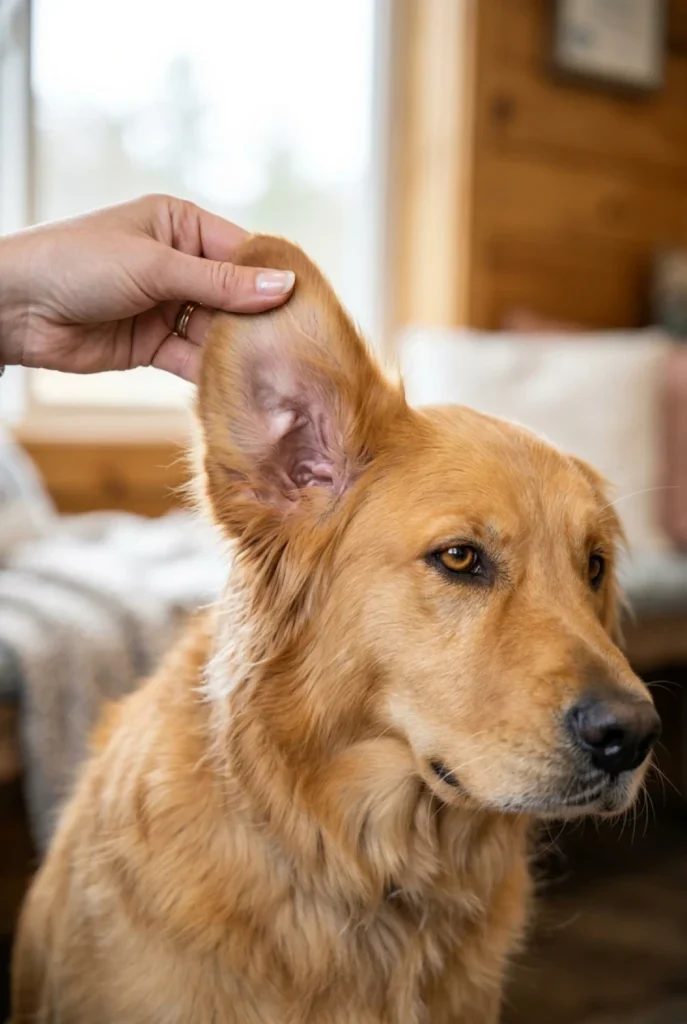
After positioning your dog, gently lift the ear flap to expose the visible opening of the ear canal. For floppy-eared breeds, this step makes it easier to see the outer ear area and apply the cleaning solution correctly. Use one hand to hold the ear flap in a natural position without stretching or pulling it. Keep your movements gentle and avoid placing pressure on sensitive areas.
Dogs with upright ears may require only a slight adjustment to expose the opening. Remember that every dog has a different ear shape, so do not force the ear into an unnatural position. If your dog shows signs of pain when you touch the ear, stop immediately. The purpose of lifting the flap is simply to improve visibility and allow gentle cleaning, not to manipulate or examine deep inside the ear canal.
11. Apply the Ear Cleaning Solution Carefully
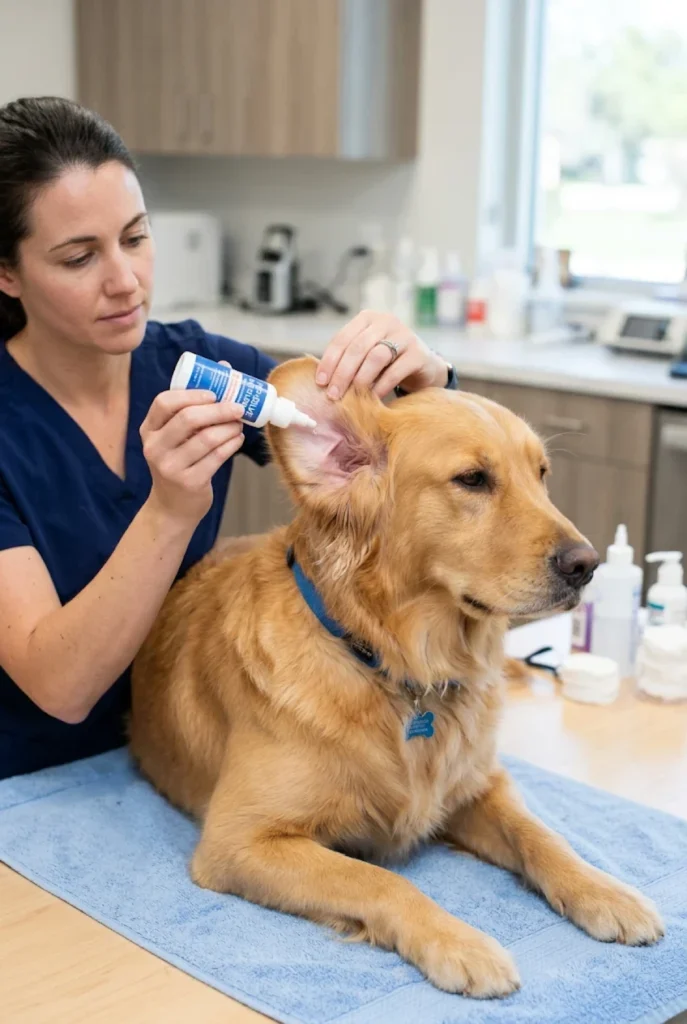
When your dog is comfortable and the visible ear looks healthy, follow the cleaning product’s instructions. Hold the ear flap gently and position the cleaner bottle near the opening of the ear canal. Apply the recommended amount of solution without allowing the bottle tip to touch the ear. This helps prevent contamination and reduces the risk of accidentally irritating the sensitive area. Never force the bottle tip into the canal.
Some cleaning products require a specific amount of solution, while others provide different instructions depending on the dog’s size. Follow the manufacturer’s directions and your veterinarian’s recommendations rather than guessing. If your dog has a history of ear infections, a damaged eardrum, or ongoing ear treatment, consult your veterinarian before using any cleaner. Proper application is essential for keeping the Dog Ear Cleaning Routine safe and comfortable.
12. Massage the Base of the Ear Gently
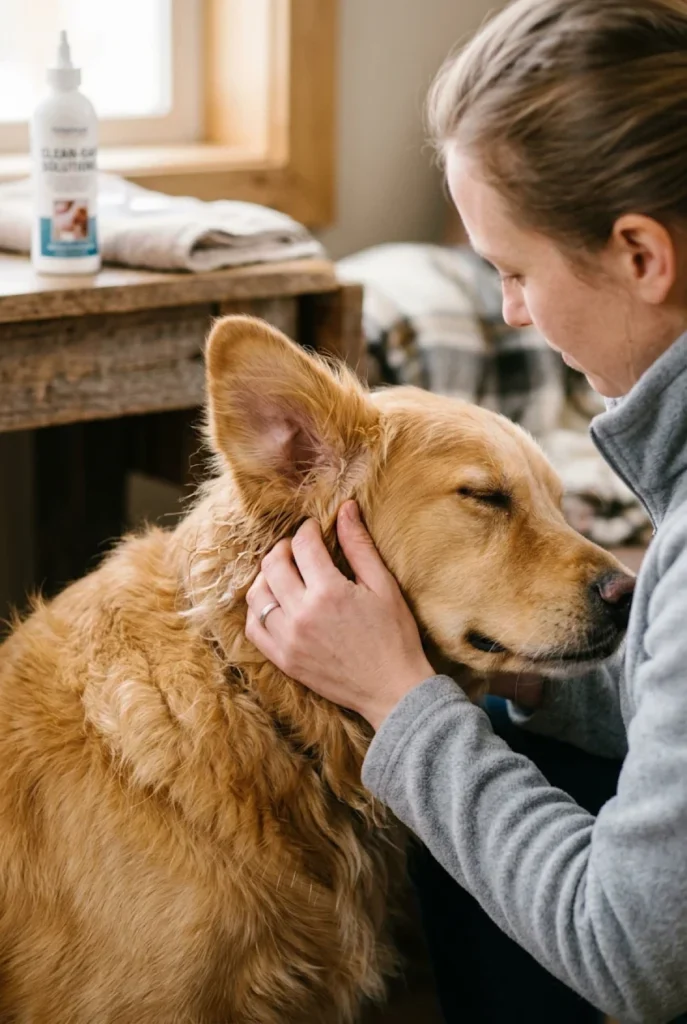
After applying the cleaning solution, your product’s instructions may recommend gently massaging the base of the ear. Use your fingertips to massage the outside of the ear near its base for a short period. This movement helps distribute the cleaning solution and loosen accumulated wax and debris. You may hear a soft squishing sound as the liquid moves inside the ear. This is generally normal when the cleaner is being used correctly.
Keep the massage gentle and stop if your dog appears uncomfortable. Never squeeze the ear, press hard, or continue massaging when your dog shows signs of pain. Some dogs may tolerate this step easily, while others need extra time to become comfortable. Always follow the specific product directions, because not every cleaner requires exactly the same massage technique or duration. A calm and gentle approach is the best way to protect your dog’s comfort.
13. Allow Your Dog to Shake Its Head
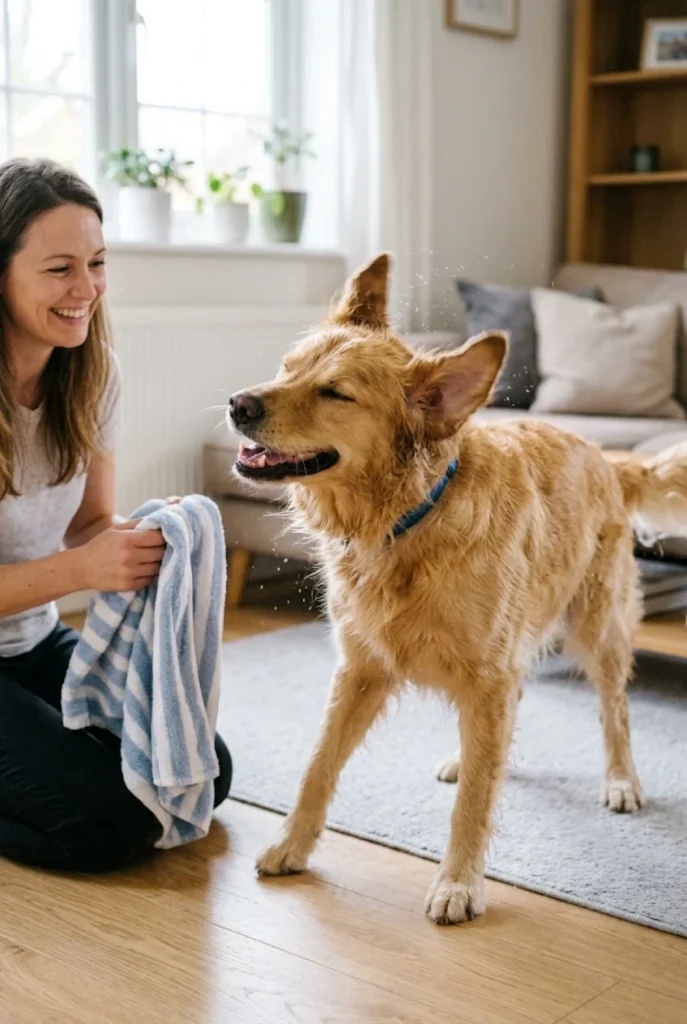
Once the cleaning solution has been applied and massaged according to the product instructions, allow your dog to shake its head naturally if it wants to. Head shaking helps move loosened wax and excess cleaning liquid toward the outer ear. This is a normal response during many ear-cleaning sessions. Give your dog enough space so it can shake comfortably without hitting furniture or knocking over nearby objects.
You may want to place an old towel underneath your dog because small amounts of cleaning solution or loosened debris can come out during this step. Avoid holding your dog’s head tightly to prevent shaking. However, if your dog shakes its head repeatedly before, during, or after cleaning, particularly with signs of pain or irritation, contact your veterinarian. Persistent head shaking can indicate an underlying ear problem that needs professional attention.
14. Wipe the Visible Outer Ear Gently
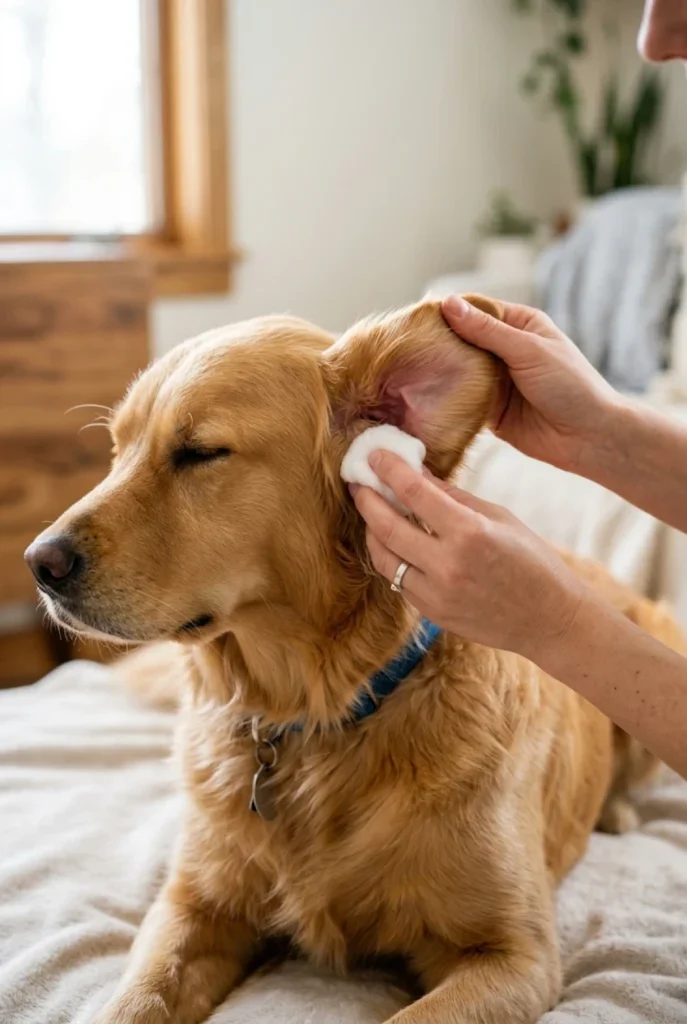
After your dog has shaken its head, use a clean cotton ball or soft gauze pad to wipe away loosened debris from the visible outer ear. Gently clean the folds and accessible areas of the ear flap without pushing the cotton or gauze deep into the ear canal. Use a fresh piece of cotton or gauze when needed to avoid spreading dirt from one area to another.
Be especially careful around sensitive skin and avoid rubbing repeatedly over the same area. The purpose is to remove visible dirt and excess solution, not to make the ear completely dry by scrubbing it. Never use sharp objects, fingernails, or rough towels inside the ear. If you cannot reach debris easily, leave it alone and ask your veterinarian for guidance. Gentle wiping is an important part of a beginner-friendly ear cleaning routine.
15. Never Insert Cotton Swabs Deep Into the Ear
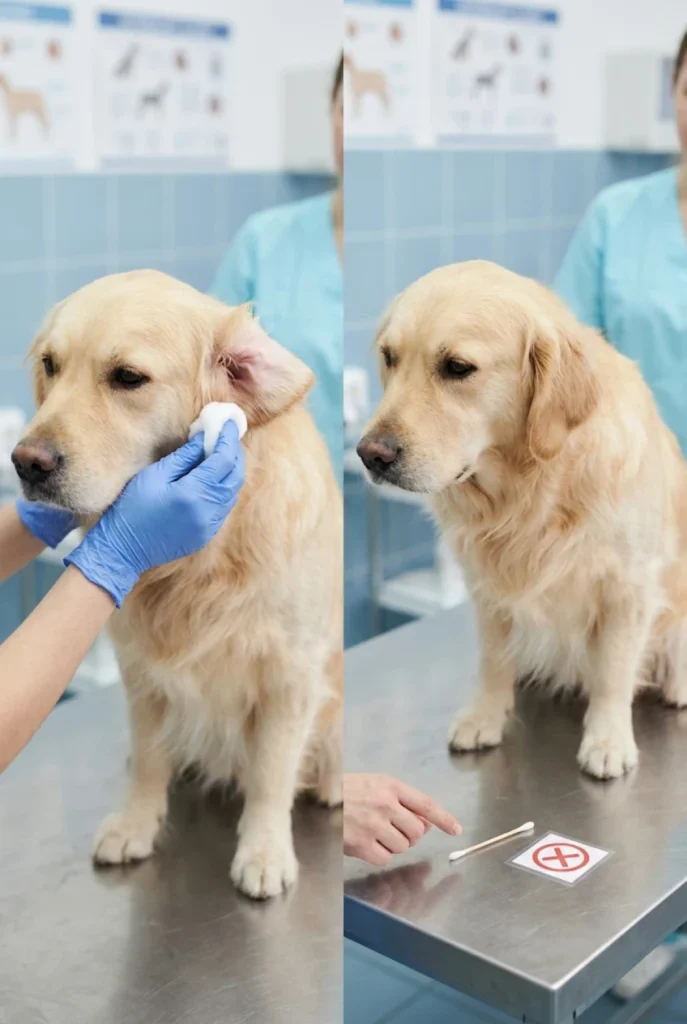
One important safety rule is to avoid inserting cotton swabs, cotton buds, or other objects deep into your dog’s ear canal. Although these products may seem useful for removing wax, they can push debris farther inside, irritate delicate tissues, or cause injury. The ear canal is sensitive, and cleaning beyond the visible outer area requires proper veterinary knowledge and equipment.
Instead, use soft cotton balls or gauze pads to clean only the parts you can see and reach safely. Do not insert your fingers deeply into the ear either. If you notice wax or debris that appears to be trapped farther inside, ask your veterinarian to examine it. Safe ear care is not about removing every tiny particle of wax. It is about maintaining cleanliness without damaging the natural structure of your dog’s ears.
16. Clean Both Ears With Fresh Supplies
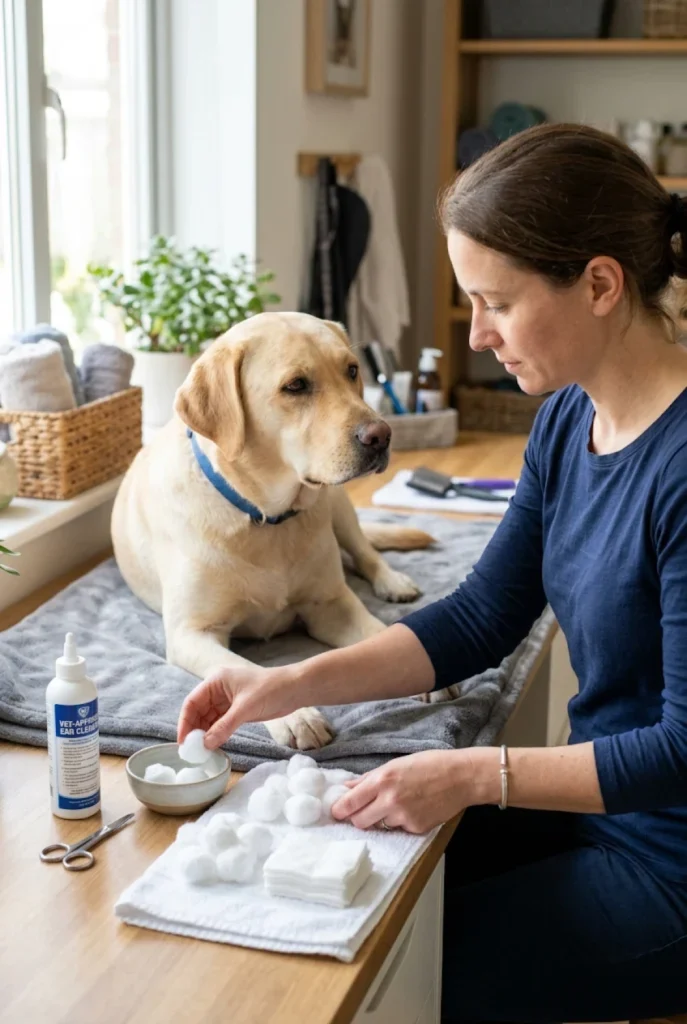
If both ears need cleaning and your veterinarian has recommended routine cleaning, follow the same gentle procedure for each ear. Use fresh cotton balls or gauze pads rather than using the same material for both ears. This helps prevent transferring debris or microorganisms from one ear to the other. Pay attention to the condition of each ear because one may be cleaner or more sensitive than the other.
Do not assume both ears need identical treatment. One ear may have more natural wax buildup, while the other may remain relatively clean. Follow your cleaning product’s instructions and your veterinarian’s advice for each ear. If one ear appears red, swollen, painful, or has unusual discharge, stop and seek veterinary guidance instead of continuing to clean it. Being observant helps you make your dog’s grooming routine safer and more effective.
17. Keep Your Dog’s Ears Dry After Swimming
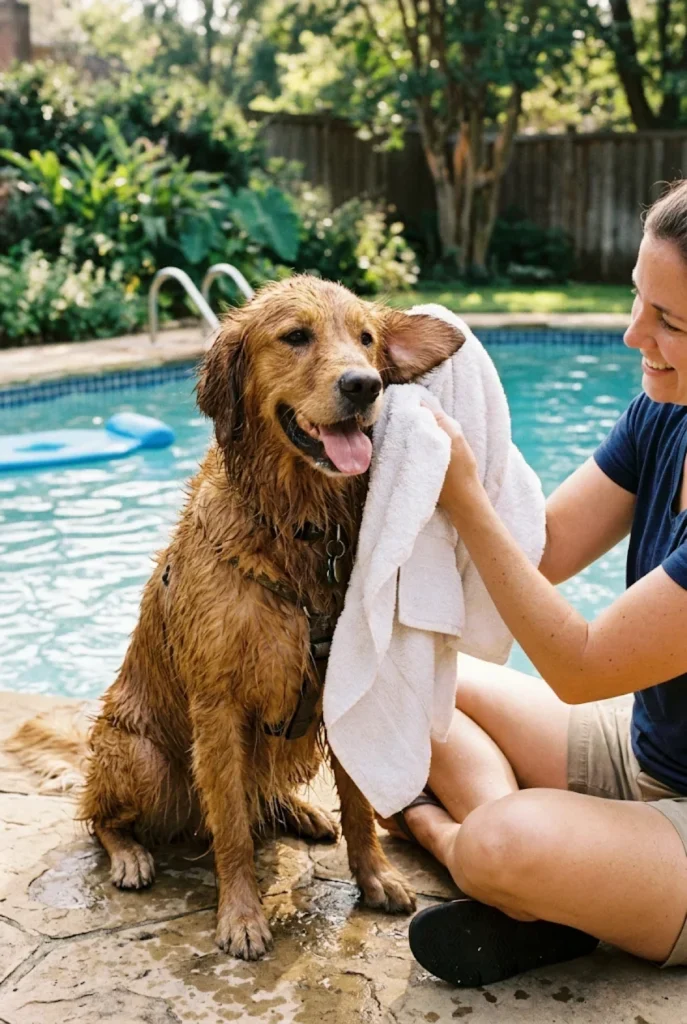
Moisture can become trapped in a dog’s ears after swimming, bathing, or playing in wet outdoor areas. Dogs with floppy ears may be especially prone to retaining moisture because their ear flaps can reduce airflow around the opening. Although not every dog develops problems after swimming, regularly checking the ears afterward can help you identify excess moisture, dirt, or irritation before they become more serious.
After swimming or bathing, gently dry the visible outer ear with a clean, soft towel. Do not push towels, cotton swabs, or other objects deep into the canal. If your dog swims frequently, ask your veterinarian whether a suitable drying or maintenance product is appropriate. Avoid using random household liquids to dry the ears. Keeping the outer ear clean and dry, while following veterinary advice, can support a healthy Dog Ear Cleaning Routine.
18. Pay Special Attention to Dogs With Floppy Ears

Dogs with floppy ears, such as Cocker Spaniels, Basset Hounds, and some Labrador Retrievers, may need more frequent ear checks. Their ear flaps can reduce airflow around the ear opening and sometimes allow moisture or debris to remain trapped. However, floppy ears do not automatically mean a dog has an ear infection or requires constant cleaning. Every dog has individual needs, and excessive cleaning can cause irritation.
If your dog has long or heavy ears, gently lift the flaps during regular grooming checks to inspect the visible skin. Look for redness, unusual wax buildup, unpleasant odors, and signs of discomfort. Your veterinarian can help determine whether your dog’s ear shape or history makes a particular cleaning schedule necessary. Consistent observation is more useful than assuming every floppy-eared dog needs frequent treatment.
19. Understand the Ear Care Needs of Dogs With Hairy Ears

Some dog breeds have noticeable hair around or inside the ear opening. Poodles, Doodles, and certain other breeds may develop hair that traps dirt and moisture around the ears. However, removing ear hair is not automatically necessary for every dog. Unnecessary plucking can irritate the ear canal, create small injuries, and increase discomfort. Decisions about ear hair removal should be based on the individual dog’s condition and veterinary or professional grooming advice.
If your dog’s ears have excessive hair, discuss the best grooming approach with your veterinarian. Regularly inspect the visible ear opening and keep the surrounding hair clean and manageable. Never pull out ear hair aggressively or use sharp grooming tools near the sensitive ear canal without appropriate training. A gentle maintenance routine is safer than trying to remove every bit of hair. Understanding your dog’s coat and ear structure helps you make better grooming decisions.
20. Recognize Signs of an Ear Infection
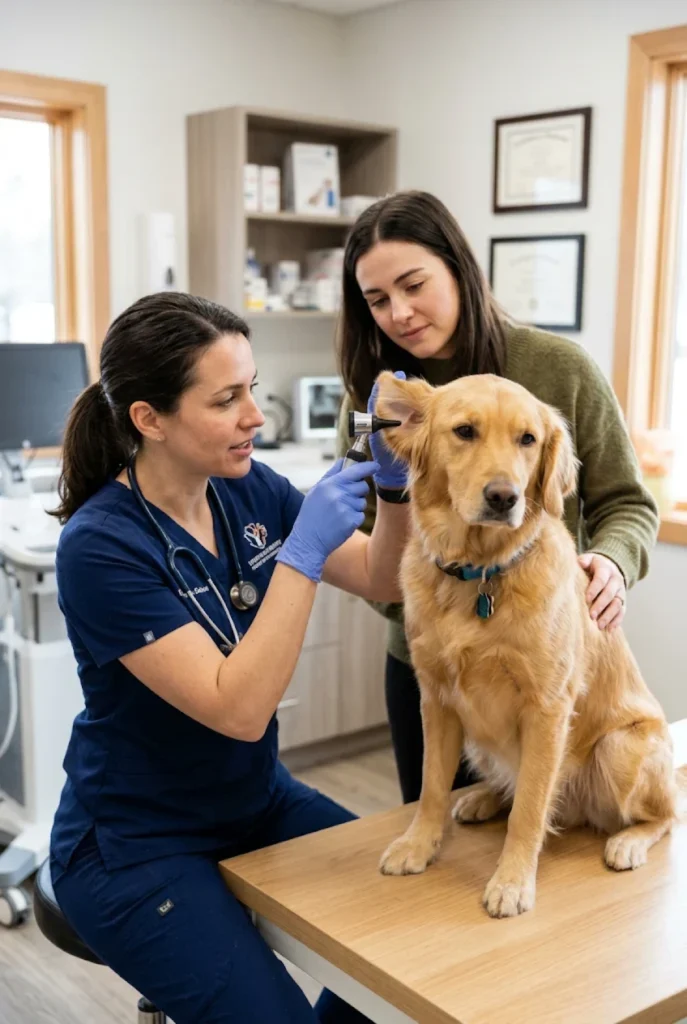
A healthy ear should not have a strong unpleasant smell, significant redness, or painful swelling. If you notice frequent scratching, repeated head shaking, dark or yellowish discharge, unusual moisture, or sensitivity when touching the ears, your dog may have an ear problem. Other possible signs include holding the head to one side, rubbing the ears against furniture, or becoming unusually irritated during grooming.
Ear infections can be caused by different factors, including yeast, bacteria, parasites, allergies, and underlying skin conditions. The symptoms can look similar even when the underlying causes are different. This is why it is important not to diagnose or treat an ear infection yourself. If you suspect a problem, arrange a veterinary examination. Your veterinarian can inspect the ear canal and recommend appropriate treatment. Routine cleaning cannot replace medical treatment for an existing infection.
21. Know When You Should Avoid Cleaning Your Dog’s Ears
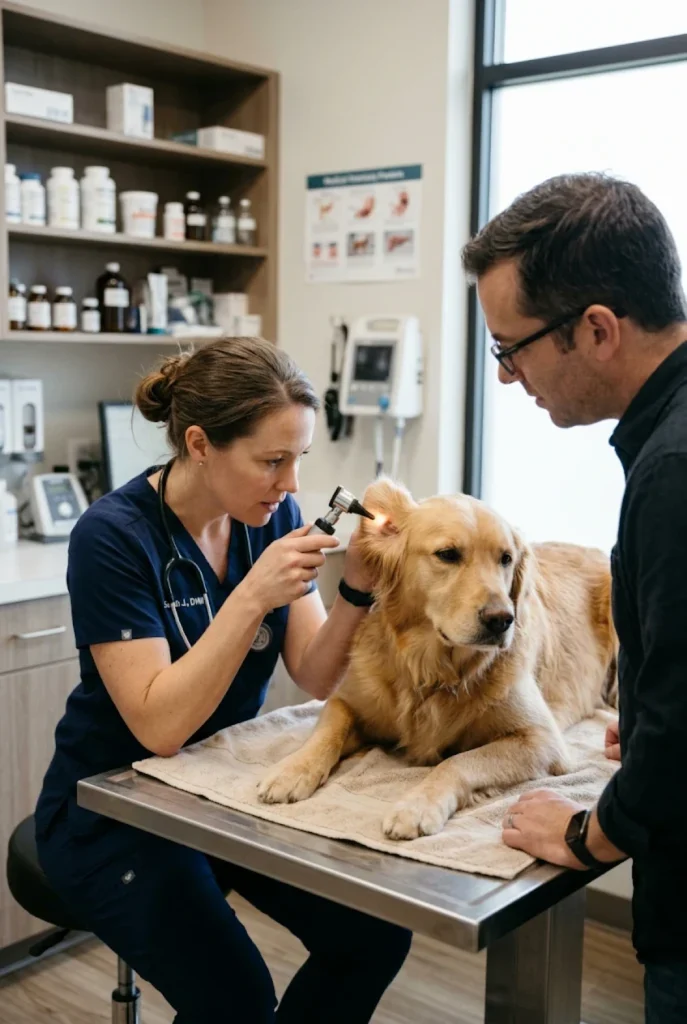
There are situations when cleaning should be postponed until a veterinarian examines your dog. If an ear looks very red, swollen, painful, or has blood or unusual discharge, avoid applying routine cleaning products without professional guidance. Cleaning can cause additional discomfort, especially when the ear canal is inflamed. You should also avoid attempting to clean an ear if your dog strongly resists because of possible pain.
Dogs with a history of ruptured eardrums, ear surgery, or recurring ear disease may need special cleaning instructions. Some ear cleaners are unsuitable for certain medical conditions. If your dog cries, yelps, suddenly pulls away, or becomes distressed when you touch the ear, stop immediately. Never force the cleaning process. Getting professional advice at the right time can prevent unnecessary discomfort and help protect your dog’s hearing and ear health.
22. Make Ear Cleaning a Positive Experience
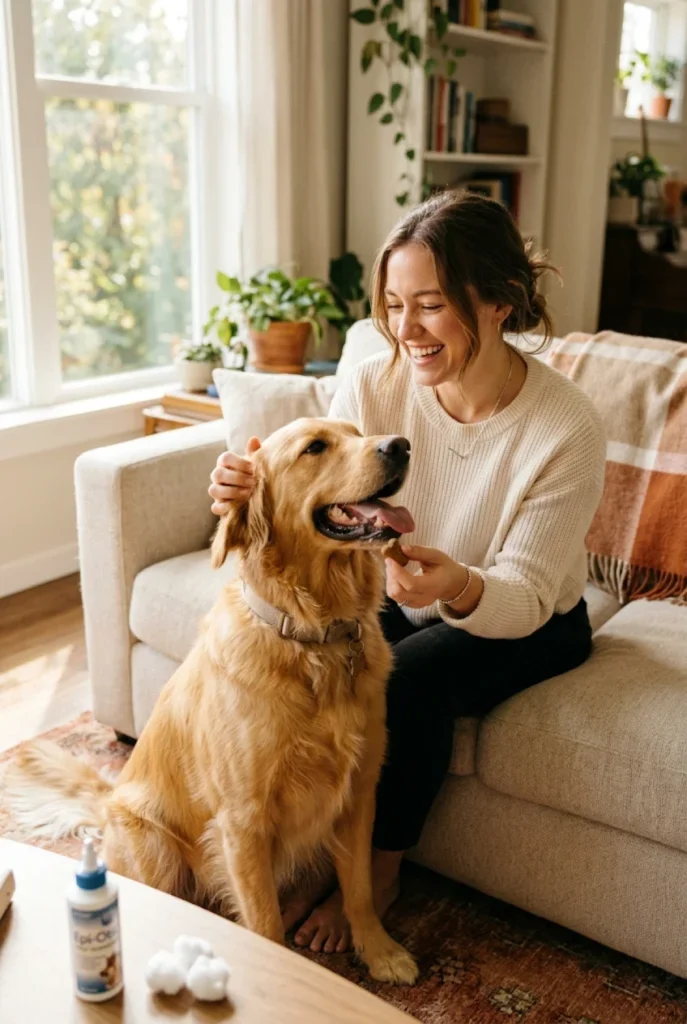
A successful Dog Ear Cleaning Routine should not feel like a punishment or frightening experience for your pet. Keep your movements gentle, speak calmly, and reward your dog whenever they cooperate. You can use treats, praise, and short breaks to make each session more enjoyable. If your dog becomes uncomfortable, there is no need to finish everything immediately. You can gradually build their confidence through shorter sessions.
Avoid scolding your dog for moving their head, pulling away, or showing nervous behavior. These reactions may indicate uncertainty or discomfort. Instead, pay attention to your dog’s body language and adjust your approach. Over time, gentle handling and positive reinforcement can help your dog become more comfortable with ear inspections. A positive experience makes routine grooming easier and strengthens the trust between you and your pet.
23. Create a Simple Weekly Ear Inspection Schedule
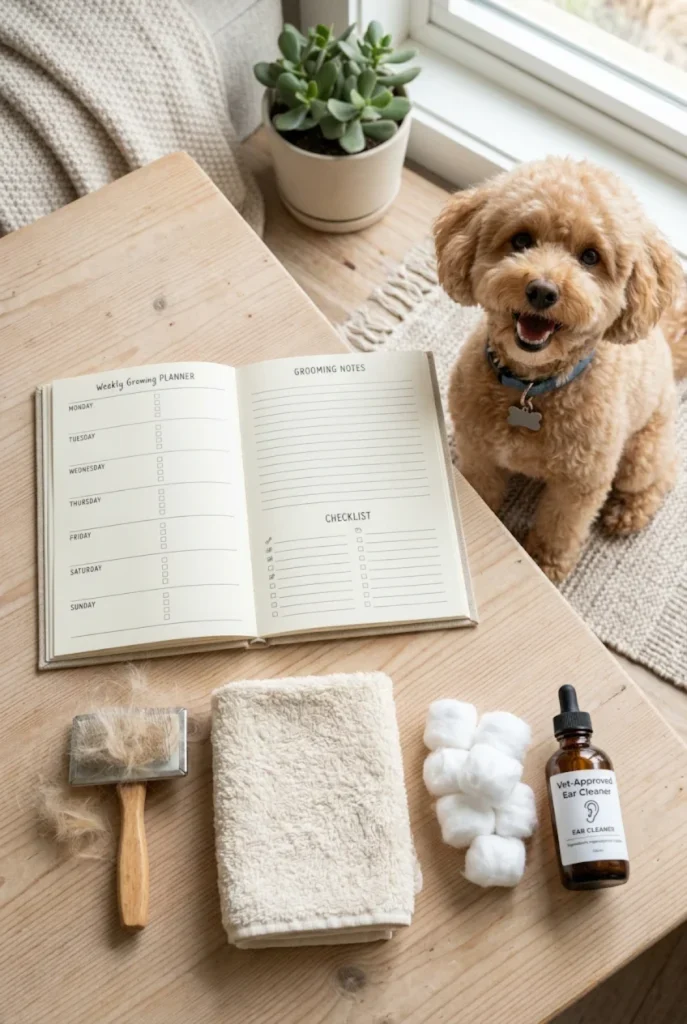
A simple schedule can help you remember to check your dog’s ears regularly. Choose one convenient day each week and include ear inspection in your normal grooming activities. For example, you can check the ears on the same day you brush your dog’s coat or inspect their nails. This creates a predictable routine without making grooming feel complicated. Remember that weekly inspection does not mean weekly cleaning is necessary.
During each check, look for visible dirt, unusual wax buildup, redness, swelling, and unpleasant odors. If the ears look healthy and clean, there may be no need to use an ear cleaning solution. If cleaning is needed, follow the recommended steps and your veterinarian’s instructions. Keeping a simple record of ear checks can also help you notice recurring changes. Consistency and observation are the foundations of responsible ear care.
24. Keep Your Dog’s Ear Cleaning Supplies Organized

Keeping your grooming supplies in one clean and organized place can make ear care easier. Choose a small storage basket or container for your veterinarian-approved ear cleaner, cotton balls, gauze pads, and soft towel. Store these items somewhere dry and away from direct sunlight, excessive heat, and your dog’s reach. Always check product labels for storage instructions and expiration dates before use.
Keeping supplies organized also helps prevent accidental use of unsuitable products. For example, you can store your dog’s ear cleaner separately from human medications and household cleaning products. Avoid sharing used cotton balls or gauze between cleaning sessions. Wash reusable towels regularly and replace damaged or contaminated supplies. A clean grooming station makes it easier to follow the same safe steps whenever your dog needs ear care.
25. Monitor Your Dog After Cleaning
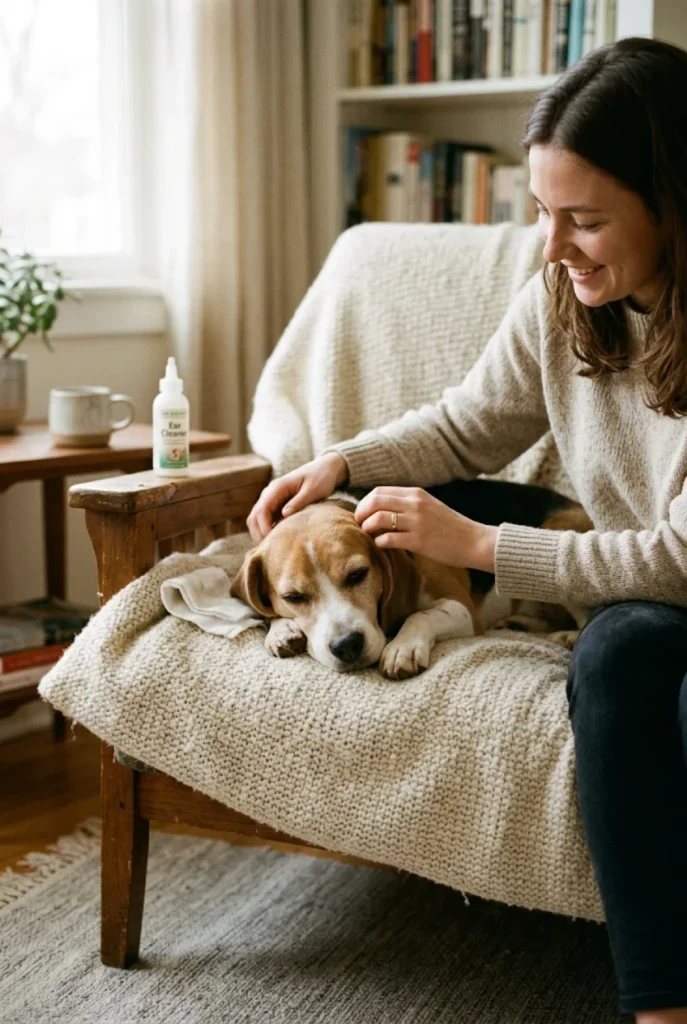
Once the cleaning process is finished, observe your dog for a while to make sure they seem comfortable. A dog that accepts routine cleaning should generally return to normal behavior without persistent scratching, unusual head shaking, or signs of irritation. Offer a treat, give your dog some affection, and allow them to relax. This helps end the grooming session on a positive note.
If you notice increased redness, pain, repeated head shaking, balance problems, or unusual behavior after cleaning, contact your veterinarian. Some dogs may react to a particular cleaning product, while others may have an underlying ear condition that was not obvious before cleaning. Monitoring your dog after each session helps you recognize unwanted reactions early. Remember that a successful routine should leave your dog comfortable, not irritated or distressed.
26. Ask Your Veterinarian for Personalized Ear Care Advice

Although routine ear care can often be performed at home, every dog has different needs. Breed, age, ear shape, swimming habits, allergies, and previous infections can influence how often your dog needs inspection or cleaning. Your veterinarian can examine the ears and recommend a suitable product and schedule. This is particularly important if your dog experiences repeated ear problems or has sensitive skin.
Do not wait until your dog develops severe symptoms before discussing ear health. You can ask your veterinarian to demonstrate the correct cleaning technique during a regular checkup. This gives you an opportunity to learn how much solution to use, how to handle the ear flap, and which areas should be cleaned. Professional guidance makes a beginner’s Dog Ear Cleaning Routine more effective and reduces the risk of mistakes at home.
27. Common Dog Ear Cleaning Mistakes Beginners Should Avoid
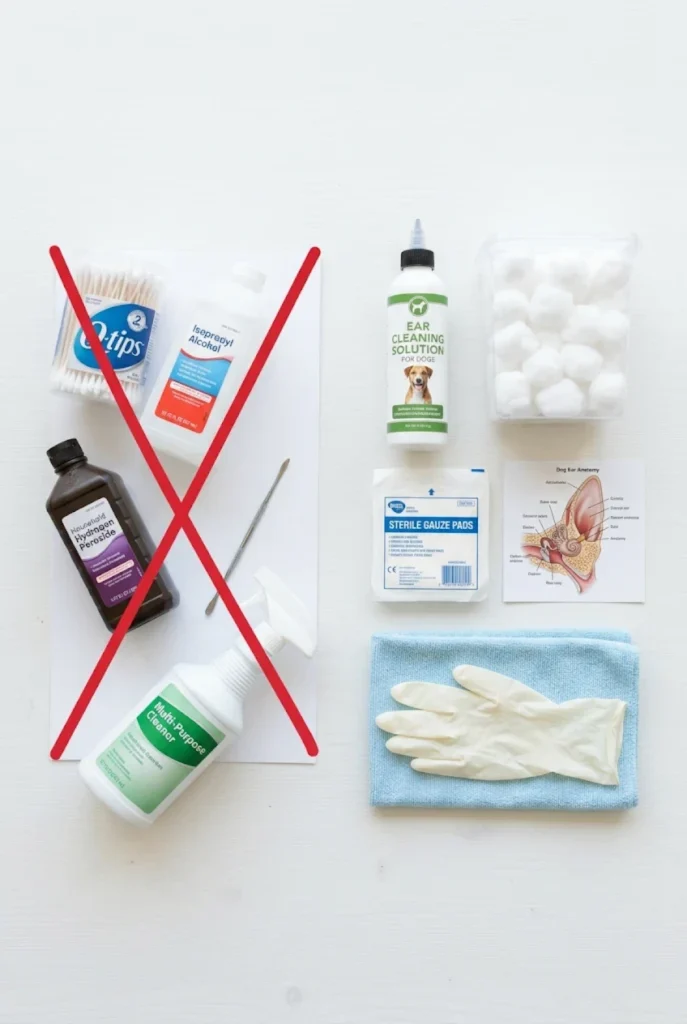
New dog owners sometimes make mistakes because they want to clean their pet’s ears as thoroughly as possible. One common mistake is cleaning too frequently, which can irritate the sensitive ear canal. Another is using cotton swabs deep inside the ear, potentially pushing wax farther into the canal. Some owners also use alcohol, hydrogen peroxide, or homemade solutions without understanding the risks. These practices can cause unnecessary irritation and discomfort.
Another mistake is ignoring signs of infection and assuming that regular cleaning will solve the problem. Ear infections require proper diagnosis and treatment, not simply more cleaning. Avoid using human ear products, sharing dirty cleaning materials, or forcing a frightened dog to remain still. Following veterinarian-approved instructions is always safer than experimenting with different methods. A gentle approach and careful observation help beginners avoid unnecessary grooming problems.
28. Understand the Difference Between Cleaning and Treating an Ear Infection
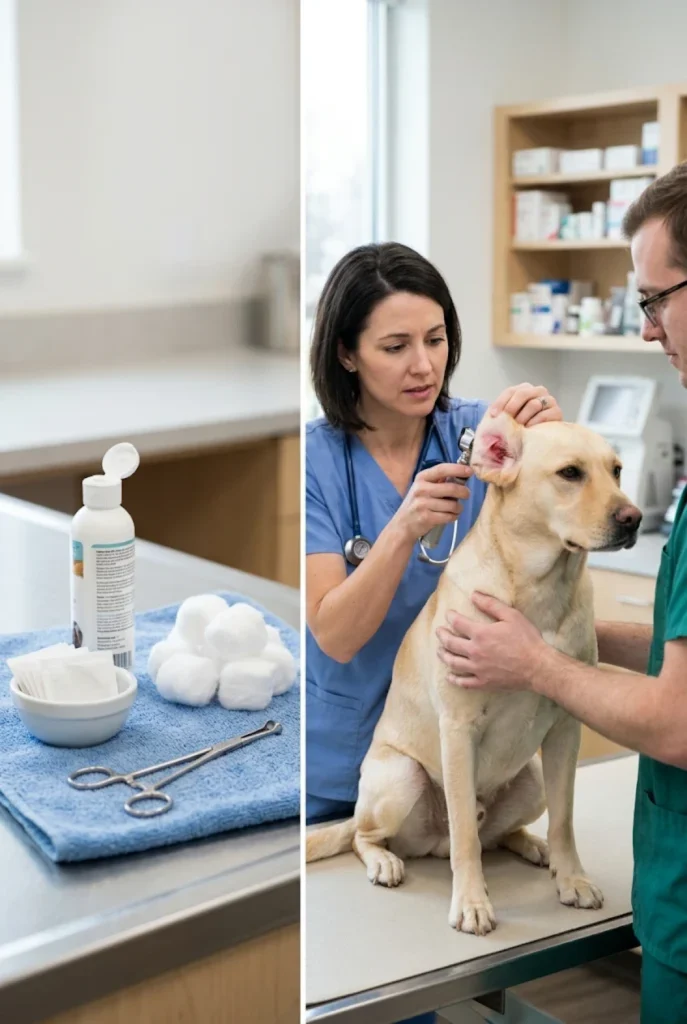
Routine cleaning and medical treatment are two different things. Cleaning is intended to remove excess wax, dirt, and debris from a healthy ear when needed. It is a preventive grooming activity rather than a treatment for an existing disease. When a dog develops an ear infection, the problem may involve inflammation, bacteria, yeast, parasites, or another underlying condition that requires veterinary attention.
Your veterinarian may recommend special medication, a prescription ear cleaner, or additional tests depending on the cause of the problem. Never use leftover medication from a previous infection without checking with your veterinarian. Different infections can require different treatments, and an unsuitable product may make the condition worse. Understanding this difference helps you avoid relying on routine grooming when your dog actually needs medical care.
29. Make Ear Checks Part of Your Complete Grooming Routine
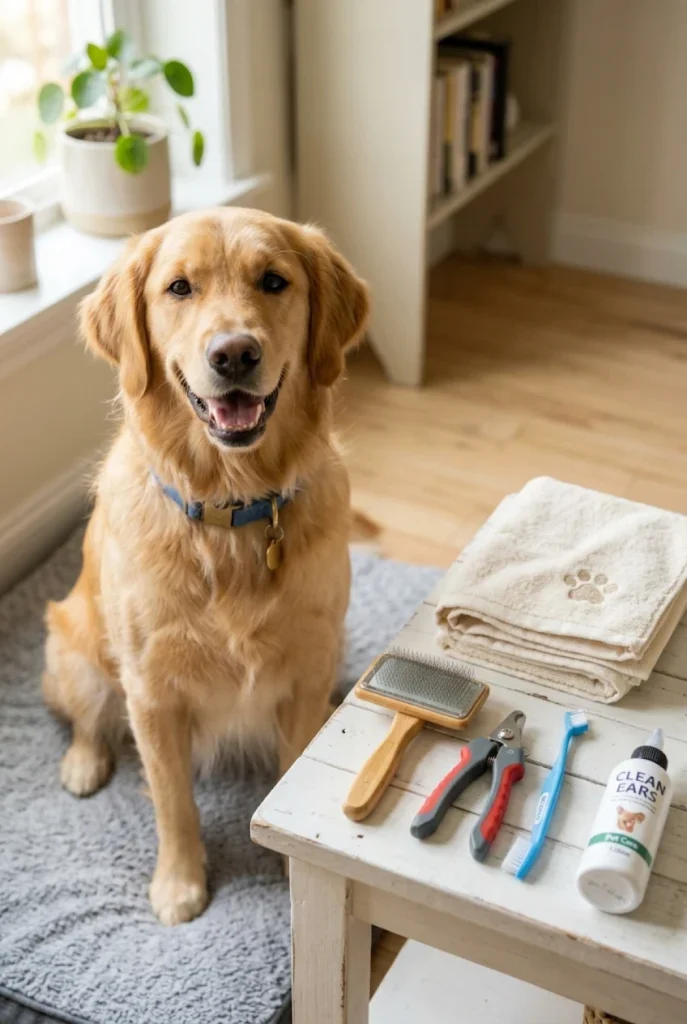
Ear inspections work best when they are included in your dog’s overall grooming routine. Along with checking the ears, you can inspect your dog’s coat, paws, nails, teeth, and skin. These simple checks help you become familiar with your dog’s normal appearance and behavior. When you notice changes early, you can discuss them with your veterinarian before they develop into more serious problems.
You do not need to complete every grooming activity on the same day. For example, you might check the ears and brush the coat during one session, while trimming nails or brushing teeth on another day. Keep each activity short and comfortable, particularly if your dog is still learning. A balanced grooming routine supports your dog’s overall comfort and makes regular care easier to maintain as they grow older.
30. Be Patient and Consistent With Your Dog
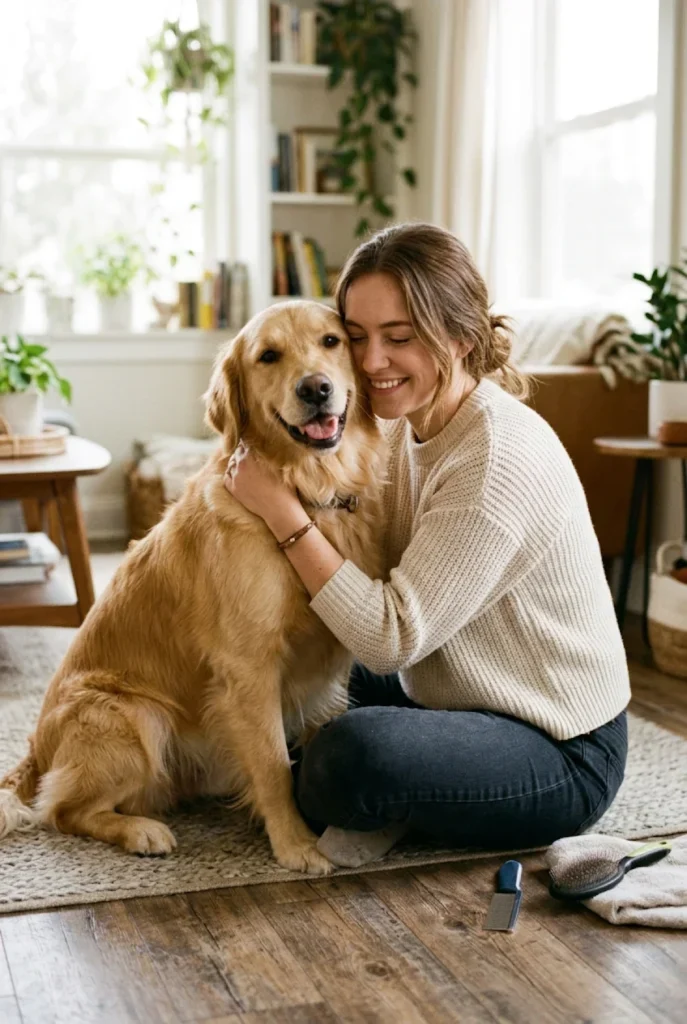
Developing a reliable ear care routine takes time, especially if your dog has never experienced ear cleaning before. Some dogs become comfortable after a few sessions, while others need several weeks of gradual practice. Avoid comparing your dog’s progress with another pet. Every dog has a different personality, sensitivity level, and grooming history. Your responsibility is to make the process as gentle and comfortable as possible.
Consistency does not mean cleaning the ears unnecessarily. It means checking them regularly, recognizing unusual changes, using suitable products when cleaning is needed, and seeking veterinary help when something does not look right. Celebrate small improvements, reward cooperation, and keep the experience positive. With patience and the right approach, you can establish a simple Dog Ear Cleaning Routine that supports your dog’s comfort and overall grooming needs.
31. Understand When Earwax Is Normal
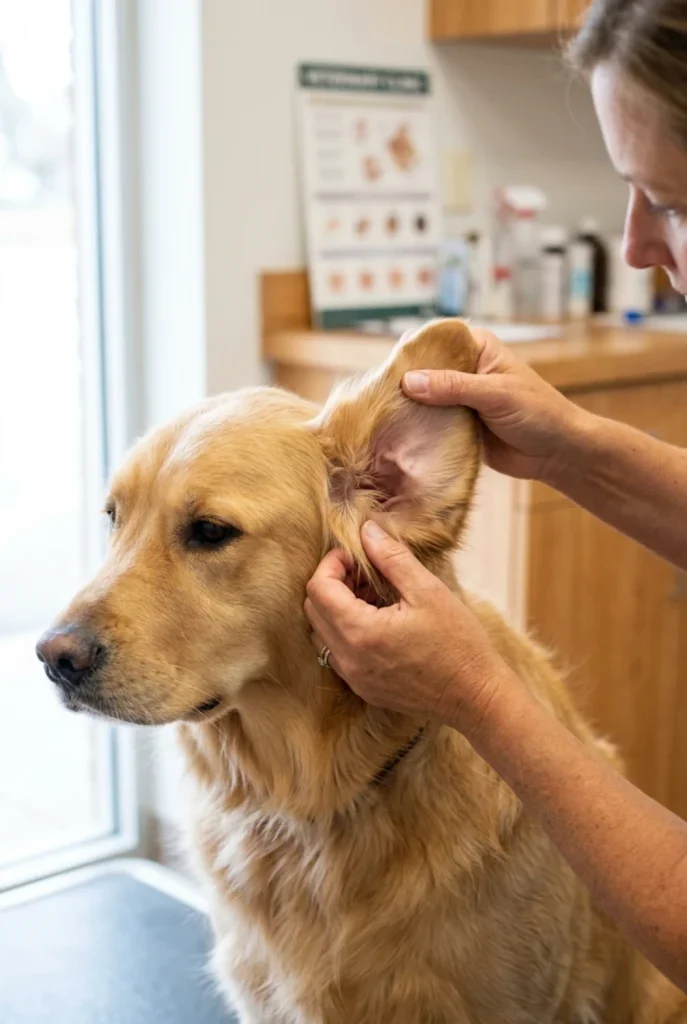
Not all earwax is a sign of a problem. Dogs naturally produce earwax that helps protect the ear canal by trapping dust, dirt, and other small particles. A small amount of light brown or yellowish wax can be normal, depending on your dog’s individual ear health. The important thing is to become familiar with your dog’s normal ear appearance so you can recognize unusual changes. Do not try to remove every trace of natural earwax.
However, excessive wax, a sudden change in color, a strong odor, or thick discharge may indicate an underlying issue. Dark coffee-ground-like debris can sometimes be associated with ear mites, although other conditions can look similar. If you notice unusual buildup, avoid guessing the cause or repeatedly cleaning the ear. Ask your veterinarian to examine your dog and recommend the appropriate next step.
32. Be Gentle With Puppies During Ear Cleaning

Puppies need extra patience because they are still learning how to respond to grooming activities. Introducing gentle ear inspections early can help them become comfortable with routine care as they grow. Start by allowing your puppy to explore the grooming area and become familiar with the supplies. Gently touch the outside of the ears for a few seconds and reward calm behavior. Keep the first experiences short and enjoyable.
There is no need to clean a puppy’s ears simply because you are introducing grooming. Inspect them regularly and use a dog-specific cleaning product only when appropriate and recommended. Puppies have delicate skin, and unsuitable products may cause irritation. If you notice an unpleasant smell, redness, excessive scratching, or discharge, contact your veterinarian. A gentle beginning can help establish healthy grooming habits that continue throughout your puppy’s life.
33. Adjust Ear Care for Senior Dogs
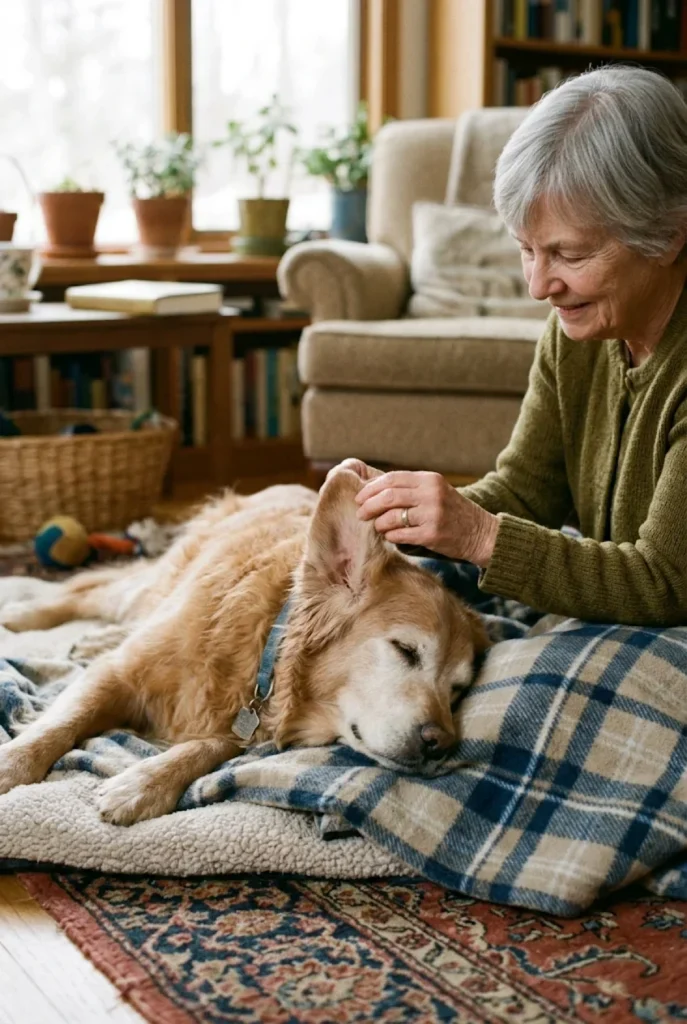
Senior dogs may need additional attention during grooming because their skin, mobility, and general health can change with age. Some older dogs may develop sensitivities that make ear handling uncomfortable. Others may have a history of recurring ear infections or medical conditions that require a personalized cleaning schedule. When caring for an older dog, take extra time to make sure the grooming position is comfortable and does not put pressure on their neck or joints.
Regular ear inspections can help you notice changes in wax buildup, odor, or skin appearance. However, do not assume that every change is simply a result of aging. If your senior dog suddenly develops head shaking, unusual balance, hearing changes, or sensitivity around the ears, arrange a veterinary examination. Keep cleaning sessions short and gentle, and always follow professional advice when managing ear care for an older pet.
34. Keep Track of Recurring Ear Problems
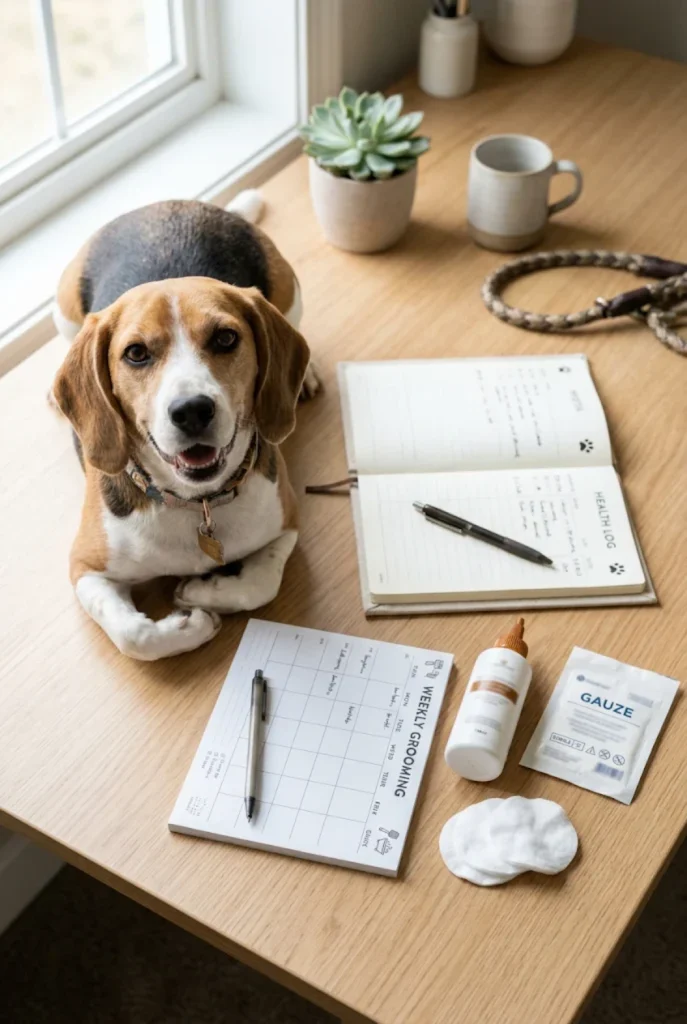
If your dog frequently develops wax buildup, unpleasant odors, redness, or scratching, keeping a simple record can help you and your veterinarian understand the pattern. Write down when you notice symptoms, which ear is affected, and whether the problem appears after swimming, bathing, grooming, or outdoor activities. You can also record the cleaning products used and any changes in your dog’s behavior. This information may help your veterinarian identify possible contributing factors.
Recurring ear problems should not be managed through increasingly frequent cleaning without professional advice. Allergies, skin conditions, parasites, and other medical issues may contribute to repeated inflammation or infections. Your veterinarian may recommend further examination or testing to identify the underlying cause. A simple grooming record can be a helpful tool, but it should never replace a proper medical assessment when your dog has ongoing symptoms.
35. Build a Long-Term Dog Ear Care Habit

The best ear care routine is one that fits naturally into your dog’s everyday grooming schedule. You do not need complicated equipment or lengthy cleaning sessions to look after your pet’s ears. Regular inspections, appropriate cleaning when needed, and awareness of unusual symptoms are the most important habits. By taking a few moments to check your dog’s ears, you can become more familiar with their normal condition and identify changes that deserve attention.
As your dog becomes comfortable with grooming, maintain a gentle and predictable approach. Use suitable products, avoid inserting objects into the ear canal, and seek professional advice whenever you notice signs of irritation or infection. Remember that every dog is different, so the right cleaning schedule may change over time. A thoughtful, consistent Dog Ear Cleaning Routine can become a simple part of responsible pet ownership and help keep your furry companion comfortable.
Final Thoughts
Maintaining a healthy Dog Ear Cleaning Routine is an important part of responsible dog ownership. With a few simple supplies, gentle handling, and regular ear inspections, you can help keep your dog’s ears clean and comfortable. Remember that every dog has different grooming needs, so avoid cleaning too frequently or using products that have not been recommended for dogs.
The most important thing is to make ear cleaning a positive and stress-free experience. Be patient, reward your dog for cooperating, and always watch for signs of redness, swelling, unusual discharge, or unpleasant odors. If you notice anything unusual, consult your veterinarian rather than trying to treat the problem yourself. With consistency, patience, and proper care, you can make ear hygiene an easy part of your dog’s grooming routine and help your furry friend enjoy a healthier, happier life.