
10 Steps to Clean Your Dog’s Ears Safely
Your dog’s ears deserve just as much attention as their coat, paws, and teeth. Regular ear care can help remove excess dirt, manage wax buildup, and make it easier to notice early signs of irritation or infection. However, cleaning your dog’s ears incorrectly can cause discomfort or even damage delicate ear structures.
Learning how to Clean Your Dog’s Ears Safely is an important part of responsible pet ownership. Whether you have a playful puppy or an older dog, this beginner-friendly guide explains ten practical steps to make ear cleaning gentle, comfortable, and stress-free. You will also learn when not to clean your dog’s ears and when professional veterinary care is the better choice.
1. Check Your Dog’s Ears Before Cleaning
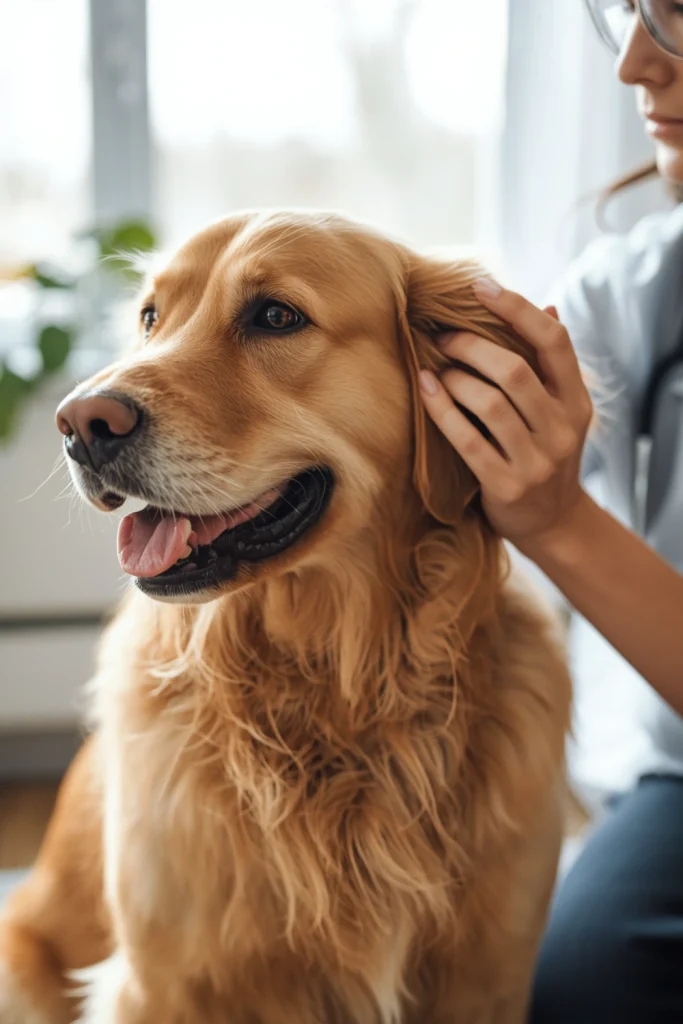
Before reaching for an ear-cleaning product, take a moment to examine your dog’s ears. Gently lift the ear flap and look at the visible area inside. Healthy ears are generally comfortable, without strong odors, significant redness, swelling, or unusual discharge. A small amount of light-colored wax can be normal.
Pay attention to anything that looks different from your dog’s usual ear condition. Dark discharge, excessive wax, a bad smell, redness, or visible swelling may indicate irritation or infection. If your dog repeatedly scratches their ears, shakes their head, or reacts painfully when you touch them, do not begin routine cleaning. Contact your veterinarian first.
2. Choose a Dog-Safe Ear Cleaning Solution
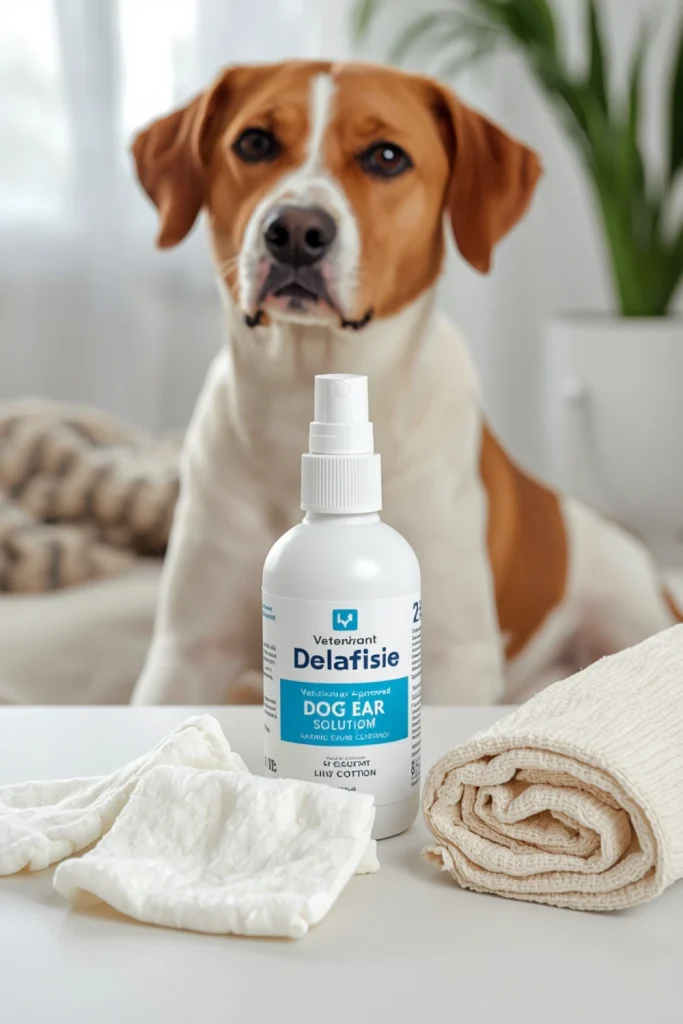
Selecting the right cleaning solution is one of the most important parts of learning to clean your dog’s ears safely. Use an ear cleaner specifically formulated for dogs and follow its label instructions. Veterinary-recommended products are a good choice, especially if your dog has sensitive ears or a history of ear problems.
Avoid using household cleaners, alcohol, hydrogen peroxide, vinegar mixtures, essential oils, or homemade solutions unless your veterinarian specifically recommends them. These substances may irritate delicate ear tissue or be unsuitable for an ear that is already inflamed. Never use a product simply because it is safe for human ears. Dogs have different ear-care needs, so choose a product designed for them.
3. Gather All Your Cleaning Supplies First
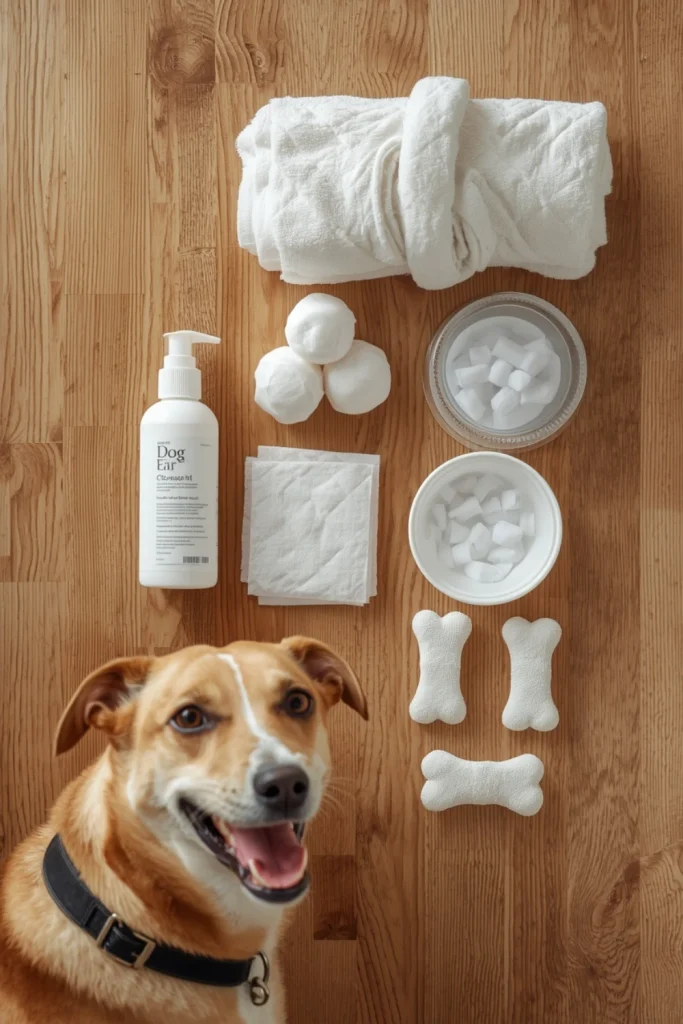
Preparing your supplies before starting can make the process easier and prevent unnecessary movement while your dog is sitting. You may need a dog-safe ear-cleaning solution, soft cotton balls or gauze pads, a clean towel, and a few small dog treats. Keep everything within reach so you can focus on your pet.
Avoid cotton swabs, pointed tools, hairpins, or anything that could accidentally enter the ear canal. These objects can push debris deeper or injure sensitive tissue. Soft cotton or gauze is suitable for gently wiping the visible outer ear. Having treats ready is also helpful because they allow you to reward calm behavior throughout the cleaning session.
4. Choose a Calm and Comfortable Location
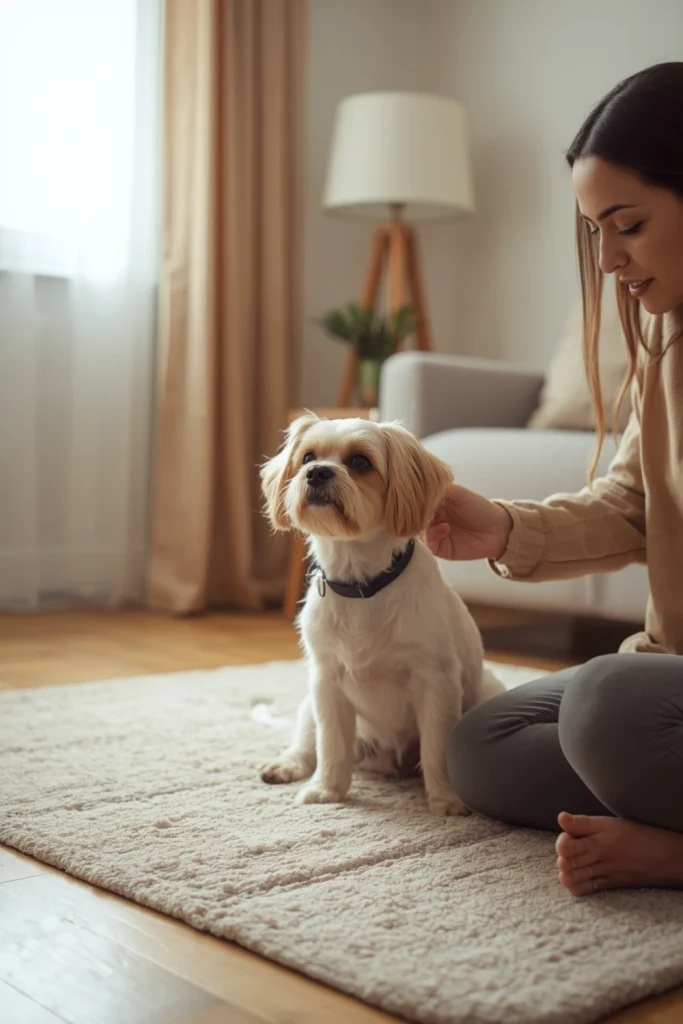
Your dog’s surroundings can make a big difference during ear cleaning. Choose a quiet room where your dog feels comfortable and familiar. Avoid busy areas with loud noises, children running around, or other pets creating distractions. A calm environment can help your dog remain relaxed and make the experience more positive.
Place a small dog on a stable surface only if it is safe and comfortable to do so. Larger dogs can usually sit or lie on a non-slip floor or comfortable mat. Never force your dog into a position that causes fear or discomfort. If your dog becomes nervous, pause and allow them to relax before continuing.
5. Gently Lift Your Dog’s Ear Flap
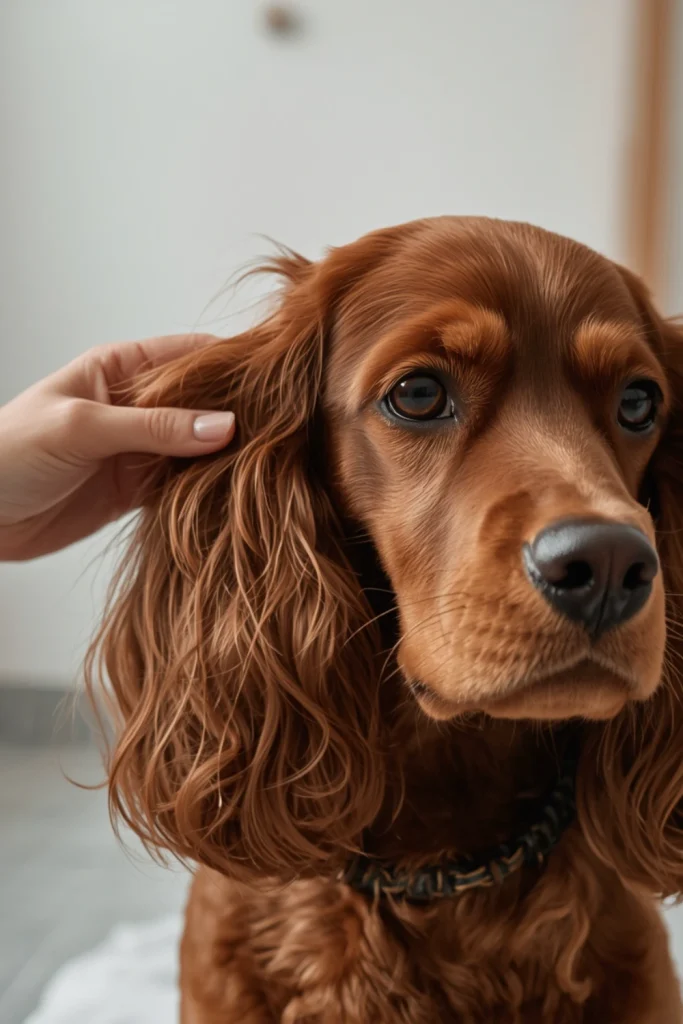
Once your dog is relaxed, gently lift the ear flap to expose the visible entrance of the ear canal. Use one hand to support the ear without pulling or stretching it. This position allows you to see the area more clearly and makes it easier to apply the cleaning solution according to the product instructions.
Be especially gentle with dogs that have sensitive ears, long floppy ears, or a history of ear discomfort. Do not pull the ear upward forcefully or try to open the canal with your fingers. If your dog moves away, cries, or shows signs of pain, stop immediately. Pain during handling can be a warning sign that veterinary assessment is needed.
6. Apply the Ear Cleaner According to Instructions
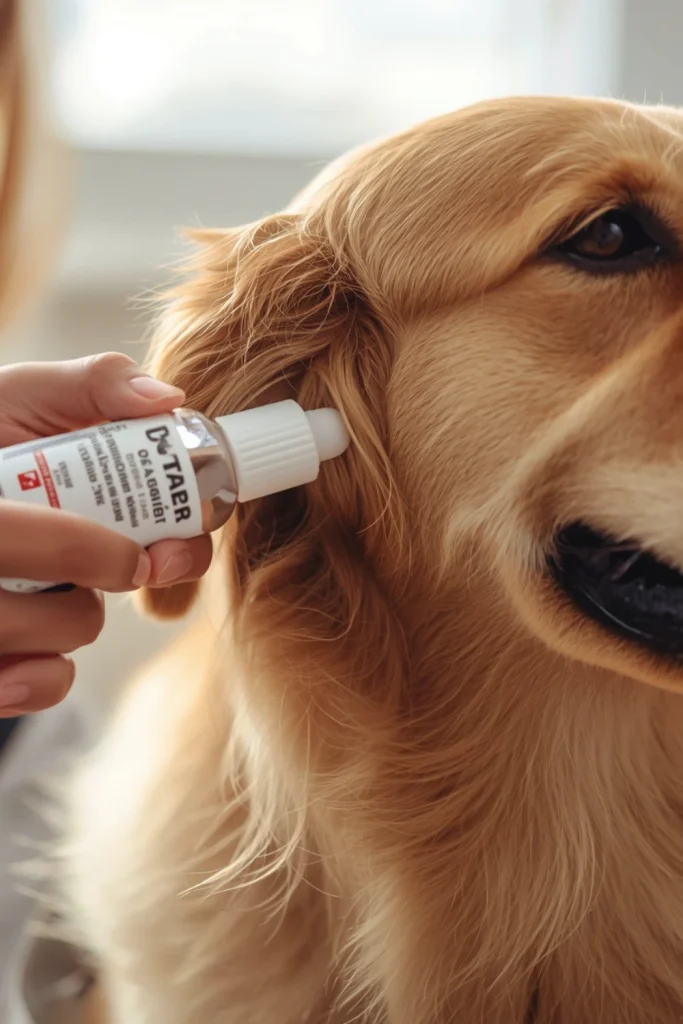
Read the instructions on your dog’s ear-cleaning solution before using it. Many dog ear cleaners are applied by placing the recommended amount into the ear canal, but the exact method and quantity depend on the product. Hold the bottle near the ear without allowing the tip to touch the ear itself, which helps prevent contamination.
Apply only the amount recommended on the label or by your veterinarian. Never push the bottle tip deep into the ear. If your dog has a damaged eardrum, an ear infection, or another ear condition, some cleaning products may be unsuitable. When you are unsure whether a solution is appropriate, ask your veterinarian before using it.
7. Gently Massage the Base of the Ear
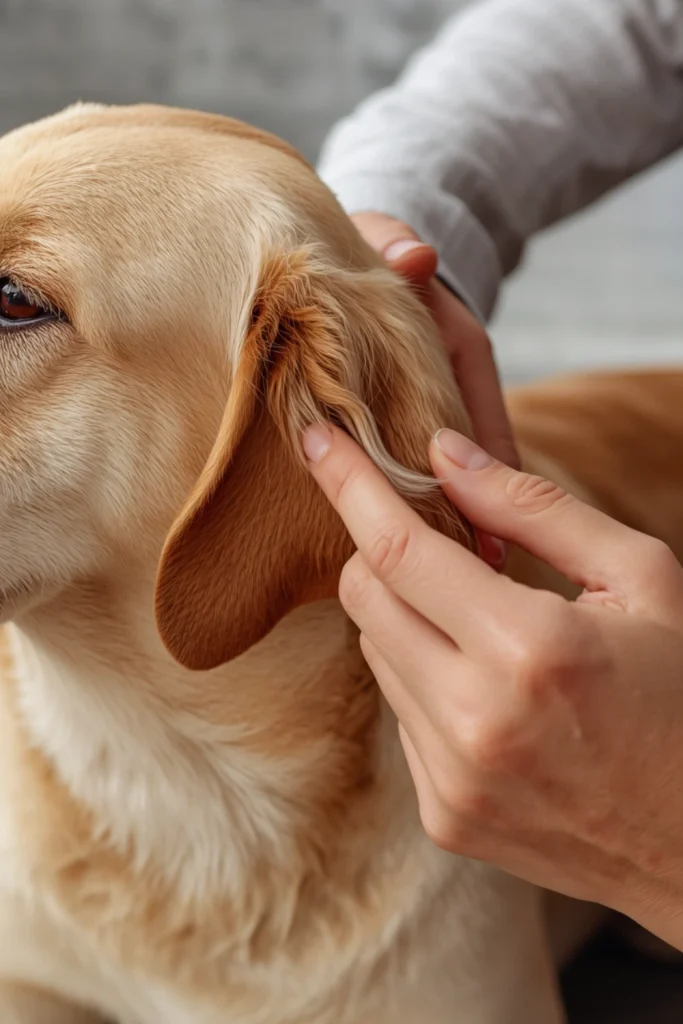
If the product instructions recommend it, gently massage the base of your dog’s ear for a short time after applying the cleaner. Use your fingertips to make soft circular movements around the outside of the ear. This can help distribute the solution and loosen debris inside the ear canal.
Keep your movements light and comfortable. You may hear a soft squishing sound as the cleaner moves inside the ear. That can happen with some products and is not necessarily a problem. However, stop if your dog cries, pulls away, or appears uncomfortable. Never squeeze the ear or press hard against the canal. Gentle handling is more important than trying to clean quickly.
8. Allow Your Dog to Shake Its Head
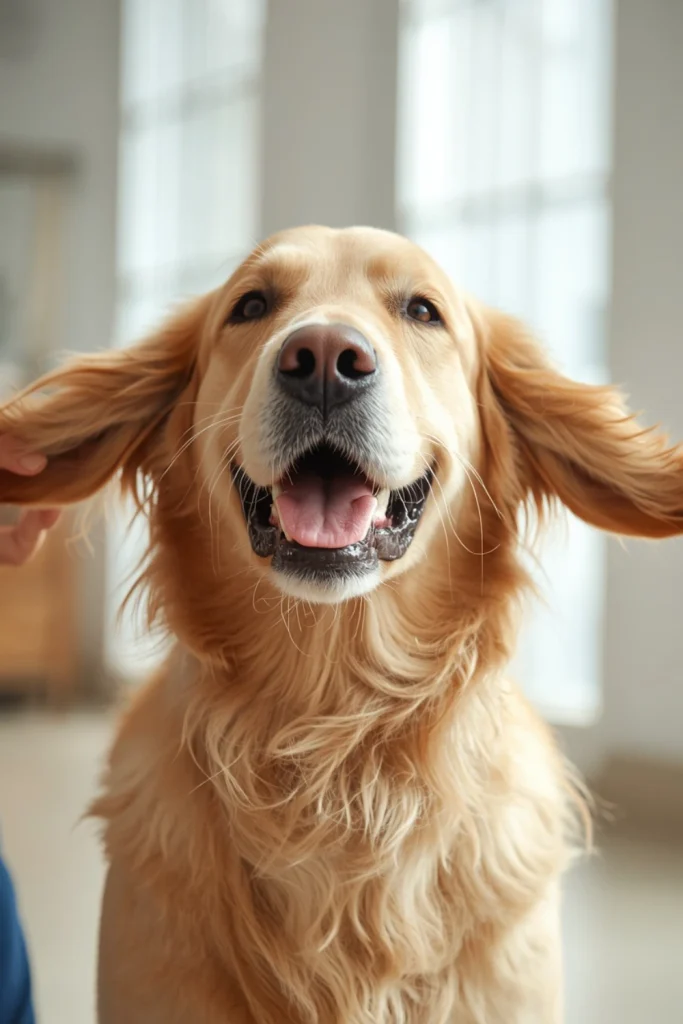
After the cleaning solution has been applied and massaged as directed, give your dog a little space to shake its head naturally. Many dogs instinctively shake after ear cleaning. This movement can help bring loosened debris and excess solution toward the outer part of the ear.
Let your dog shake without holding its head still or trying to prevent the movement. You may want to keep a towel nearby because a small amount of cleaner or loosened wax may come out. If your dog shakes its head repeatedly long after cleaning, seems dizzy, or shows signs of pain, stop and contact your veterinarian. Persistent head shaking should not be treated as a normal cleaning response.
9. Wipe the Visible Outer Ear Gently
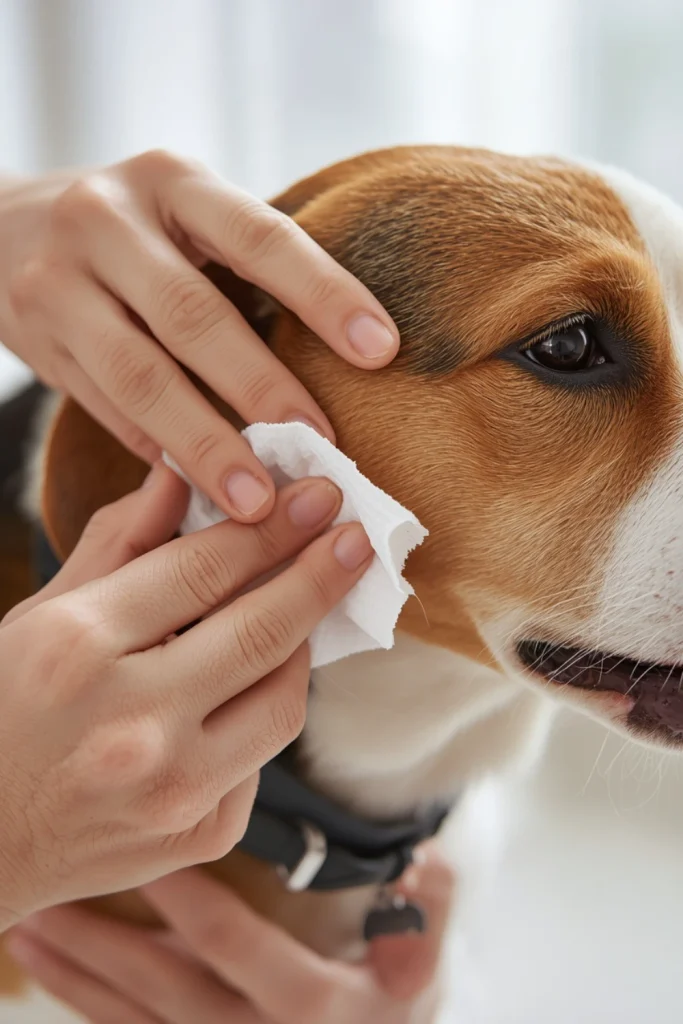
Once your dog has finished shaking, use a soft cotton ball or clean gauze pad to wipe away loosened wax and excess cleaner from the visible outer ear. Work slowly and gently, cleaning only the areas you can easily see. Use a fresh piece of cotton or gauze if the material becomes dirty.
Never push cotton balls, gauze, or cotton swabs deep into the ear canal. The goal is to remove visible debris from the outer ear, not to reach far inside. Avoid rubbing irritated skin or trying to remove stubborn material. If you notice unusual discharge, blood, a strong smell, or material that does not wipe away easily, stop and seek veterinary advice.
10. Reward Your Dog and Make Ear Care a Positive Habit
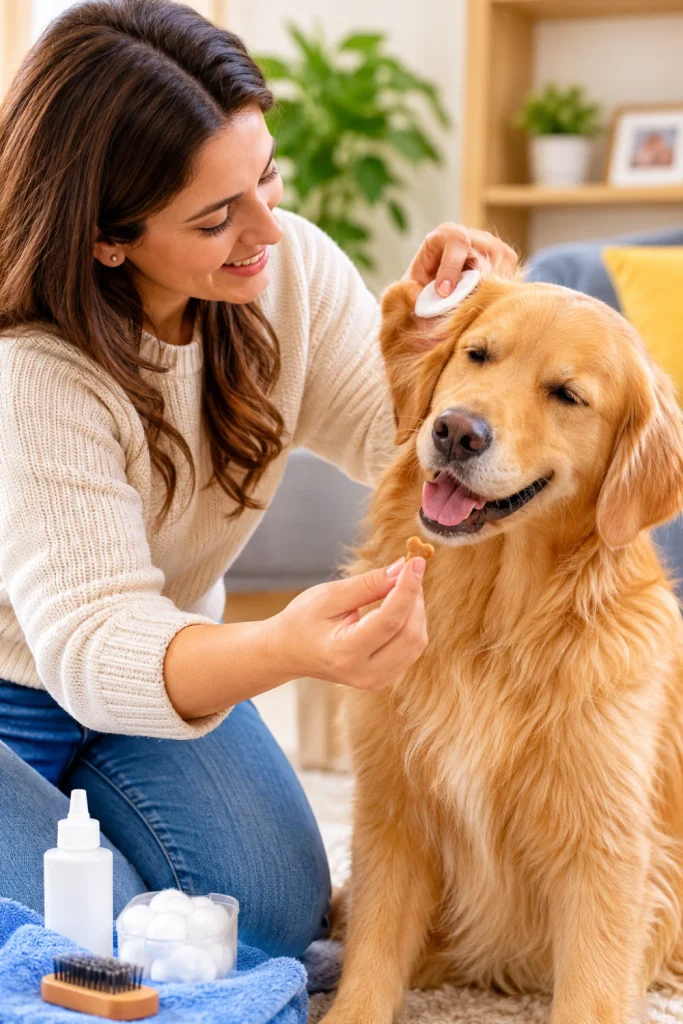
Finish the cleaning session by praising your dog and offering a small treat. Positive rewards help your pet connect ear care with a pleasant experience. Use a gentle voice, give your dog some attention, and allow them to relax afterward. This can make future cleaning sessions easier, especially for puppies and dogs that are new to grooming routines.
Keep future sessions short and follow a cleaning schedule recommended for your dog’s individual needs. Some dogs need occasional cleaning, while others may require a different routine because of their ear shape or medical history. Avoid cleaning too often simply because you want the ears to look spotless. Consistent, gentle care is better than unnecessary cleaning.
Final Thoughts
Learning how to Clean Your Dog’s Ears Safely can make routine grooming easier and help you pay attention to your pet’s ear health. The most important habits are choosing a dog-safe cleaning solution, handling the ears gently, avoiding cotton swabs inside the canal, and cleaning only when necessary.
Remember that every dog has different ear-care needs. Some dogs need occasional cleaning, while others may require a veterinarian-guided routine. Never try to clean through pain, unusual discharge, swelling, or a strong odor. When something does not look or feel right, professional veterinary advice is the safest next step.
With patience, gentle handling, and positive rewards, you can make ear care a comfortable part of your dog’s grooming routine while helping your furry friend stay happy and healthy.