
A Simple Puppy Ear Cleaning Guide for Beginners
Puppies are curious, playful, and full of energy, but keeping them healthy requires more than regular feeding, bathing, and brushing. Ear care is another important part of a puppy’s grooming routine that many new owners overlook. Learning how to clean your puppy’s ears properly can help remove excess dirt, manage wax buildup, and support good ear hygiene.
If you are a first-time puppy owner, you might feel nervous about cleaning those tiny ears. The good news is that a Puppy Ear Cleaning Guide can make the process simple and comfortable. With the right supplies, gentle techniques, and a little patience, you can help your puppy become familiar with ear cleaning while making grooming a positive experience.
1. Understand Why Puppy Ear Cleaning Is Important

A puppy’s ears need regular attention because dirt, moisture, and natural earwax can collect inside the ear canal. Although a small amount of earwax is completely normal, excessive buildup may cause discomfort or create an environment where ear problems develop. Cleaning your puppy’s ears when necessary helps maintain hygiene and allows you to notice unusual changes before they become more serious. Different puppies have different ear-care needs depending on their breed, ear shape, activity level, and health.
Regular ear checks are also an excellent opportunity to understand what your puppy’s ears normally look and smell like. Healthy ears generally have no strong unpleasant odor and should not appear excessively red, swollen, or irritated. By making ear inspections part of your grooming routine, you can recognize changes more quickly. Remember that cleaning is not always necessary every week. Your puppy’s ears should be cleaned according to their individual needs and veterinary advice.
2. Learn the Basic Structure of Your Puppy’s Ears
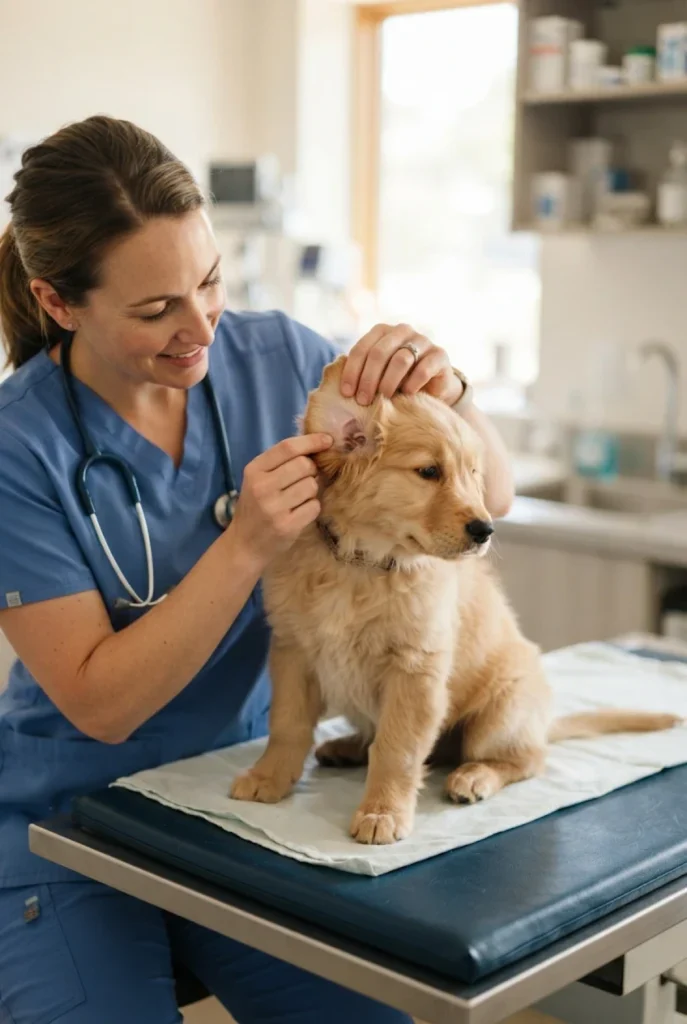
Before starting an ear-cleaning routine, it helps to understand the basic structure of your puppy’s ears. The visible outer ear is called the pinna, and it may stand upright or hang down depending on the breed. Behind this visible area is the ear canal, which extends inward and has a curved structure. Because the ear canal is delicate, you should never insert cotton swabs, fingers, or other objects deeply inside it. Doing so can push debris further inside or cause injury.
Understanding this structure helps you clean only the areas that are safe to reach. Your main focus should be the visible ear flap and the entrance of the ear canal. A veterinarian can demonstrate the correct cleaning technique for your puppy if you are unsure. Never attempt to reach deep into the canal simply because you notice some wax. Gentle cleaning of the accessible areas is generally sufficient for routine home grooming.
3. Check Your Puppy’s Ears Before Cleaning
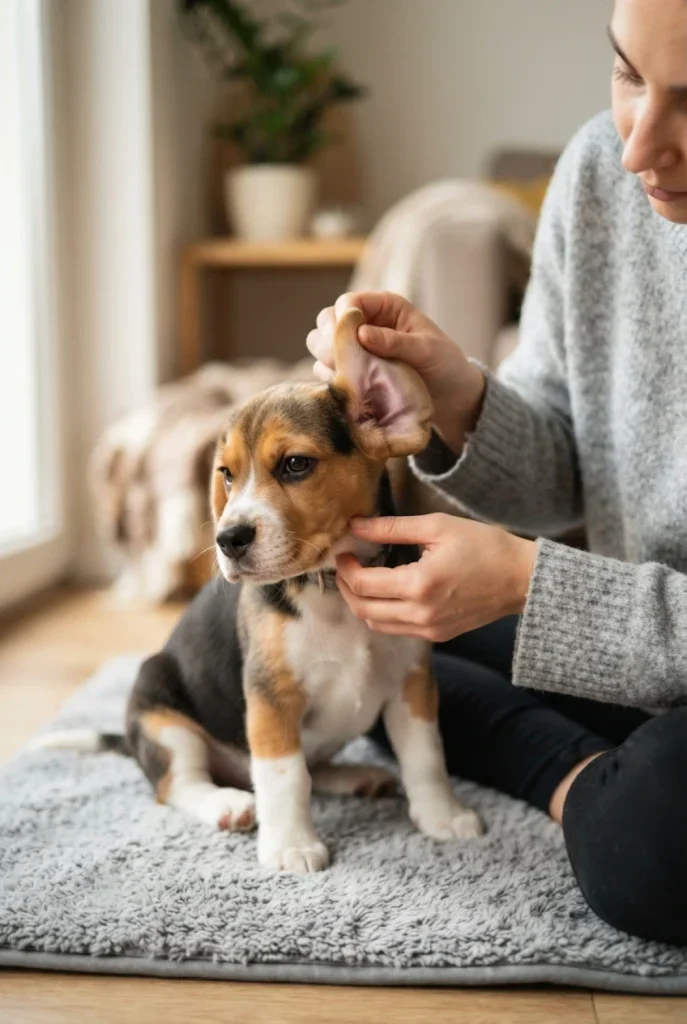
Always examine your puppy’s ears before using any cleaning product. Gently lift the ear flap and look at the visible area for dirt, wax, redness, swelling, or unusual discharge. A small amount of light-colored wax can be normal, but dark discharge, excessive moisture, or a strong unpleasant smell may indicate an underlying problem. Pay attention to your puppy’s behavior as well. If your puppy pulls away, cries, or becomes uncomfortable when you touch its ears, avoid continuing the cleaning process.
An ear inspection should be gentle and should never involve forcing your puppy to remain still. If you notice persistent redness, pain, a bad smell, discharge, or frequent head shaking, contact your veterinarian before cleaning. These signs may indicate an infection, irritation, mites, or another condition that requires proper treatment. Cleaning an infected ear without veterinary guidance can make the situation worse. A quick inspection helps you decide whether routine cleaning is appropriate or professional attention is needed.
4. Choose the Right Puppy Ear Cleaning Solution
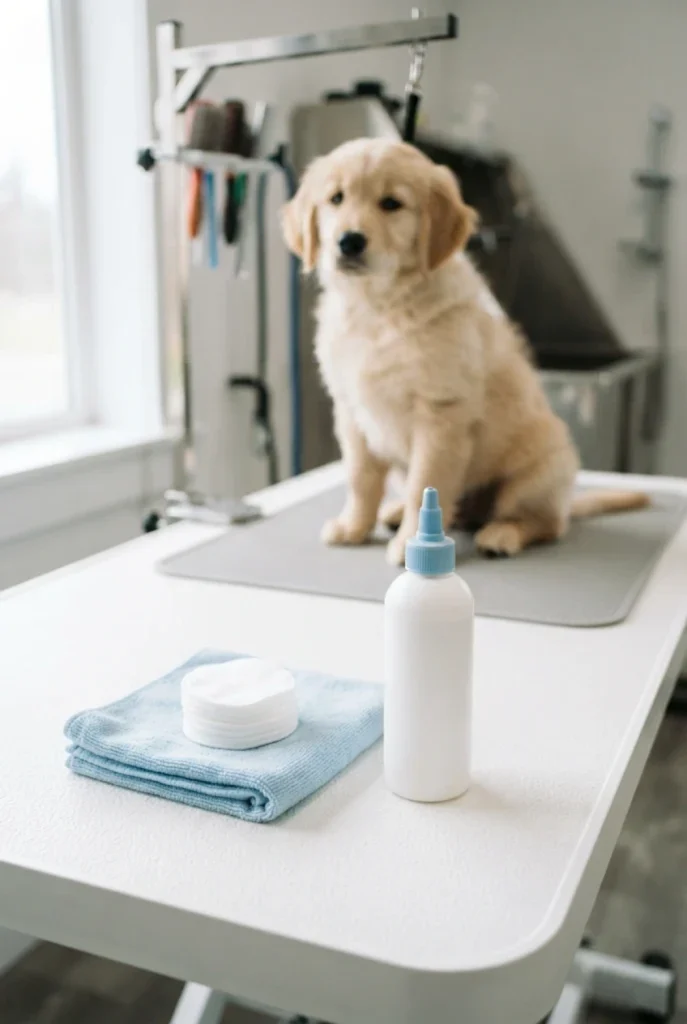
Choosing an appropriate ear-cleaning solution is one of the most important steps in safe puppy grooming. Always select a veterinary-approved ear cleaner that is suitable for dogs and appropriate for your puppy’s age. These products are specifically designed to help loosen ordinary wax and remove debris without unnecessarily irritating sensitive ear tissue. Some cleaners are formulated for puppies, while others are intended for particular ear-care needs. Check the product instructions and ask your veterinarian which option is best.
Avoid using homemade mixtures, alcohol, hydrogen peroxide, vinegar, essential oils, or human ear-cleaning products unless your veterinarian specifically recommends them. These substances may irritate delicate ear tissue or cause discomfort, particularly if the ear canal is already inflamed. A gentle, dog-specific cleaner is usually the better choice for routine hygiene. If your puppy has a history of ear infections, allergies, or sensitive skin, professional advice is especially important before introducing a new product.
5. Gather All the Necessary Cleaning Supplies
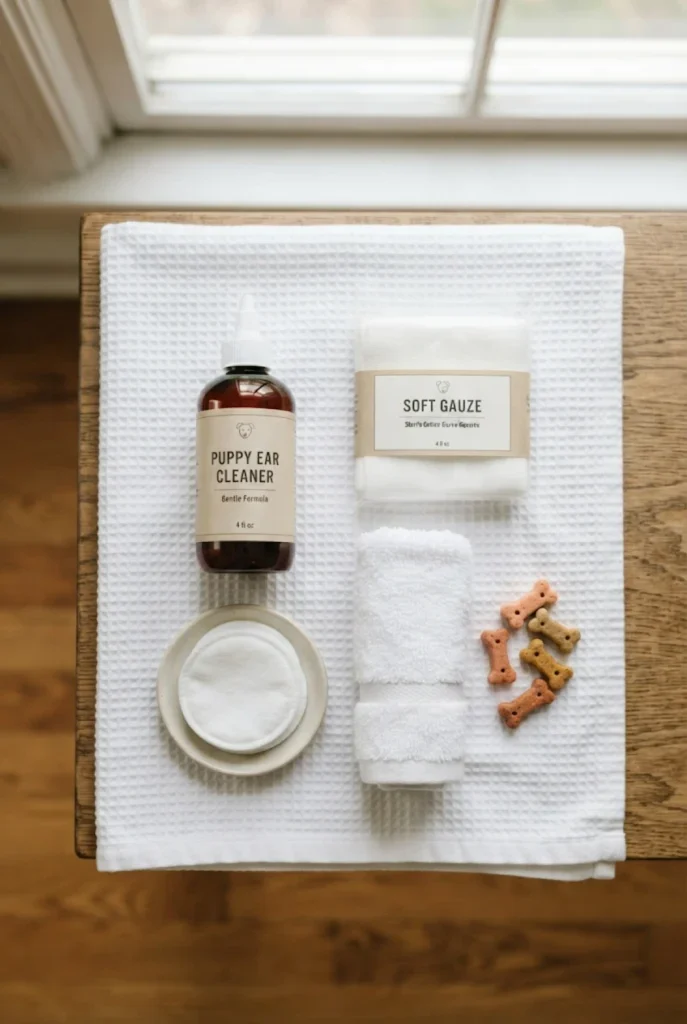
Preparing your supplies before starting makes the entire cleaning process easier and less stressful. You generally need a dog-specific ear-cleaning solution, soft cotton pads or gauze, a clean towel, and a few small treats. Keep everything within reach so you do not have to leave your puppy unattended during the process. Choose cotton pads that feel soft and do not easily break apart. Rough materials may irritate the sensitive skin around the ear opening, so gentle supplies are always preferable.
Avoid using cotton swabs or sharp grooming tools inside your puppy’s ears. Even if you think you are being careful, these objects can accidentally injure the ear canal or push wax deeper inside. Keep your supplies clean and use fresh cotton pads for each ear. Having everything organized also helps you complete the routine without unnecessary interruptions. A simple grooming kit can make puppy ear cleaning more convenient, especially when you are still learning the correct technique.
6. Choose a Calm and Comfortable Location
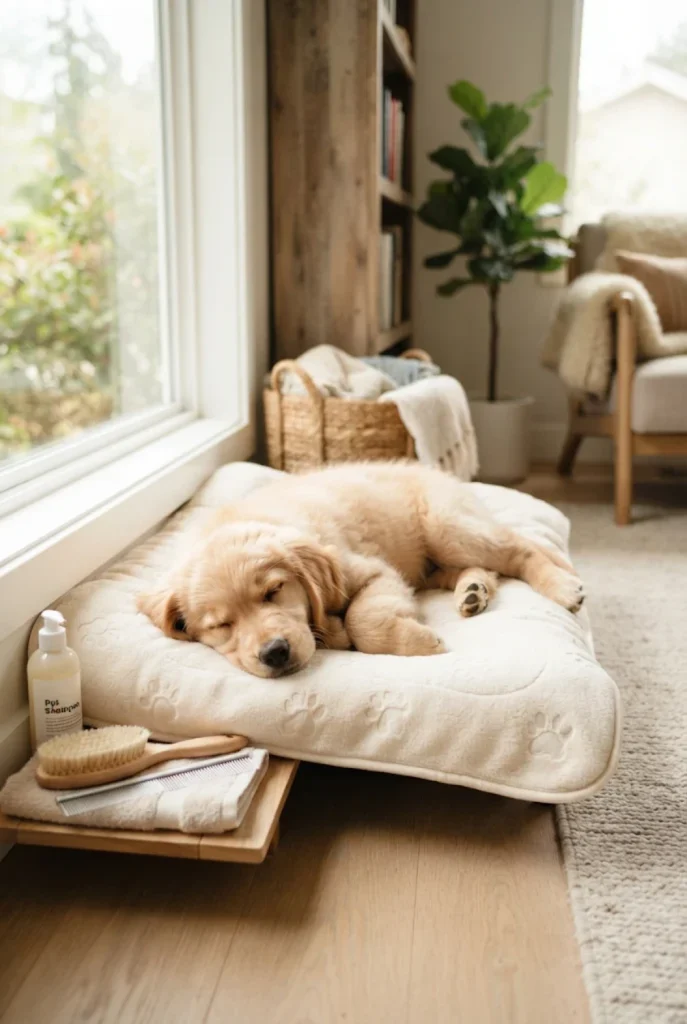
The environment you choose can make a big difference in how your puppy responds to ear cleaning. Select a quiet room where there are no loud noises, sudden movements, or other pets creating distractions. A familiar location can help your puppy feel more secure. You might use a soft grooming mat on the floor or a stable low surface, depending on your puppy’s size and comfort. Make sure the area is well-lit so you can clearly see the outer ear.
Avoid cleaning your puppy’s ears when it is overly excited, frightened, or tired. Instead, choose a relaxed time after a gentle play session or when your puppy is naturally calm. Speak softly and allow your puppy to explore the grooming area before beginning. A comfortable environment helps reduce anxiety and makes it easier to introduce new grooming habits. If your puppy becomes stressed, pause and try again later rather than forcing the process.
7. Help Your Puppy Get Comfortable With Ear Handling
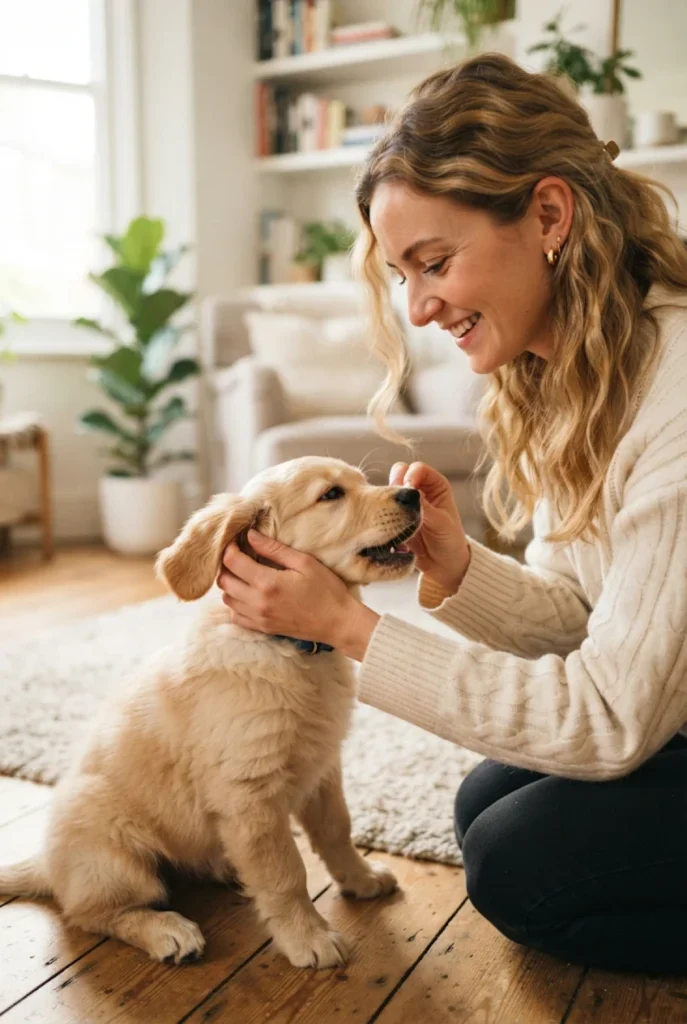
Many puppies are not immediately comfortable having their ears touched. This is completely normal, especially if they have never experienced grooming before. Start by gently touching your puppy’s head and cheeks, then gradually move your hand toward the outer ears. Keep each interaction short and offer a small treat whenever your puppy remains relaxed. This teaches your puppy that gentle ear handling is associated with positive experiences rather than something frightening.
Repeat this simple exercise regularly before introducing an actual cleaning solution. You can gently lift each ear flap for a few seconds and then reward your puppy. Never pull, squeeze, or hold the ears too tightly. If your puppy moves away, give it a moment to relax before trying again. Building trust takes time, but these small practice sessions can make future grooming easier. A puppy that feels comfortable with ear handling is more likely to cooperate during routine health checks.
8. Position Your Puppy Safely Before Cleaning
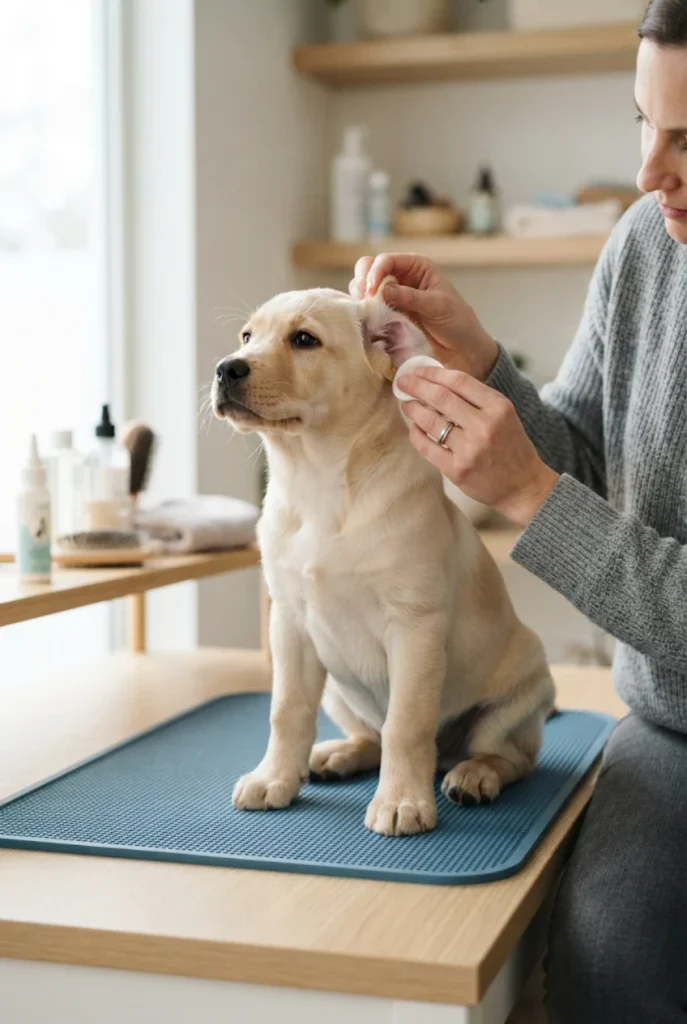
Once your puppy is comfortable with gentle ear handling, help it settle into a safe position. Small puppies can usually sit on a soft non-slip mat while their owner sits beside them. Larger puppies may feel more comfortable standing on the floor. Choose a position that allows you to reach the ears without twisting your puppy’s neck or putting pressure on its body. Your puppy should be able to breathe comfortably and move naturally.
Never restrain your puppy forcefully or hold its head tightly during cleaning. If you need help, ask another trusted person to gently comfort the puppy while you handle the cleaning supplies. Keep your movements slow and predictable. For nervous puppies, cleaning one ear at a time may be easier than trying to complete everything immediately. The goal is to create a safe and positive grooming experience rather than finishing the process as quickly as possible.
9. Apply the Ear-Cleaning Solution Correctly
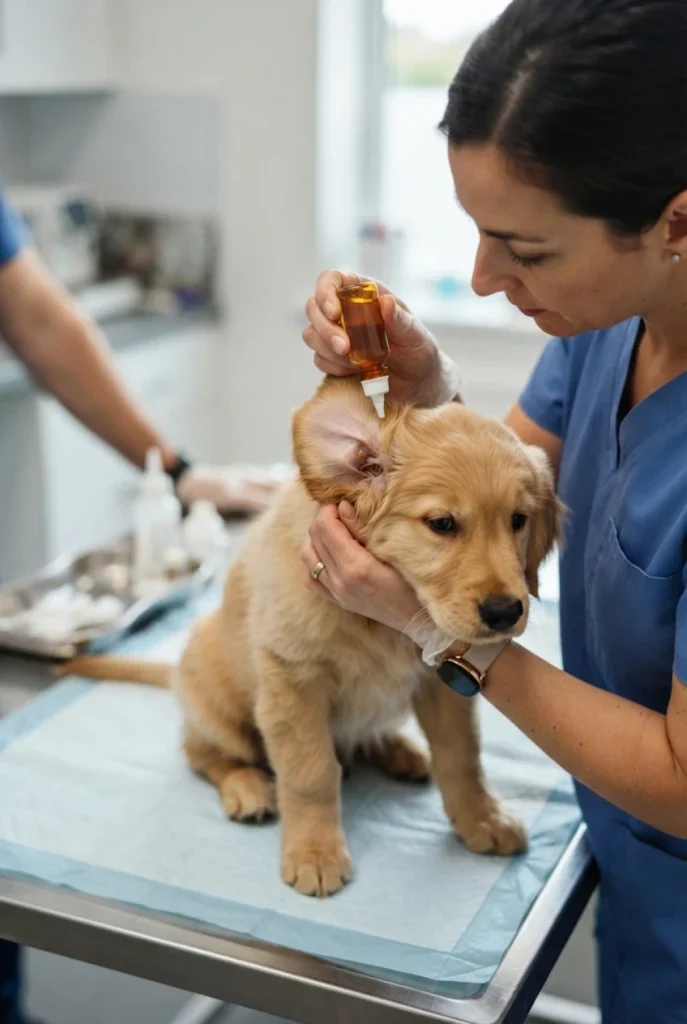
After checking the ears and preparing your supplies, read the instructions on your veterinary-approved ear cleaner. If the product is suitable for your puppy and there are no signs of infection or injury, gently lift the ear flap and apply the recommended amount of solution according to the manufacturer’s directions. Avoid allowing the bottle tip to touch the ear or skin, as this can contaminate the product. Use only the quantity recommended on the label or by your veterinarian.
Some dog ear cleaners are designed to be applied directly into the ear canal, while others may have different instructions. Follow the specific directions rather than assuming every product works the same way. If your puppy shows pain, suddenly pulls away, or cries, stop immediately. Never force liquid into an ear that appears inflamed or painful. When you are uncertain about the correct application method, ask your veterinarian to demonstrate it during an appointment.
10. Gently Massage the Base of the Ear
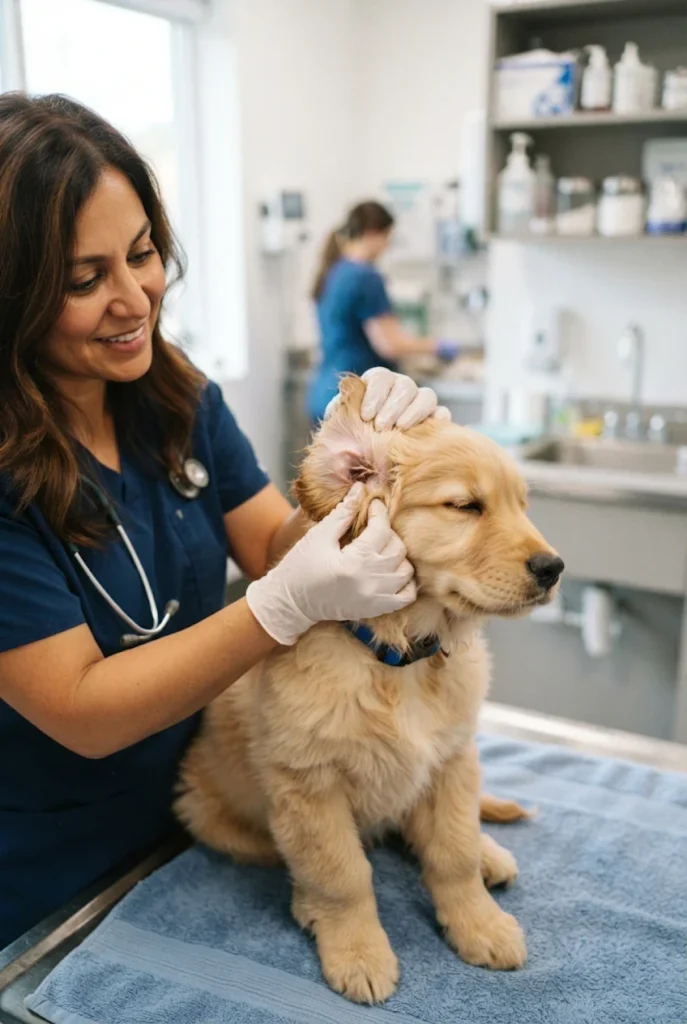
Some veterinary ear cleaners are designed to loosen wax and debris through gentle massage. If your chosen product’s instructions recommend it, gently hold the base of your puppy’s ear and massage the area for the recommended time. Use your fingertips and apply only light pressure. You may hear a soft squishing sound as the liquid moves inside the ear canal. This can be normal when using products designed for this cleaning method.
However, massage should never cause pain. If your puppy cries, struggles, or shows signs of discomfort, stop and contact your veterinarian. Avoid pressing hard or squeezing the ear. Not every ear-cleaning product requires massage, so always follow the instructions on the bottle. A gentle approach is especially important for young puppies because their ears are sensitive. Keeping the experience calm will also help your puppy become more comfortable with future grooming sessions.
11. Allow Your Puppy to Shake Its Head Naturally
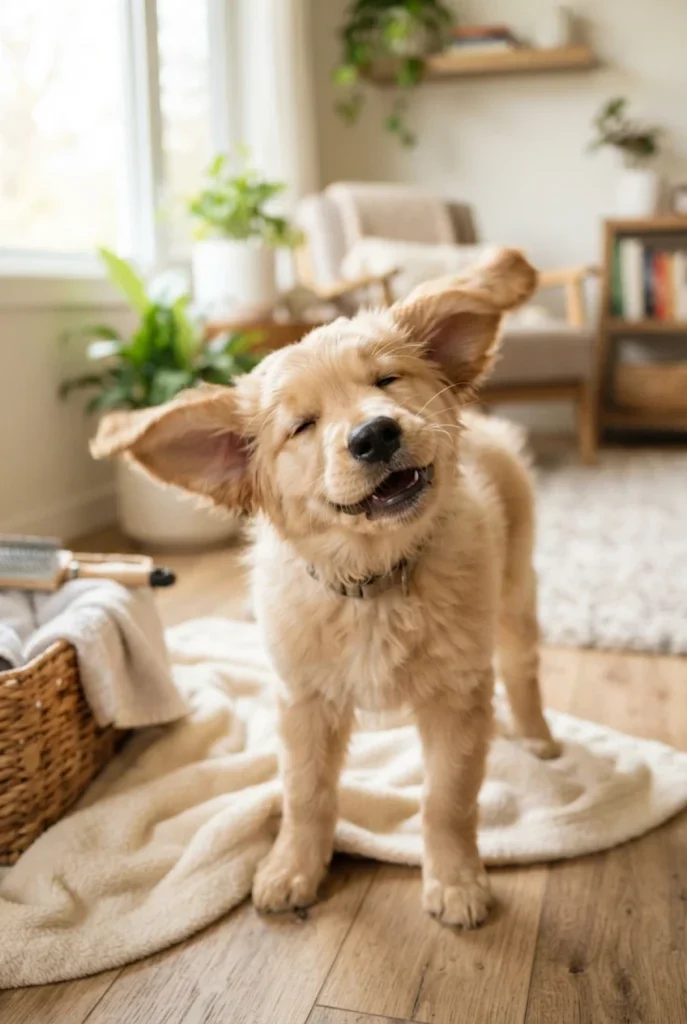
After applying an ear cleaner, some puppies naturally shake their heads. This movement can help bring loosened wax and cleaning solution toward the outer ear opening. If your veterinarian-approved product’s instructions recommend this step, allow your puppy to shake its head naturally. You may want to keep a towel nearby because a small amount of liquid or loosened debris can come out during the process.
Do not try to hold your puppy’s head still or prevent normal movement. Give it enough space to shake comfortably without bumping into furniture or other objects. However, repeated or intense head shaking outside the cleaning process may indicate irritation or an ear problem. If your puppy continues shaking its head, scratches its ears, or appears uncomfortable, stop cleaning and arrange a veterinary examination. Normal occasional shaking and persistent discomfort should not be confused.
12. Clean the Visible Outer Ear With a Cotton Pad

Once the cleaning solution has loosened debris according to its instructions, use a fresh soft cotton pad or gauze to gently wipe the visible outer ear. Focus on the ear flap and the areas around the entrance of the ear canal that you can easily see. Use slow movements and avoid rubbing the skin aggressively. If you notice dirt or wax on the cotton pad, replace it with a clean one instead of spreading debris back over the ear.
Never push the cotton pad deep into the ear canal. You should only clean areas that are easily accessible without inserting your fingers or materials inside. If dirt appears to be located deeper in the canal, leave it for your veterinarian or follow the cleaner’s specific instructions. Gentle wiping is usually enough to remove loosened surface debris. Your puppy’s comfort should always be more important than achieving perfectly spotless ears.
13. Use a Separate Cotton Pad for Each Ear
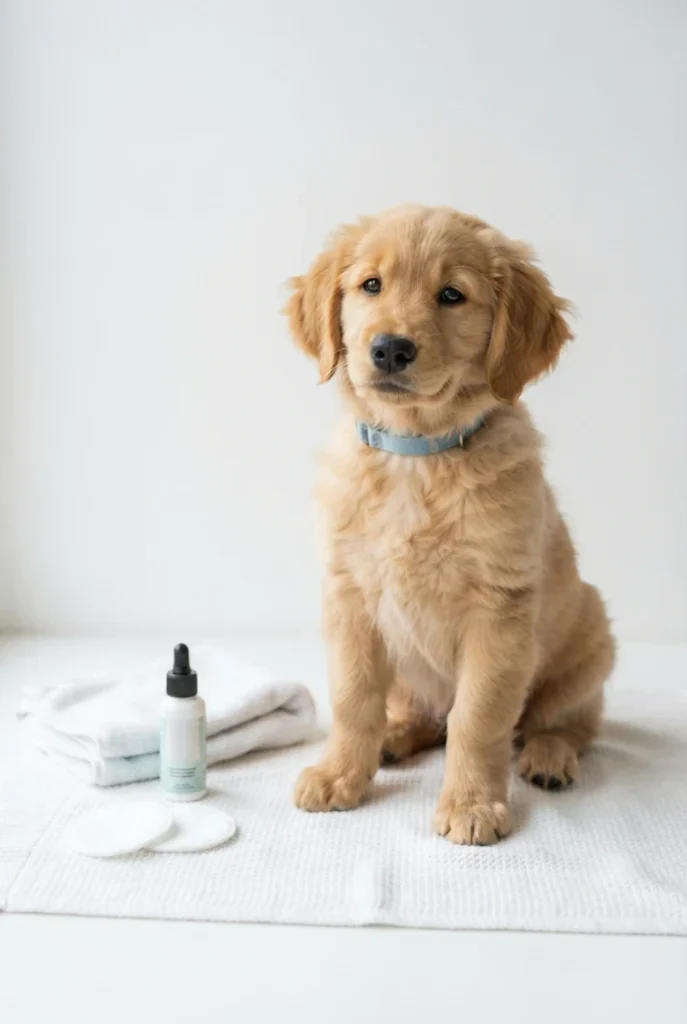
Using a fresh cotton pad for each ear is a simple habit that helps keep the cleaning process hygienic. One ear may contain more wax, dirt, or moisture than the other. Reusing the same cotton pad can transfer debris from one ear to another. Instead, prepare several clean pads before starting and replace them whenever they become dirty. This makes the process easier and reduces unnecessary contact with contaminated material.
You should also avoid using one heavily soiled pad repeatedly on the same ear. If the cotton pad becomes dirty, discard it and use another clean one. Keep your hands clean throughout the process, especially when moving between ears. These small hygiene habits are easy to follow and can make home grooming more organized. Remember that the purpose of cleaning is to remove ordinary visible debris gently, not to repeatedly scrub the ears until every trace of wax disappears.
14. Dry the Outer Ear Gently

After cleaning, gently dry any remaining moisture on the visible outer ear with a clean, soft towel or dry gauze. Pay attention to the folds of the ear flap, where moisture may collect. Keeping the accessible outer ear comfortably dry is particularly helpful for puppies with floppy ears. These ears may receive less airflow than upright ears, making regular inspections important. Always use gentle movements and avoid rubbing the skin too firmly.
Do not use a hair dryer, heated towel, or direct source of hot air near your puppy’s ears. Excessive heat may irritate delicate skin or frighten your puppy. You should also never insert a towel or cotton material deep into the ear canal to remove moisture. If you suspect water or cleaning solution has become trapped inside the ear and your puppy appears uncomfortable, ask your veterinarian for advice. Proper drying should be gentle and limited to areas you can safely reach.
15. Reward Your Puppy After Ear Cleaning
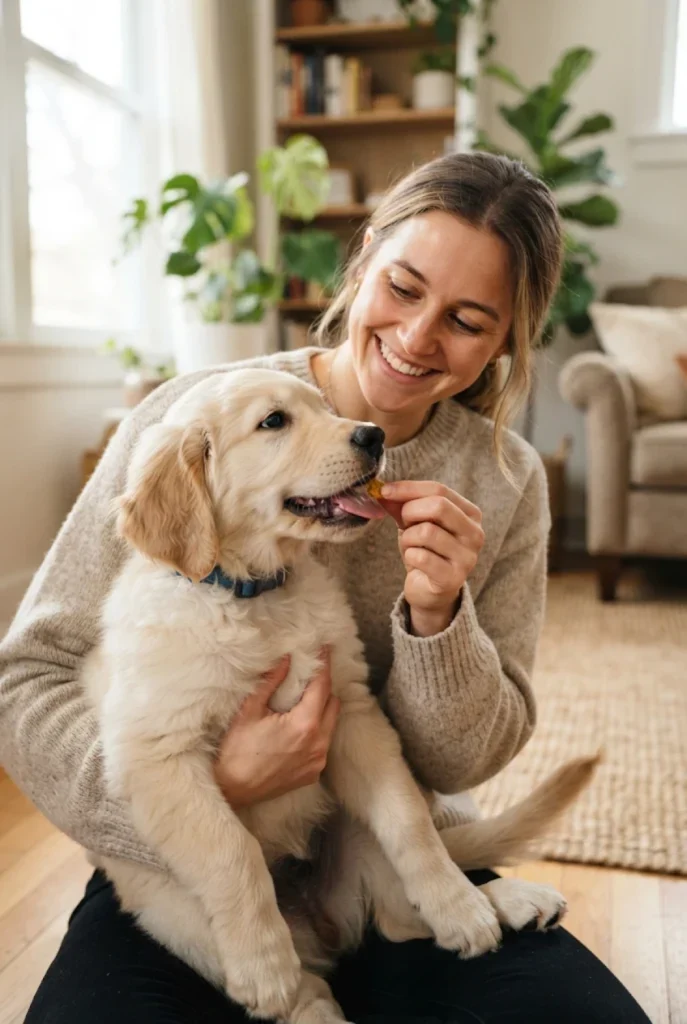
Positive reinforcement can make ear cleaning much easier for beginners. Once you finish a short cleaning session, offer your puppy a small age-appropriate treat, gentle praise, or a favorite toy. This helps your puppy connect grooming with pleasant experiences. Even if your puppy only allows you to inspect one ear or complete a small part of the routine, reward its cooperation. Progress does not have to happen all at once.
Keep the reward experience calm and enjoyable. Avoid giving too many treats, especially if your puppy has dietary restrictions or a sensitive stomach. You can also use praise and affection if your puppy responds better to attention than food. Over time, these positive experiences can help your puppy become more confident during grooming. A puppy that trusts its owner is generally easier to examine, handle, and care for throughout its life.
16. Understand How Often Puppies Need Ear Cleaning
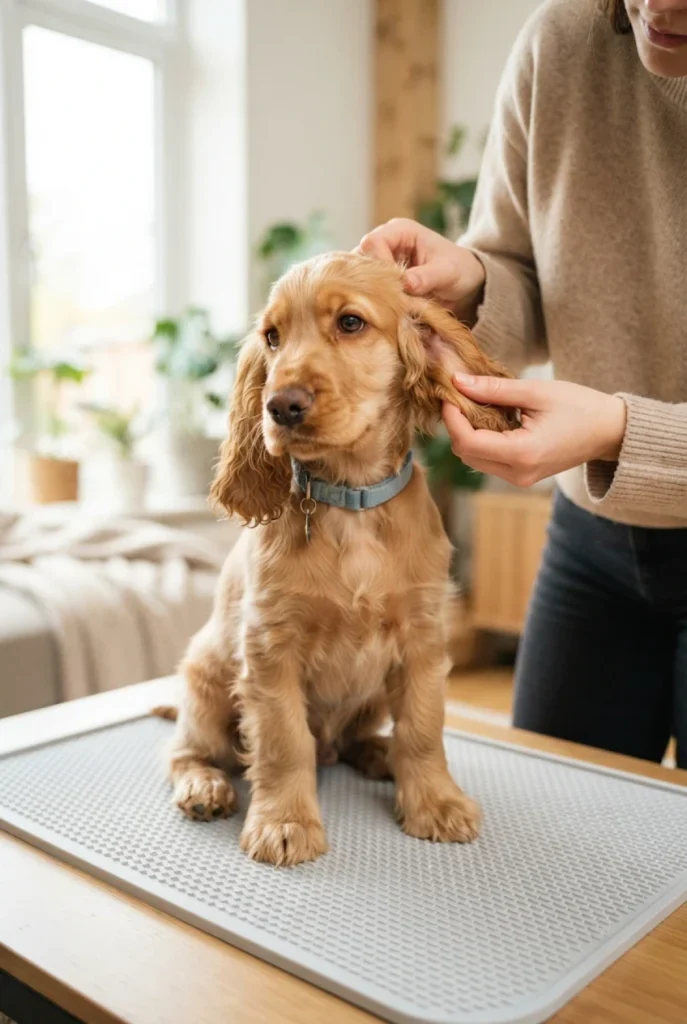
One common question among new puppy owners is how often they should clean their puppy’s ears. The answer depends on the puppy’s breed, ear shape, lifestyle, and individual ear health. Some puppies naturally produce less wax and may only need occasional cleaning. Others, particularly those with floppy ears or a history of ear problems, may require more frequent inspections and a veterinarian-approved cleaning schedule.
Avoid cleaning your puppy’s ears every day unless your veterinarian specifically recommends it. Excessive cleaning can irritate the skin and disturb the ear’s natural protective environment. A good starting point is to inspect the ears regularly and clean them only when there is visible buildup or when your veterinarian advises you to do so. Always follow the recommendations of your puppy’s veterinary professional rather than using a strict schedule that may not suit every dog.
17. Pay Special Attention to Puppies With Floppy Ears

Puppies with long, floppy ears may need more frequent ear inspections than some puppies with upright ears. Their hanging ear flaps can reduce airflow around the ear opening, and moisture may remain in the folds after bathing or outdoor activities. Breeds such as Cocker Spaniels, Basset Hounds, and some types of Spaniels have naturally long ears that deserve particular attention. However, floppy ears do not automatically mean that a puppy has an ear problem.
The best approach is to check the ears regularly for moisture, excessive wax, unpleasant odors, and irritation. Keep the visible ear flaps clean and dry when necessary, but avoid excessive wiping or unnecessary cleaning. If your puppy frequently scratches its ears or shakes its head, consult a veterinarian. Individual ear-care needs vary, even among puppies of the same breed. A professional can recommend an appropriate routine based on your puppy’s health and ear structure.
18. Take Extra Care With Puppies That Have Upright Ears
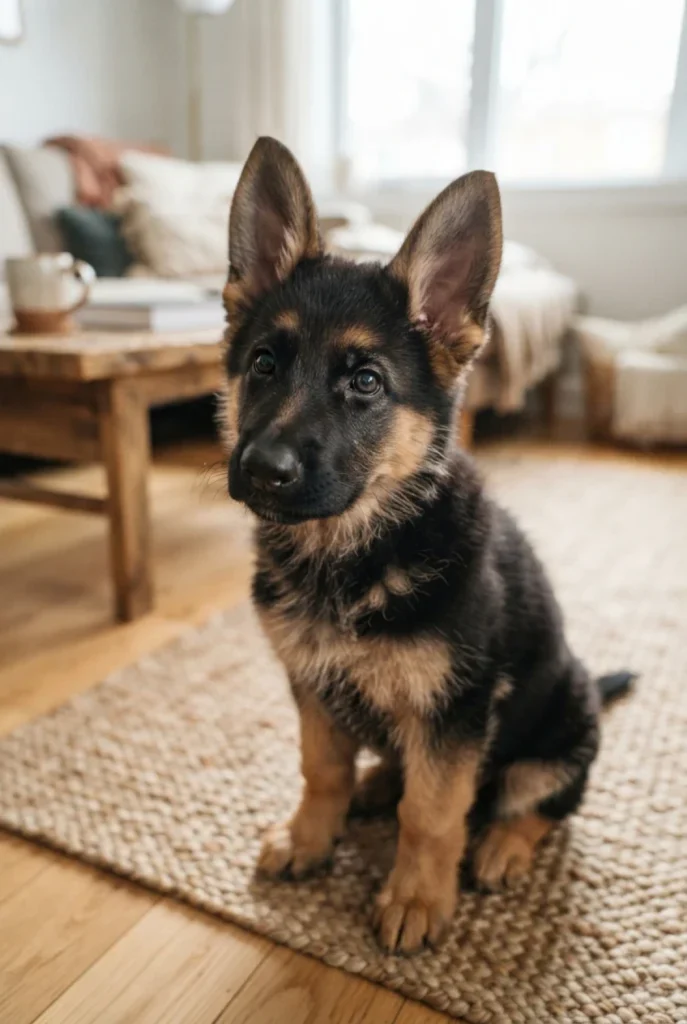
Puppies with upright ears, such as German Shepherds, Siberian Huskies, and some Terriers, also need regular ear inspections. Their ears may allow more airflow, but that does not mean they are completely protected from dirt, wax buildup, or irritation. Outdoor activities can expose puppies to dust, grass, and other environmental debris. Regularly checking the visible ear area helps you notice changes that may otherwise go unnoticed.
When cleaning upright ears, gently lift or support the ear flap as needed and inspect the visible area. Use a veterinary-approved cleaner only when cleaning is necessary and follow its instructions. Never assume that upright ears need less attention or that they are safe from infections. Every puppy is different, and the correct grooming routine depends on individual health rather than ear shape alone. Gentle handling and regular observation are the most useful habits to develop.
19. Keep Your Puppy’s Ears Clean After Bathing
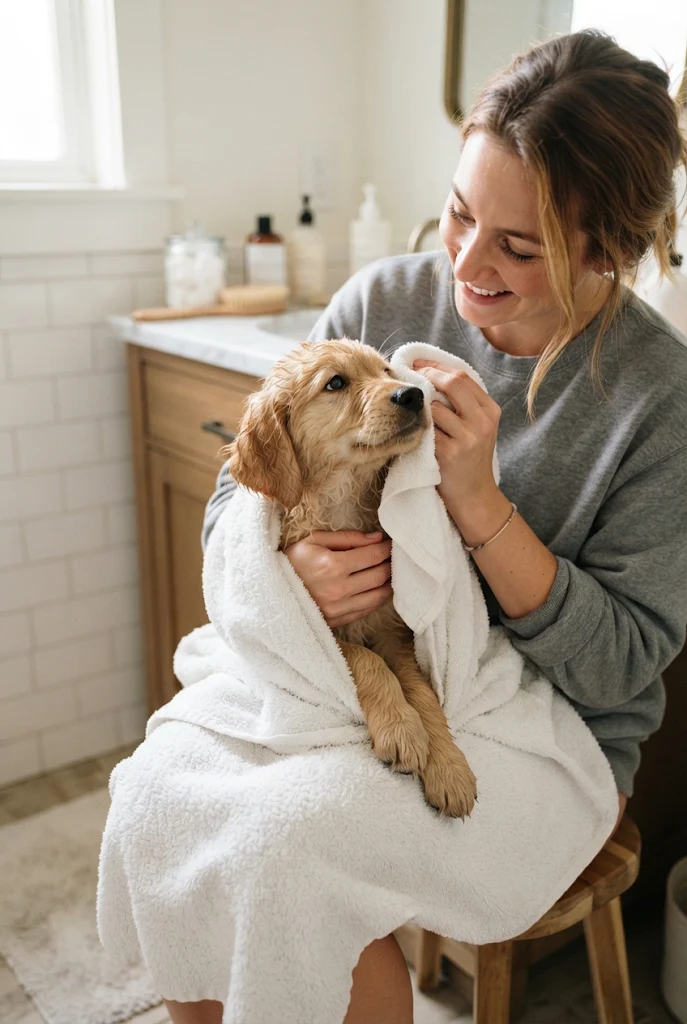
Bath time is another opportunity to pay attention to your puppy’s ears. Water and shampoo should not be allowed to enter the ear canals because trapped moisture and irritation may contribute to ear problems. When bathing your puppy, gently wash around the head while avoiding direct water streams toward the ears. You can use a damp cloth to clean the face and nearby fur instead of pouring water over the head.
After bathing, inspect the visible outer ears and gently dry any moisture with a clean towel. Never push cotton balls, tissues, or other materials into the ear canals to block or absorb water. If your puppy has long ears, check the folds carefully because moisture may collect there. Keeping the visible ear area dry is a useful grooming habit. If your puppy develops persistent discomfort or unusual ear symptoms after bathing, contact your veterinarian.
20. Protect Your Puppy’s Ears During Outdoor Activities
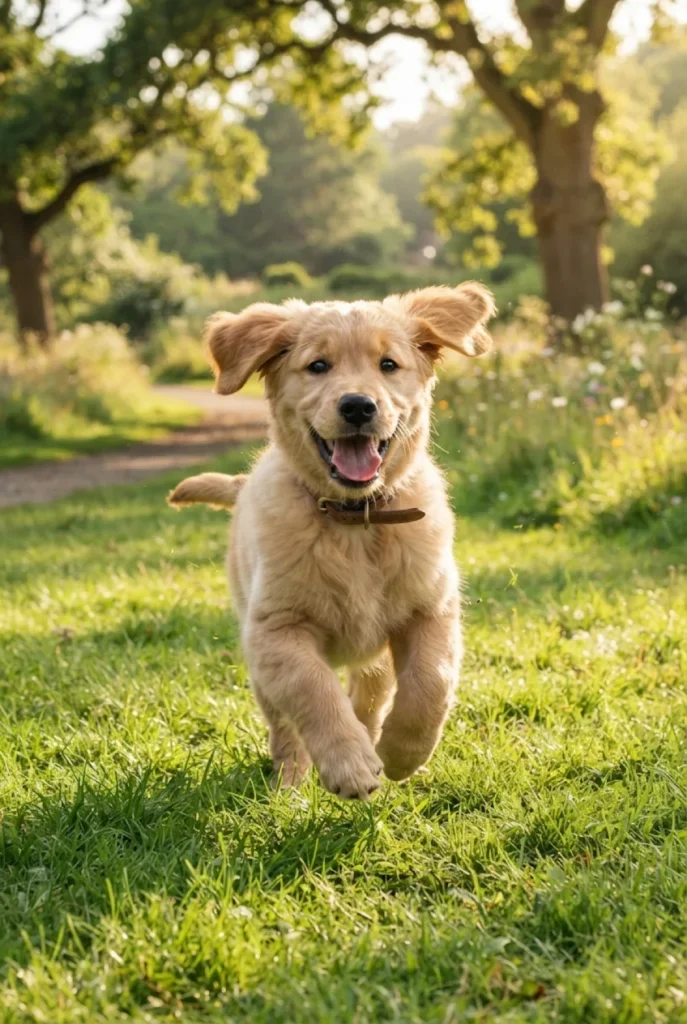
Outdoor adventures are important for puppy development, but they can expose sensitive ears to dust, dirt, grass seeds, and other environmental materials. Puppies that enjoy playing in gardens, parks, and grassy areas may occasionally collect debris around their ears. After outdoor activities, take a moment to inspect the visible outer ear and surrounding fur. Remove loose dirt from the accessible areas with a soft, clean cloth when necessary.
Be especially careful if your puppy has been exploring areas with tall grass or bushes. Plant material can sometimes enter the ear canal and cause discomfort. Never attempt to remove an object that appears lodged deep inside the ear. This should be handled by a veterinarian. Regular outdoor inspections are a simple way to support ear hygiene while allowing your puppy to enjoy playtime. Healthy grooming habits should complement an active and happy lifestyle.
21. Watch for Signs of Puppy Ear Infections
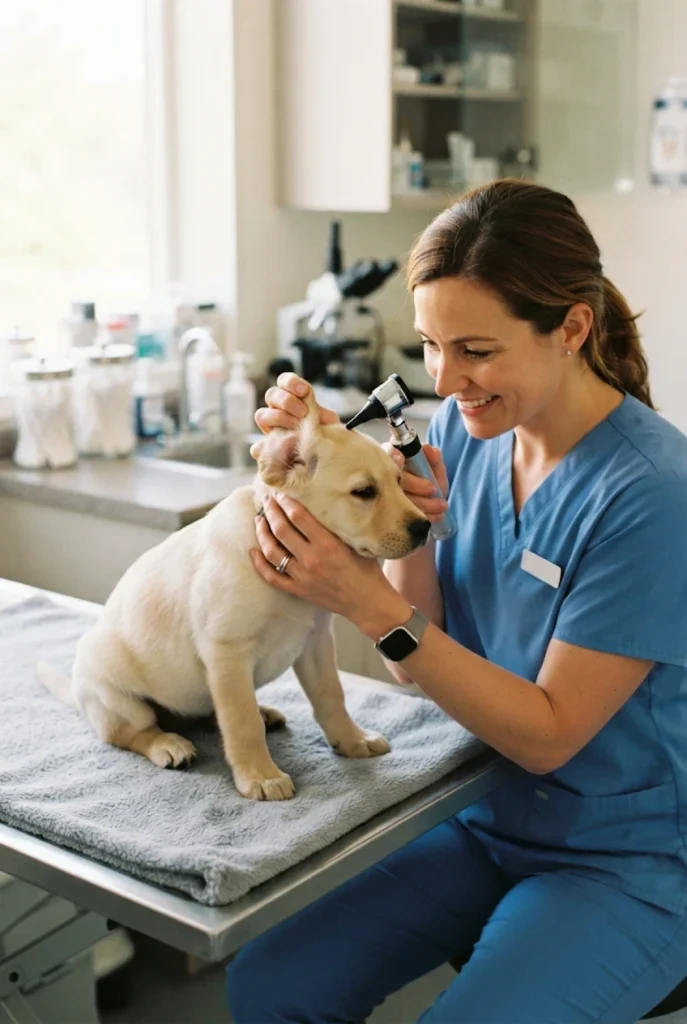
Ear infections can affect puppies and may cause discomfort, irritation, and changes in normal behavior. Common warning signs include persistent head shaking, frequent scratching, redness, swelling, unusual discharge, and a strong unpleasant smell. Some puppies may also tilt their heads, become sensitive when their ears are touched, or seem less interested in normal activities. These symptoms should never be ignored, particularly when they continue or become worse.
If you notice any of these signs, arrange a veterinary examination rather than attempting to solve the problem with regular cleaning. Ear infections may require prescription medication and professional treatment. Different conditions can produce similar symptoms, so proper diagnosis is important. Never use leftover medication or random ear drops without veterinary guidance. Early attention can help prevent unnecessary discomfort and reduce the risk of more serious complications.
22. Know When to Stop Cleaning and Contact a Veterinarian
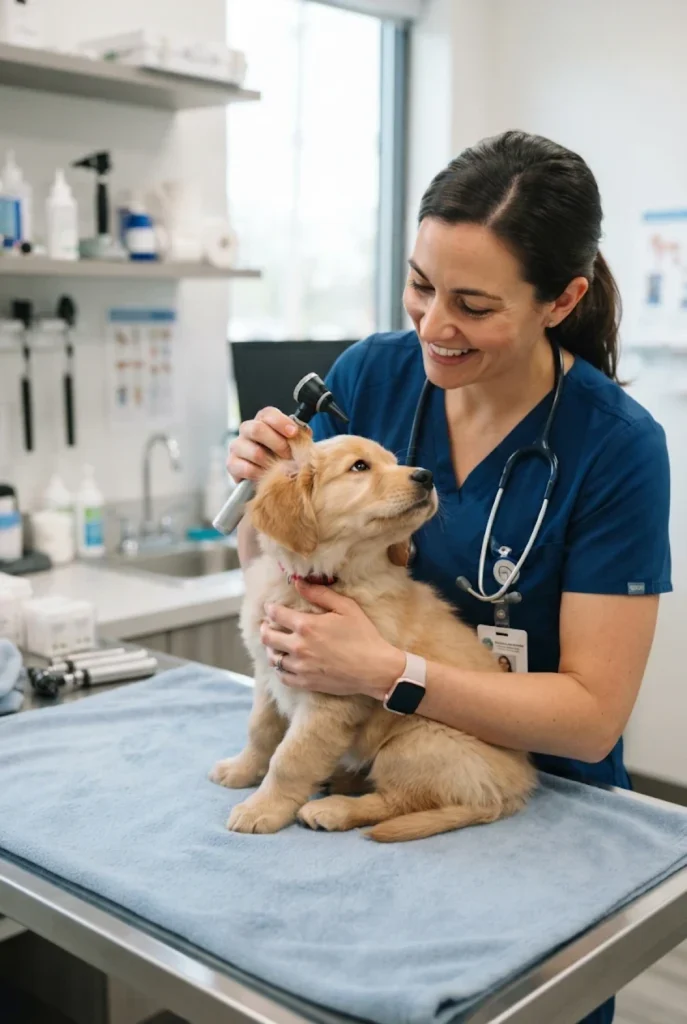
Although routine ear cleaning can be done at home, there are situations when you should stop immediately. If your puppy cries, pulls away repeatedly, reacts painfully, or shows signs of significant irritation, do not continue. You should also stop if you notice blood, thick discharge, a strong unpleasant odor, or visible swelling. These signs may indicate an underlying problem that requires professional attention rather than additional cleaning.
Contact your veterinarian if symptoms persist or if your puppy suddenly develops unusual behavior related to its ears. Severe head tilt, loss of balance, or other neurological signs require prompt veterinary attention. Avoid inserting anything into the ear canal or experimenting with different cleaning products. Professional examination helps identify the cause of the problem and determine the safest treatment. Knowing when not to clean is just as important as learning the correct cleaning technique.
23. Avoid Common Puppy Ear Cleaning Mistakes
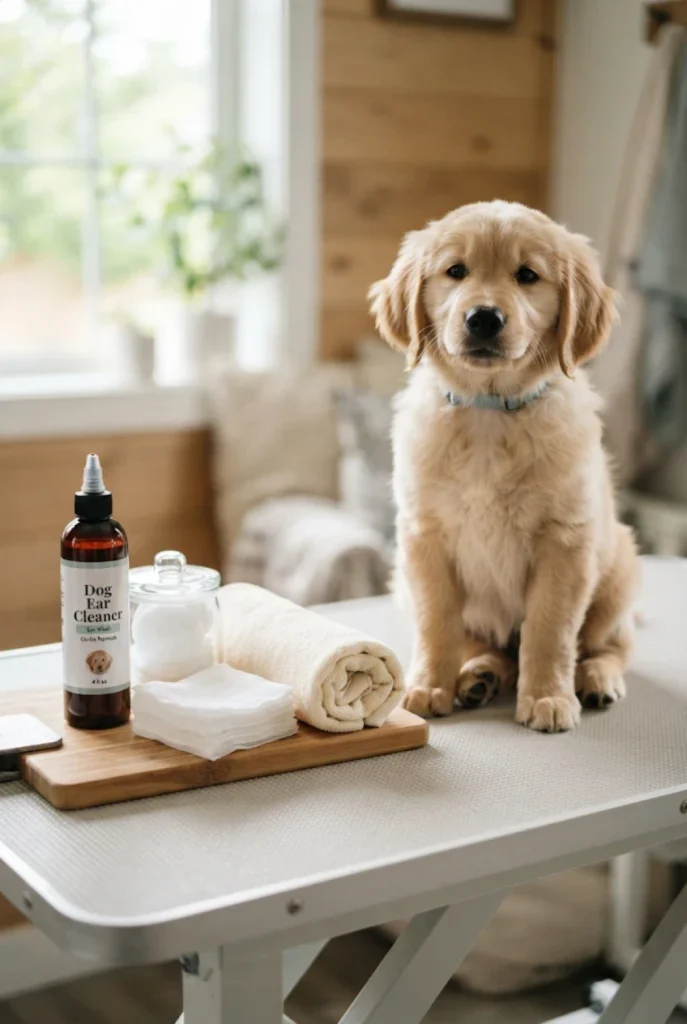
New puppy owners sometimes make simple mistakes because they are unfamiliar with proper ear-care techniques. One common mistake is cleaning too deeply inside the ear canal. Another is using cotton swabs, alcohol, hydrogen peroxide, or unsuitable household products. Excessive cleaning is also a problem because it may irritate delicate ear tissue and remove natural protective oils. These mistakes can create more discomfort instead of improving ear hygiene.
To avoid these problems, use a dog-specific cleaning solution recommended by your veterinarian and follow the product instructions carefully. Clean only the visible areas with soft cotton pads or gauze. Do not force your puppy to cooperate, and never ignore signs of pain or infection. Remember that a healthy ear does not need to look perfectly clean all the time. A small amount of natural wax is normal, and gentle care is better than unnecessary cleaning.
24. Make Ear Inspection Part of Your Regular Grooming Routine
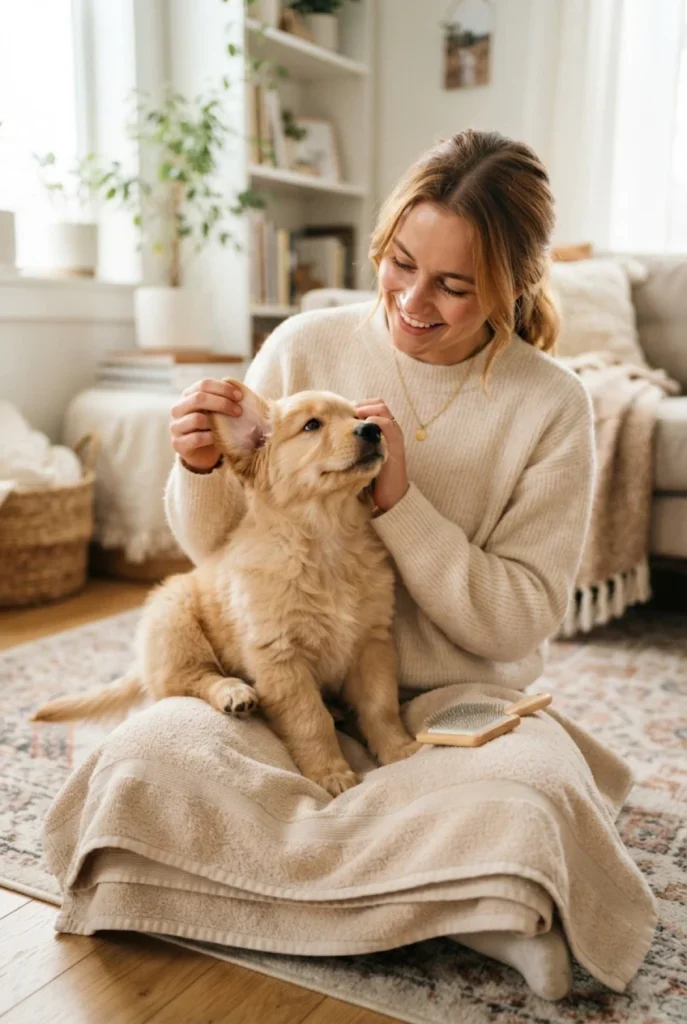
One of the easiest ways to maintain your puppy’s ear health is to include ear inspections in its regular grooming routine. You do not need a complicated schedule or a long cleaning session. Simply check the visible ears when brushing your puppy, trimming its nails, or preparing for a bath. This gives you an opportunity to notice changes in wax, moisture, odor, or skin appearance before they become more noticeable.
Consistency is more important than cleaning frequently. A quick inspection can help you decide whether your puppy’s ears need attention or should simply be left alone. You can also use grooming sessions to practice gentle ear handling and reward your puppy for staying relaxed. As your puppy grows, these small habits can become a normal part of its care routine. Regular inspections also make it easier to share useful observations with your veterinarian during routine appointments.
25. Keep a Simple Puppy Ear Care Checklist
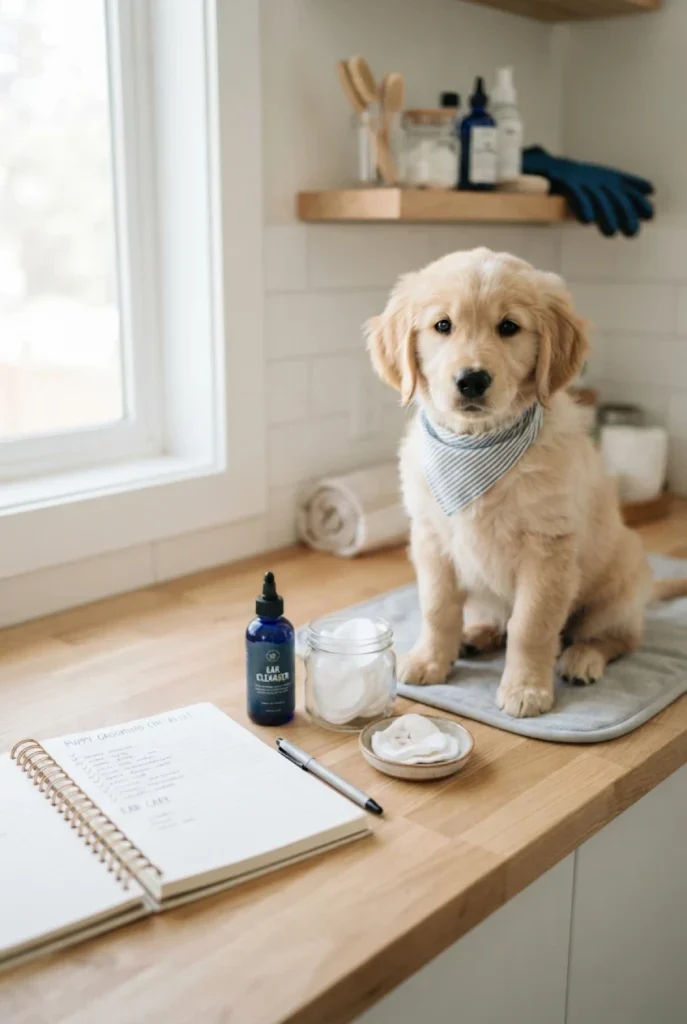
A simple ear-care checklist can help first-time puppy owners stay organized. You can record when you inspected your puppy’s ears, whether you noticed wax or dirt, and whether cleaning was necessary. If your veterinarian recommends a particular cleaning schedule, include those instructions in your notes. Keeping track of changes can be especially useful for puppies that have sensitive ears or a history of ear problems.
Your checklist does not need to be complicated. A small notebook or digital reminder is enough to help you maintain consistent grooming habits. You can also note unusual symptoms such as scratching, head shaking, or changes in ear odor. Share these observations with your veterinarian if concerns develop. The purpose of a checklist is not to encourage unnecessary cleaning but to help you monitor your puppy’s ear health and follow professional recommendations.
26. Introduce Ear Cleaning Gradually to Nervous Puppies
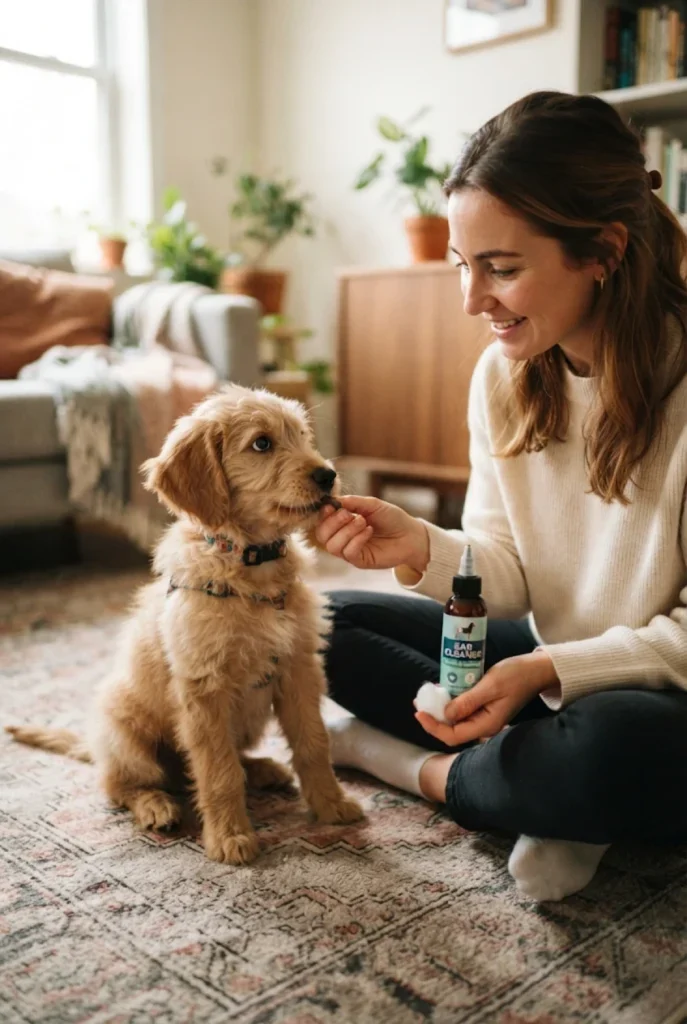
Some puppies may feel nervous when their owners touch their ears or bring grooming supplies close to their faces. Instead of attempting a complete cleaning session immediately, introduce each step gradually. Begin by allowing your puppy to sniff the cleaning bottle while it is closed. Reward calm behavior, then gently touch the outer ear for a few seconds. Over several short sessions, gradually introduce the cotton pad and other parts of the routine.
Patience is essential when working with nervous puppies. Never punish your puppy for moving away or showing fear. If it becomes uncomfortable, take a break and return to the exercise later. You can also ask your veterinarian or a qualified force-free trainer for advice if handling remains difficult. Building positive associations helps create trust and makes future grooming sessions more manageable. A slow introduction is often more successful than trying to complete everything in one day.
27. Ask Your Veterinarian for a Personalized Ear-Care Routine
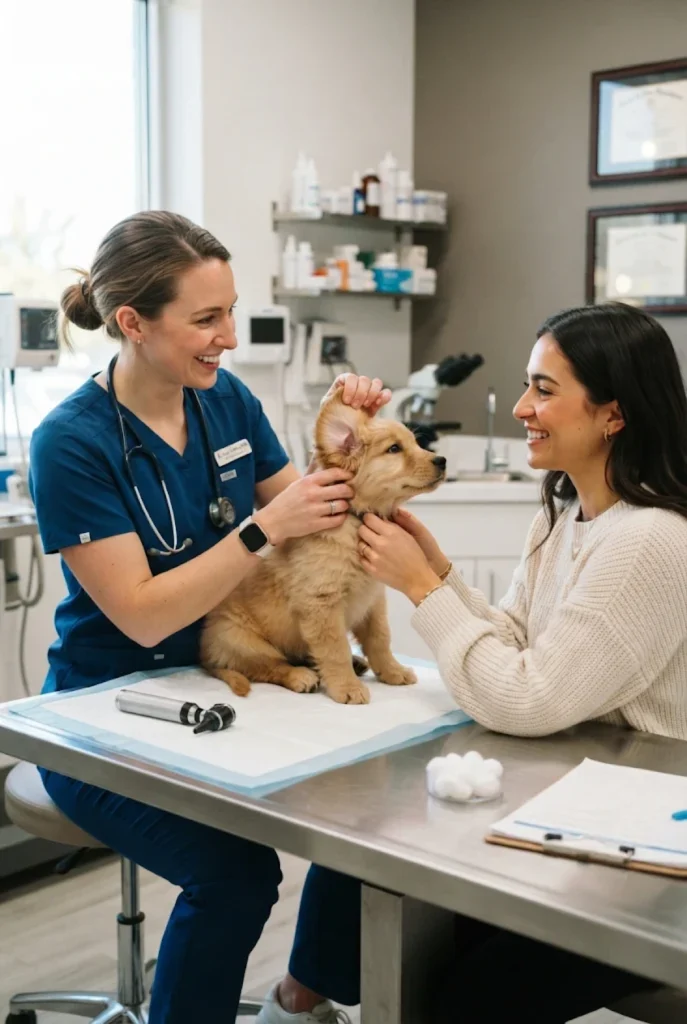
Every puppy has different ear-care requirements, so advice from a veterinarian is valuable, particularly when you are a beginner. Your veterinarian can examine your puppy’s ears, identify any existing concerns, and recommend suitable cleaning products. They can also demonstrate the correct way to apply an ear cleaner, massage the base of the ear when appropriate, and remove loosened debris safely. This practical guidance can help you feel more confident about grooming at home.
Professional advice is especially important for puppies with recurring ear infections, allergies, unusual earwax buildup, or sensitive skin. Ask how often you should inspect and clean the ears and which symptoms require an appointment. Avoid following cleaning advice intended for a different dog because your puppy’s needs may be different. A personalized routine can help prevent unnecessary cleaning while supporting healthy ears as your puppy grows.
28. Build Long-Term Healthy Ear Care Habits
Good ear care should become a comfortable part of your puppy’s overall health routine. Regular inspections, gentle handling, suitable cleaning products, and timely veterinary advice are the foundation of healthy grooming habits. As your puppy grows, continue checking the ears according to its individual needs. Pay attention to seasonal changes, outdoor activities, bathing routines, and any signs of irritation that may develop over time.
Remember that the goal is not to clean your puppy’s ears as frequently as possible. It is to keep them comfortable and recognize potential problems early. A healthy puppy needs balanced care that includes nutrition, exercise, dental hygiene, coat grooming, and regular veterinary checkups. When you combine these habits with positive reinforcement, ear care becomes less stressful for both you and your dog. Small, consistent efforts can make a meaningful difference throughout your puppy’s life.
Final Thoughts
Taking care of your puppy’s ears does not have to be difficult or stressful. With the right supplies, gentle handling, and a little patience, even first-time puppy owners can learn how to maintain good ear hygiene at home. The most important part of a Puppy Ear Cleaning Guide is understanding that every puppy has different needs. Some puppies require occasional cleaning, while others may need more frequent inspections based on their breed, lifestyle, and veterinary recommendations.
Always choose a dog-specific ear cleaner, avoid inserting cotton swabs into the ear canal, and never use household cleaning products. Pay attention to unusual smells, redness, discharge, scratching, or frequent head shaking. If you notice these symptoms, contact your veterinarian instead of trying to treat the problem yourself.
Make ear inspections a gentle part of your puppy’s grooming routine, reward good behavior, and avoid unnecessary cleaning. With consistent care and professional guidance, you can help your puppy stay comfortable, healthy, and happy as it grows.